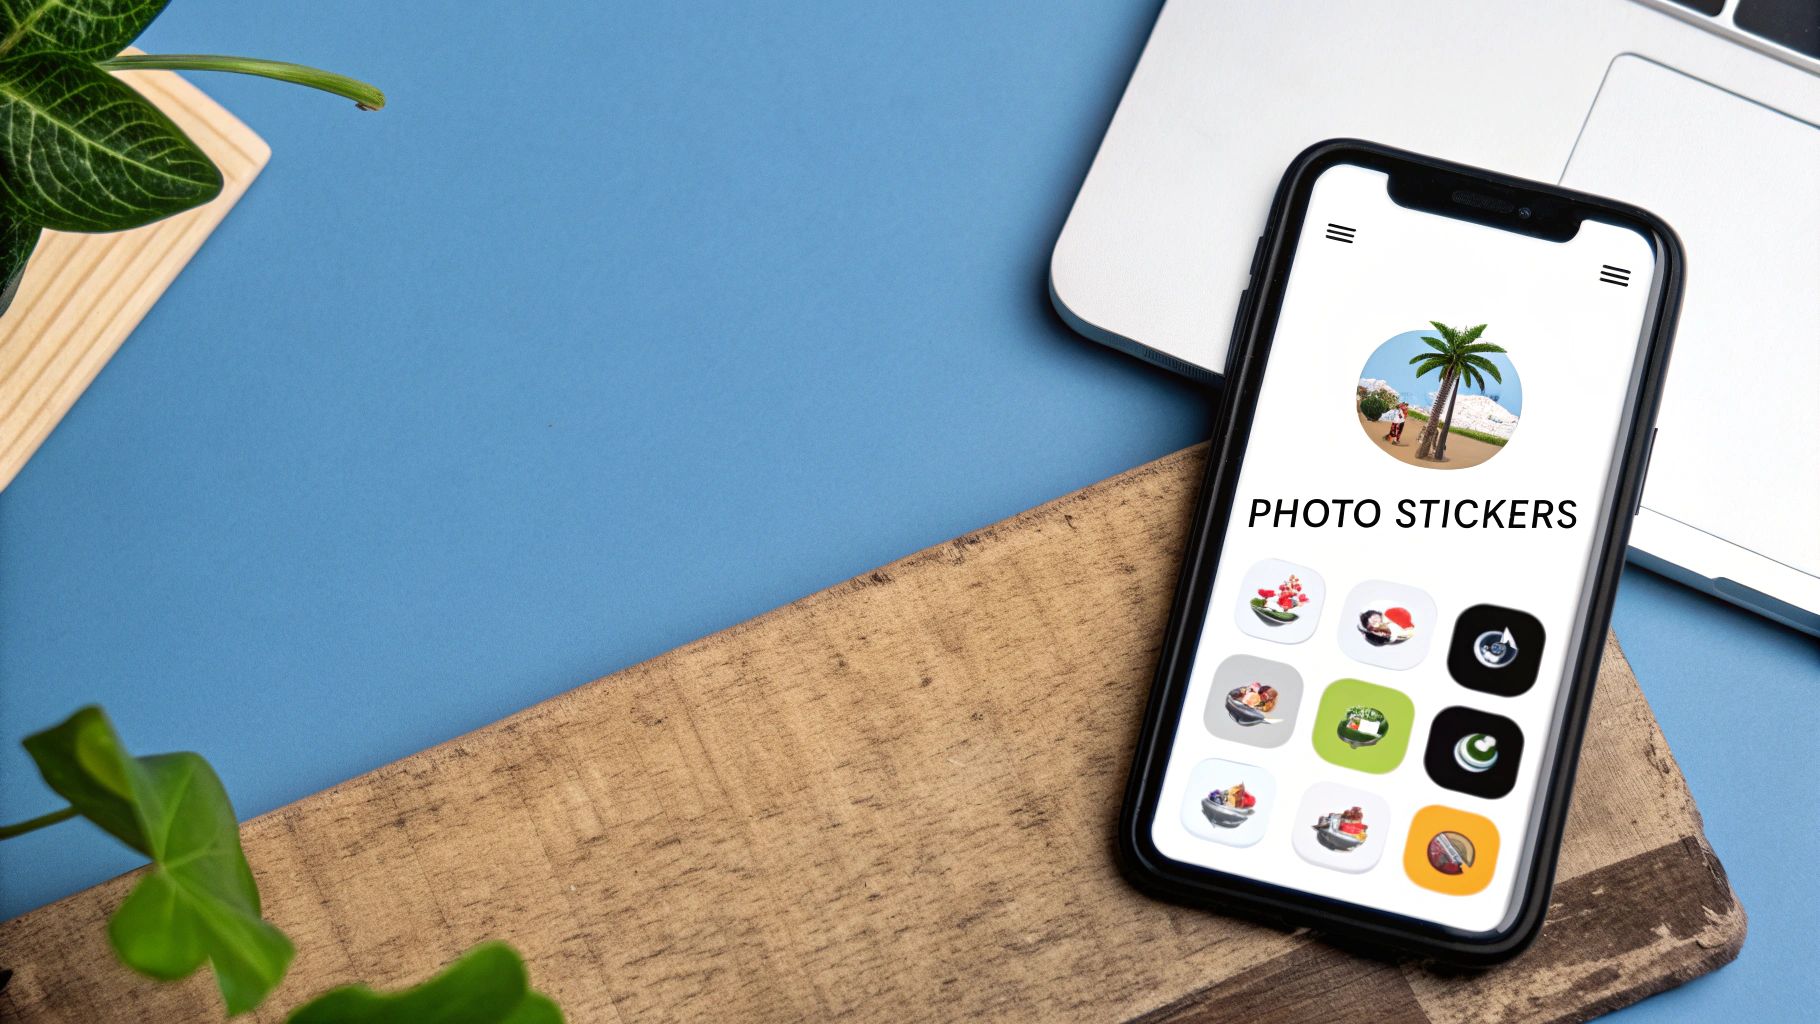
Adding stickers to photos is such a fun and easy way to give your images a boost. You can make them more playful, stylish, or just plain expressive. With the right app, you can completely transform your pictures with a huge variety of stickers, from on-trend graphics to your own custom designs.
The Art of Adding Stickers to Your Photos
Learning how to add stickers to your pictures goes beyond just hopping on a fun trend. It’s a surprisingly powerful way to tell a story, inject some personality, or even guide someone's eye where you want it to go. This simple touch can turn a standard photo into a unique piece of visual communication.
A well-placed sticker can completely flip an image's mood and message, whether it’s for a quick social media post or a polished marketing graphic. Just think about these real-world scenarios:
Personalizing Memories: Slapping a "Bon Voyage!" sticker on a farewell photo or a graduation cap on a celebratory pic adds instant context and emotion. It just feels more special.
Boosting Marketing: A "New Arrival" or "50% Off" sticker on a product photo is way more effective at grabbing attention and driving sales than plain old text.
Creative Expression: You can use stickers to build a whole narrative, turning a simple portrait into a piece of digital art that truly reflects your personal style.
This drive for customization isn't just a fleeting fad. It's part of a bigger shift in how we all interact with digital content. The global sticker industry is valued at roughly $4.61 billion and is expected to keep growing, which shows just how much we love making our digital stuff feel like ours. You can find more stats on the stickers and labels market over on UPrinting.com.
In my experience, the best sticker is one that feels intentional. It shouldn't just sit on the photo; it should interact with it. A sticker that curves along a mountain's edge or peeks out from behind a person creates a sense of depth and makes the whole thing feel more thoughtfully put together.
Before we jump into the tools and how-to's, getting this "why" is crucial. When you start seeing stickers as a storytelling tool instead of just decoration, you open up a whole new level of creativity.
Choosing the Right Tool for the Job
The app you pick to add stickers to your photos can honestly make or break the final image. The software out there is a huge mix, from simple one-tap mobile apps to incredibly powerful desktop programs. The best choice really just boils down to what you're trying to accomplish.
Are you quickly jazzing up an Instagram story, or are you creating a polished marketing graphic for your business? A casual mobile app is probably perfect for the first scenario. For more professional work, a more robust tool like Canva or Adobe Express is going to serve you much better. Your device and your own comfort level with design software also play a big part in this decision.
Key Features That Matter
When you start looking at different options, it's easy to get lost in a long list of features you'll probably never touch. Instead, just focus on what actually matters for adding stickers well.
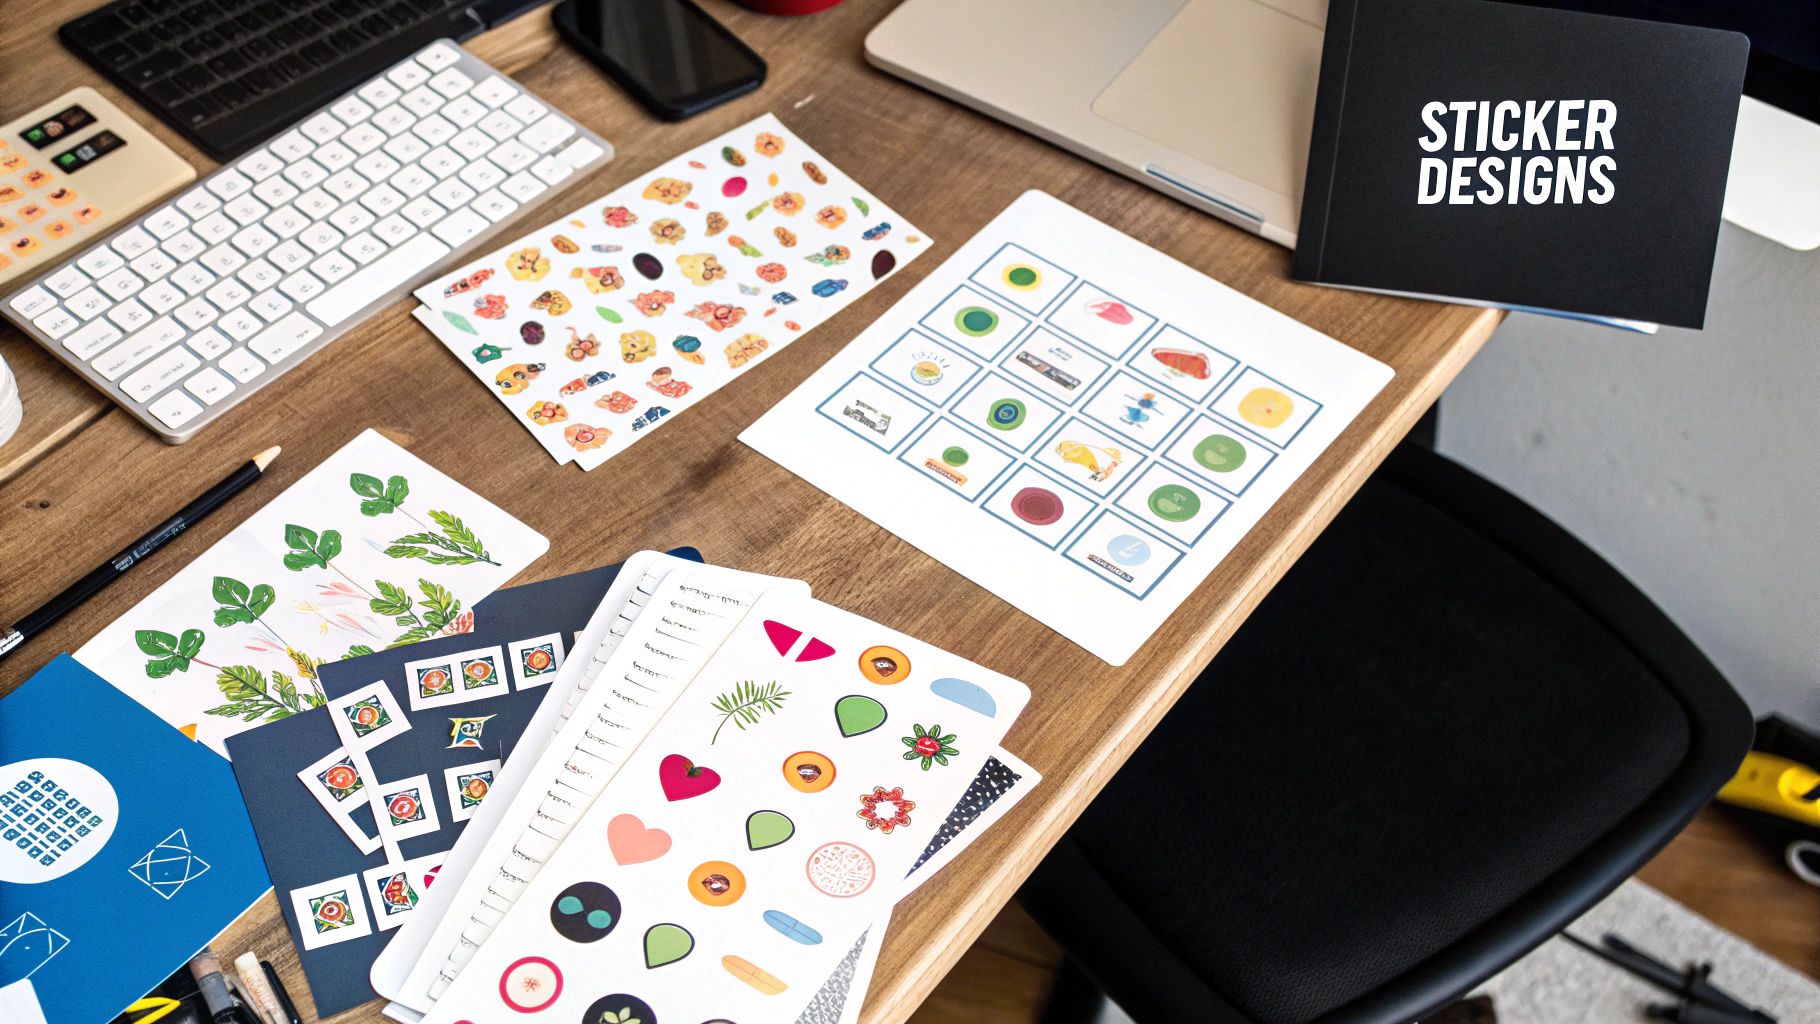
Sticker Library Quality: Look for a big, well-organized library with a good mix of styles. A great search function is non-negotiable—it saves a ridiculous amount of time.
Customization Options: The power to tweak a sticker's transparency, color, or orientation is what makes it look like it truly belongs in the photo, not just slapped on top.
User Experience: The app should feel intuitive. You want to spend your time creating, not fumbling around trying to find the right button.
This screenshot from Canva's editor gives you a peek into its massive "Elements" library, which is where you'll find all the stickers and graphics.
See how everything is categorized and searchable? This is exactly what you want. It makes finding the perfect element for your project so much easier.
Comparing the Best Apps for Adding Photo Stickers
To help you narrow down your choices, it’s useful to see how the most popular tools stack up against each other. Each one has its own vibe and strengths, so think about what fits your typical projects.
Here's a quick comparison of some top-rated applications to help you choose the best tool for your needs.
Tool | Best For | Sticker Library Quality | Customization Level | Pricing |
|---|---|---|---|---|
Canva | Social media, marketing, and quick designs | Excellent, with polished graphics and animations | High | Freemium |
Picsart | Artistic edits and personal creative projects | Very large, user-generated and trendy content | Very High | Freemium |
Adobe Express | Branded content and professional graphics | High-quality, integrates with Adobe Stock | High | Freemium |
Each of these tools offers a great experience, but the "best" one truly depends on your specific goals—whether you need professional, on-brand assets or fun, trendy graphics for personal use.
My personal tip? Always start with a tool that lets you upload your own custom stickers. Even if you don't think you need it right now, having the freedom to add a custom logo or a unique graphic you found elsewhere is a total game-changer for brand consistency and creative expression down the line.
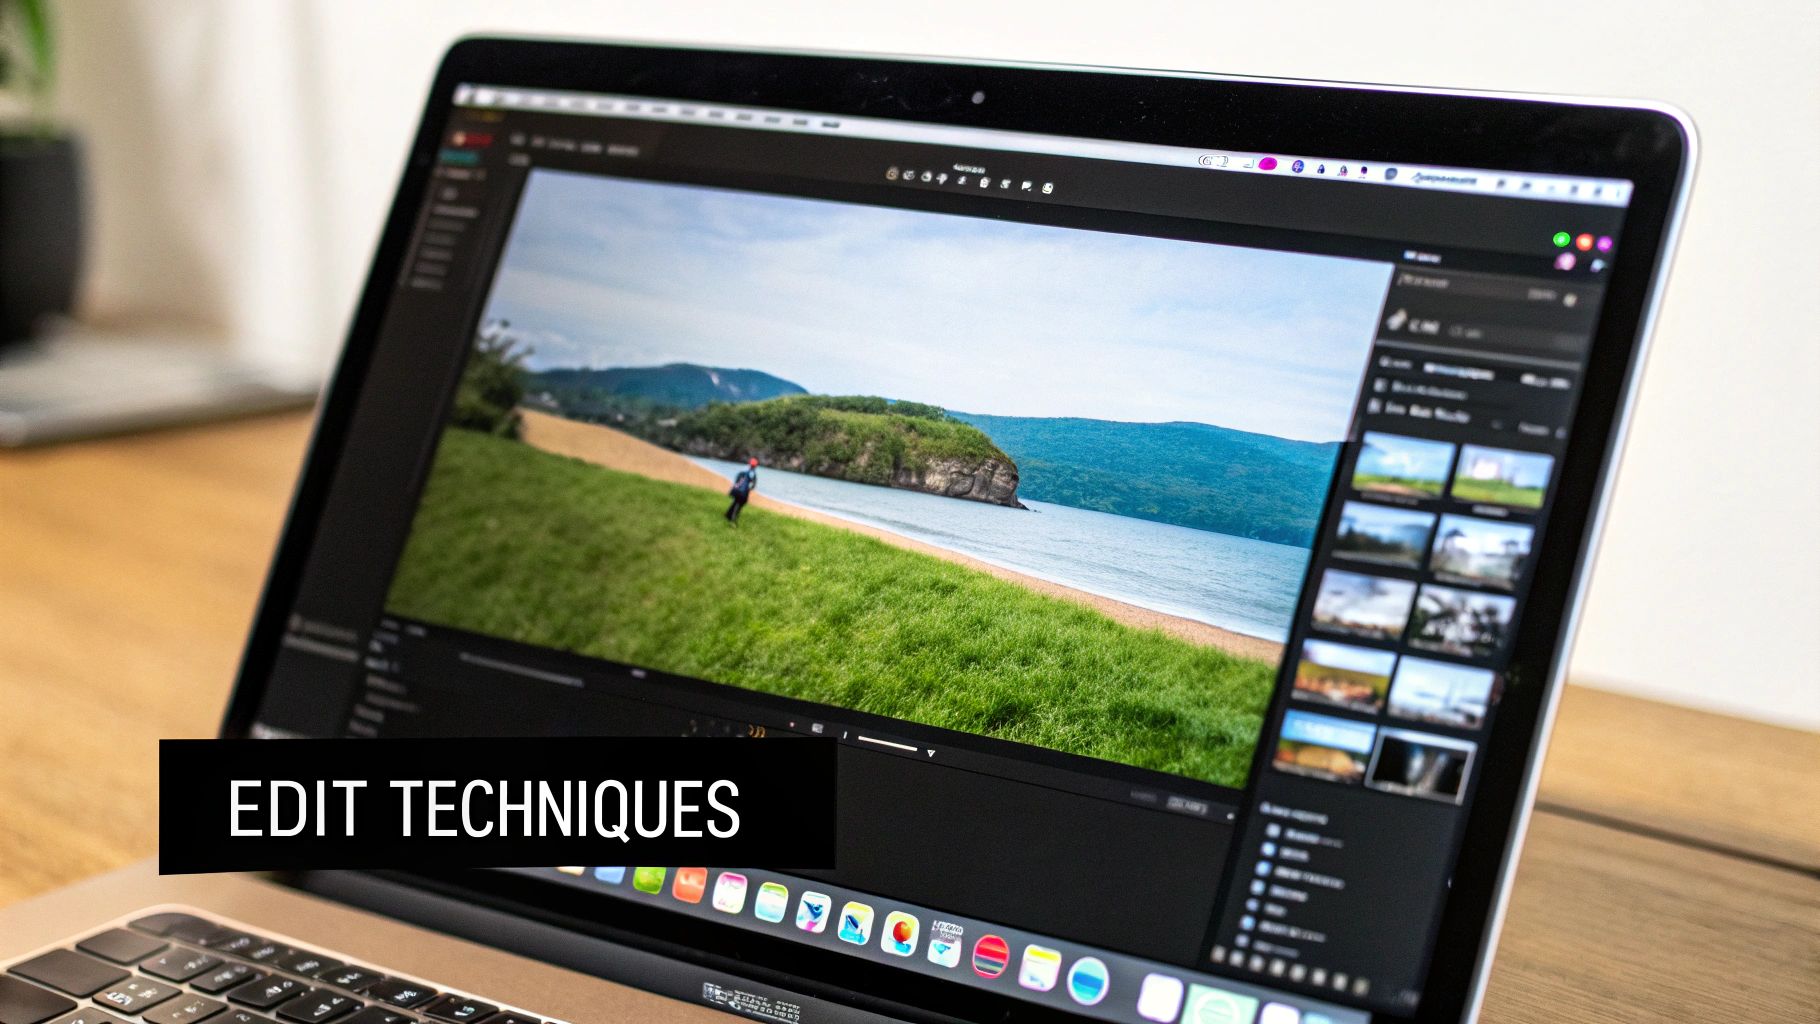
Alright, theory is one thing, but let's jump in and actually do this. We'll be using Canva for this walkthrough—it's a go-to tool for a reason. It’s incredibly user-friendly and packs a massive library of graphics, giving you tons of creative fuel right out of the gate.
First things first, you need to get your photo into the editor. Once you’ve started a new design, you can simply drag and drop your image file right onto the canvas. Alternatively, just use the "Uploads" tab on the left-hand menu. Say you’re prepping a team photo for a big company announcement—just upload that high-res JPEG, and you're good to go.
Finding the Perfect Sticker
With your image loaded and ready, your next stop is the "Elements" tab. This is Canva's creative treasure chest, home to its entire collection of graphics, illustrations, and—most importantly—stickers.
The search bar here is your best friend. Instead of scrolling forever, get specific with your keywords. A generic search like "arrow" will give you thousands of options, but something targeted like "hand-drawn red arrow" will narrow it down to a much more useful selection. This little trick saves a ton of time.
A key pro tip is to use the filter options after searching. You can filter results to show only "Animated" or "Static" graphics. This is perfect for when you're deciding between a still image for a printable flyer or a moving graphic for an Instagram Story.
Found a sticker you love? Just click it, and it'll pop right onto your image. From there, you can drag it into place, use the corner handles to resize it, and give it a little spin to get the angle just right.
Layering for Depth and Style
One sticker is fine, but layering multiple elements is what really makes a design pop. Don't be shy about mixing and matching different graphics to build a more complex and engaging visual.
Let's walk through a real-world scenario:
Base Layer: Start with something simple, like a semi-transparent circle behind a person's head to create a focal point.
Mid Layer: Add a floral sticker that looks like it's wrapping around the edge of the circle.
Top Layer: Finish it off with a small, sparkling "glow" or "star" sticker to add a final touch of magic.
This layering technique is how you go from just slapping on decorations to thoughtfully designing a graphic. It adds depth and makes your image feel way more professional and cohesive. Play around with different combinations to see how you can add stickers to pictures in a way that truly elevates the original photo.
Pro-Level Tips for Sticker Styling and Placement
Anyone can drag and drop a sticker onto a photo. That's the easy part. But making it look like it truly belongs there? That’s an art form. It's the small details that elevate a simple edit into a professional-looking graphic that really grabs people's attention. The goal is to use stickers to create visual balance, direct the viewer's eye, and amplify the photo's original vibe.
Here’s the mindset shift that changes everything: stop thinking of your sticker as an addition. Instead, see it as part of the original scene. Before you even place it, take a second to analyze your photo. Where’s the light coming from? What’s the main subject? Is there any awkward empty space that feels off-balance?
A sticker should work with these elements, not against them. For example, if the light in your photo is hitting from the top right, a sticker with a hard shadow on its bottom left is going to look completely out of place. Most decent editing apps have a simple "flip" function—use it. Matching the sticker's orientation to the photo's lighting is a simple trick that makes a massive difference.
Blend and Integrate
To make a sticker feel grounded in your image, you have to make it interact with the photo's natural texture and depth. A super crisp, sharp sticker on a grainy, vintage-style photo just looks wrong. This is where transparency and blending modes come into play.
My go-to technique is to lower a sticker’s opacity just a little bit, down to around 90-95%. It's a subtle tweak, but it lets the photo's underlying texture peek through, making the sticker feel integrated rather than just floating on top.
This desire for seamless integration is a big reason the personalized stickers market is absolutely booming. People want unique digital expression, which has pushed the market forecast from USD 4.84 billion to a staggering USD 7.99 billion by 2034. It's all fueled by new tech making this kind of customization easier than ever. You can dig deeper into the growth of personalized sticker markets if you're curious.
Here are a few more quick tips I use all the time:
Create Depth: Don't just place a sticker on top of everything. Tuck it partially behind a person, a tree, or an object in the photo. This instantly creates an illusion of depth and makes the whole composition feel more dynamic and thoughtful.
Rule of Thirds: This is a classic for a reason. Imagine a 3x3 grid over your photo. Placing your sticker along one of those lines or at an intersection point almost always creates a more balanced and professional look.
Match the Mood: This one seems obvious, but it's easy to forget. Use whimsical, hand-drawn stickers for a playful shot. For a modern, minimalist photo, stick with clean, geometric shapes. Keeping the style consistent is absolutely crucial for a cohesive final image.
By applying these simple design principles, you can start adding stickers to your pictures in a way that looks intentional, polished, and genuinely professional.
Turn Your Images into Marketing Powerhouses with Stickers
Stickers are way more than just a fun thing to slap on a picture. When you know how to add stickers to pictures the right way, they become a seriously effective tool for any business or content creator trying to boost engagement, build brand recognition, and even drive sales.
Think about it. A simple "Sale" or "New Arrival" sticker on a product shot instantly grabs attention and creates a sense of urgency. In a crowded social media feed or a busy online store, that little visual cue can be far more powerful than a block of text. This trend is a huge part of why the sale stickers market is valued at $1.5 billion and still growing. You can dive deeper into these market trends on MarketReportAnalytics.com.
Build a Consistent and Recognizable Brand
Beyond just shouting about a sale, stickers are fantastic for playing the long game: building brand consistency. When you create custom stickers with your logo, brand colors, or a specific font, you're slowly building a visual style that people will start to recognize.
Using these consistently across all your marketing photos reinforces your brand identity in a way that’s subtle but incredibly powerful.
Here are a few ways I’ve seen this work wonders:
Highlight Key Features: Use arrows or custom icons to point out exactly what makes your product special.
Create Branded Watermarks: A tastefully placed sticker with your logo not only protects your images but also keeps your brand front and center.
Show Off Social Proof: Turn a glowing customer review into a sticker and overlay it on a lifestyle photo. It's an instant credibility boost.
Here’s the bottom line for any brand: consistency builds trust. When your audience sees the same visual elements over and over—whether it's your logo or a certain style of graphic—it creates a sense of familiarity and professionalism.
This is how you turn simple product shots into polished marketing materials. It’s a smart, low-cost way to make your brand look more put-together and, ultimately, more memorable.
Common Questions About Adding Stickers
As you start playing around with adding stickers to your pictures, a few questions almost always pop up. Getting these sorted out early will save you a ton of creative headaches and get you to the look you're after much faster.
One of the first things people ask is if they can make their own stickers. The answer is a definite yes! Most of the good photo editors out there, including big names like Canva and Picsart, let you upload your own images. The usual workflow is to create your design in another program, save it as a PNG with a transparent background, and then just pop it into your editor's media library.
Making Your Edits Look Natural
Another big one is how to make a sticker look like it actually belongs in the photo. It really comes down to three things: lighting, perspective, and texture. Your goal is to match the sticker's brightness and color tones to the overall vibe of the original picture.
Here's a pro-tip: a classic mistake is leaving a sticker at 100% opacity. My favorite trick is to knock its transparency down just a little, to around 90-95%. It's a subtle change, but it lets the photo's natural texture peek through, making the sticker feel integrated rather than just slapped on top.
That small tweak can make a massive difference in how polished your final image looks.
Finally, what are the best free apps to get started with? For most people, it's a toss-up between Canva and Picsart.
Canva is amazing for its super-polished library of graphics and templates. It's my go-to for anything related to social media or marketing content.
Picsart really shines when you want to get more artistic. It has a ton of creative editing tools that are perfect for personal projects where you want a unique, custom flair.
Both platforms have incredibly capable free versions, giving you more than enough firepower to start experimenting and bringing your ideas to life.
Ready to make your own content more engaging? With TNote, you can instantly transform your Markdown notes into beautiful, shareable knowledge cards perfect for social media. Check it out at https://tnote.ai.