Animal alphabet flash cards are one of those classic learning tools for a reason—they just work. They brilliantly mix letter recognition with the endlessly fascinating world of animals. But what if you could make them even better? By creating your own flash cards, you can move beyond generic sets and build something that speaks directly to a child's interests, making learning feel less like a task and more like play.
Why Bother Making Your Own Flash Cards?
Sure, you can grab a set of flash cards off any store shelf, and they have their place. But when you take the time to craft your own, you unlock some unique advantages that really deepen the learning experience. The simple act of creating and personalizing these cards transforms them from a basic memorization tool into a powerful aid for cognitive development.
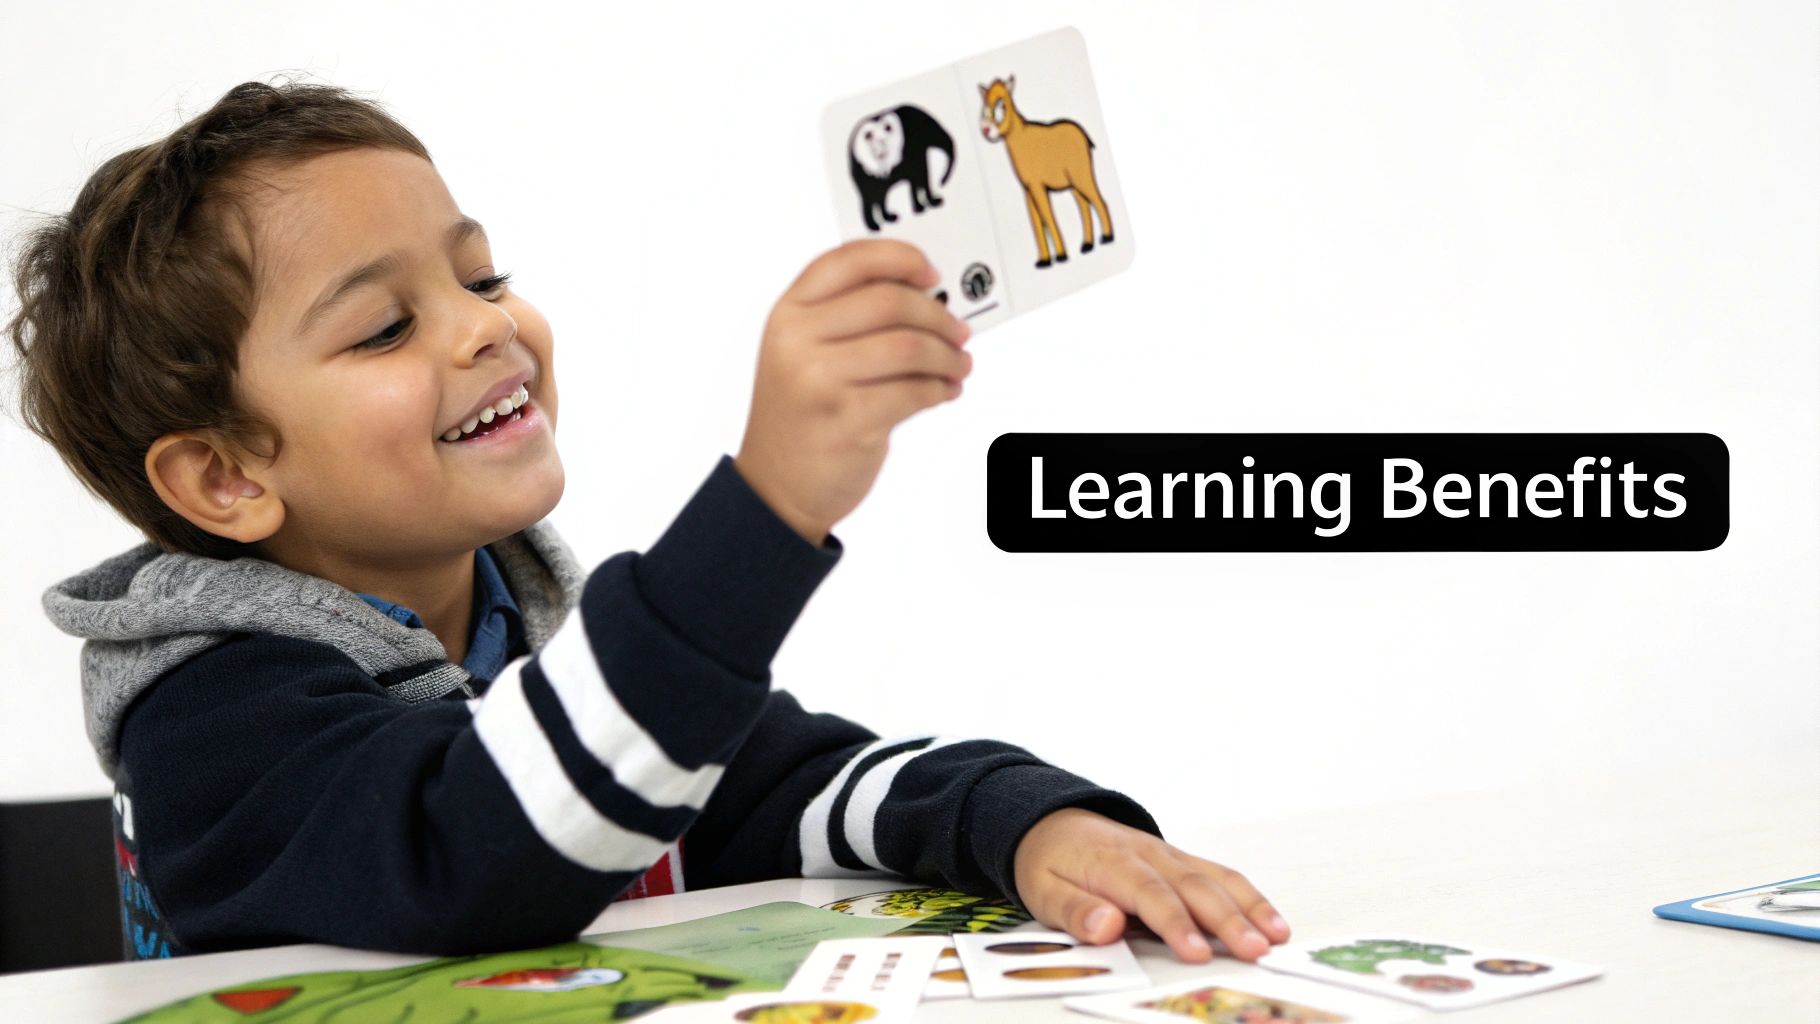
When you bring a child into the creation process—maybe letting them pick the animals—they immediately feel a sense of ownership and excitement. It’s a hands-on approach that’s far more engaging than just passively flipping through a pre-made deck. The benefits of using custom animal alphabet flash cards go way beyond just learning the ABCs.
Fostering Deeper Connections
This is where personalization really shines. You can build the entire deck around a child's current obsession, whether that’s zoo animals, creatures from the farm, or even a wild mix of mythical beasts. That personal connection is what turns learning from a chore into a genuinely fun activity.
- It boosts their vocabulary. When you associate letters with specific animals, you’re introducing new words and ideas in a context that’s sticky and memorable.
- It enhances their memory. The combination of the visual (the animal), the phonetic (the sound), and the symbolic (the letter) creates stronger neural pathways, making recall much easier.
- It sparks their curiosity. A card showing a "Quokka" for the letter Q is bound to get them asking questions. Suddenly, you're not just learning a letter; you're discovering fun facts about a brand new animal.
The real magic is in their adaptability. As a child’s skills grow, the cards can evolve right along with them. You can add fun facts or simple questions to the back, keeping them challenged and engaged.
It’s no surprise that these educational tools are a big deal. The global market for flash cards was valued at around USD 2.5 billion in 2023, with North America making up over 30% of that. These numbers show just how much parents and educators value tools like animal alphabet flash cards. If you're curious, you can dig into more data on the flash cards market growth to see why they remain such a popular choice.
The table below breaks down the key educational benefits of creating your own animal flash cards.
Educational Impact of Custom Animal Flash Cards
| Benefit | Educational Impact |
|---|---|
| Personalization | Increases engagement by aligning with a child's specific interests (e.g., dinosaurs, sea creatures). |
| Vocabulary Expansion | Introduces new animal names and related concepts in a memorable, visual context. |
| Enhanced Memory Recall | Strengthens neural connections by linking visual, phonetic, and symbolic information. |
| Increased Ownership | Involving a child in the creation process fosters a sense of pride and motivation to learn. |
| Adaptability | Cards can be easily updated with new facts or challenges as the child's knowledge grows. |
Ultimately, custom cards create a more dynamic and effective learning loop, turning a simple deck of cards into a truly personalized educational journey.
Gathering Your Digital Crafting Supplies
Before we dive into designing your animal alphabet flash cards, you'll need to gather a few digital items. It’s a simple process that sets you up for a smooth, creative workflow. Think of it as grabbing your paper, scissors, and glue for a digital craft project.
The heart of this project is the md2card tool, which transforms simple text into beautiful, printable cards. You don’t need any fancy software—just a basic grasp of Markdown. It’s a lightweight markup language that uses simple symbols to format text. For instance, a hashtag (#) creates a heading for the letter, and asterisks (*) make a bulleted list for fun facts. You can play around and get the hang of it right in the TNote editor.
Sourcing Your Animal Images
High-quality visuals are everything. The best images for young learners are clear, vibrant, and show the animal against a simple background. You'll also want to find royalty-free photos to avoid any copyright headaches down the road.
Great sources for these images include:
- Unsplash: Offers artistic, high-resolution photos from photographers around the world.
- Pexels: Provides a huge library of both photos and videos that are free to use.
- Pixabay: A fantastic resource for photos, illustrations, and vector graphics.
When you're searching, stick to simple terms like "lion" or "tiger cub." It’s a good idea to download a few options for each animal so you can see which one fits best on the card.
Remember, the goal is instant recognition. A clear, forward-facing animal photo is often more effective for a toddler than an abstract or faraway shot. This visual clarity helps build strong letter-animal associations.
Here’s a quick look at how your plain text on the left is instantly converted into a polished flash card on the right using the tool.

This screenshot really shows off the magic of md2card—it turns basic Markdown into a visually appealing and functional learning tool without needing any design skills.
Bringing Your First Flash Cards to Life
Alright, this is where the magic happens. Let's turn your ideas and those animal images you’ve gathered into real, hold-in-your-hand learning tools. This is where a tool like TNote’s md2card really flexes its muscles, showing how simple text can become beautiful, custom animal alphabet flash cards.
We'll start by creating our very first card from scratch.
Crafting Your First Card
Let's go with a classic: "A is for Alligator." You don't need fancy software—just a plain text editor or you can even type directly into the TNote tool. We'll use a bit of Markdown, which is just a super simple way to format text with symbols.
For your first card, the text might look something like this. See how a single # makes a big headline? And the 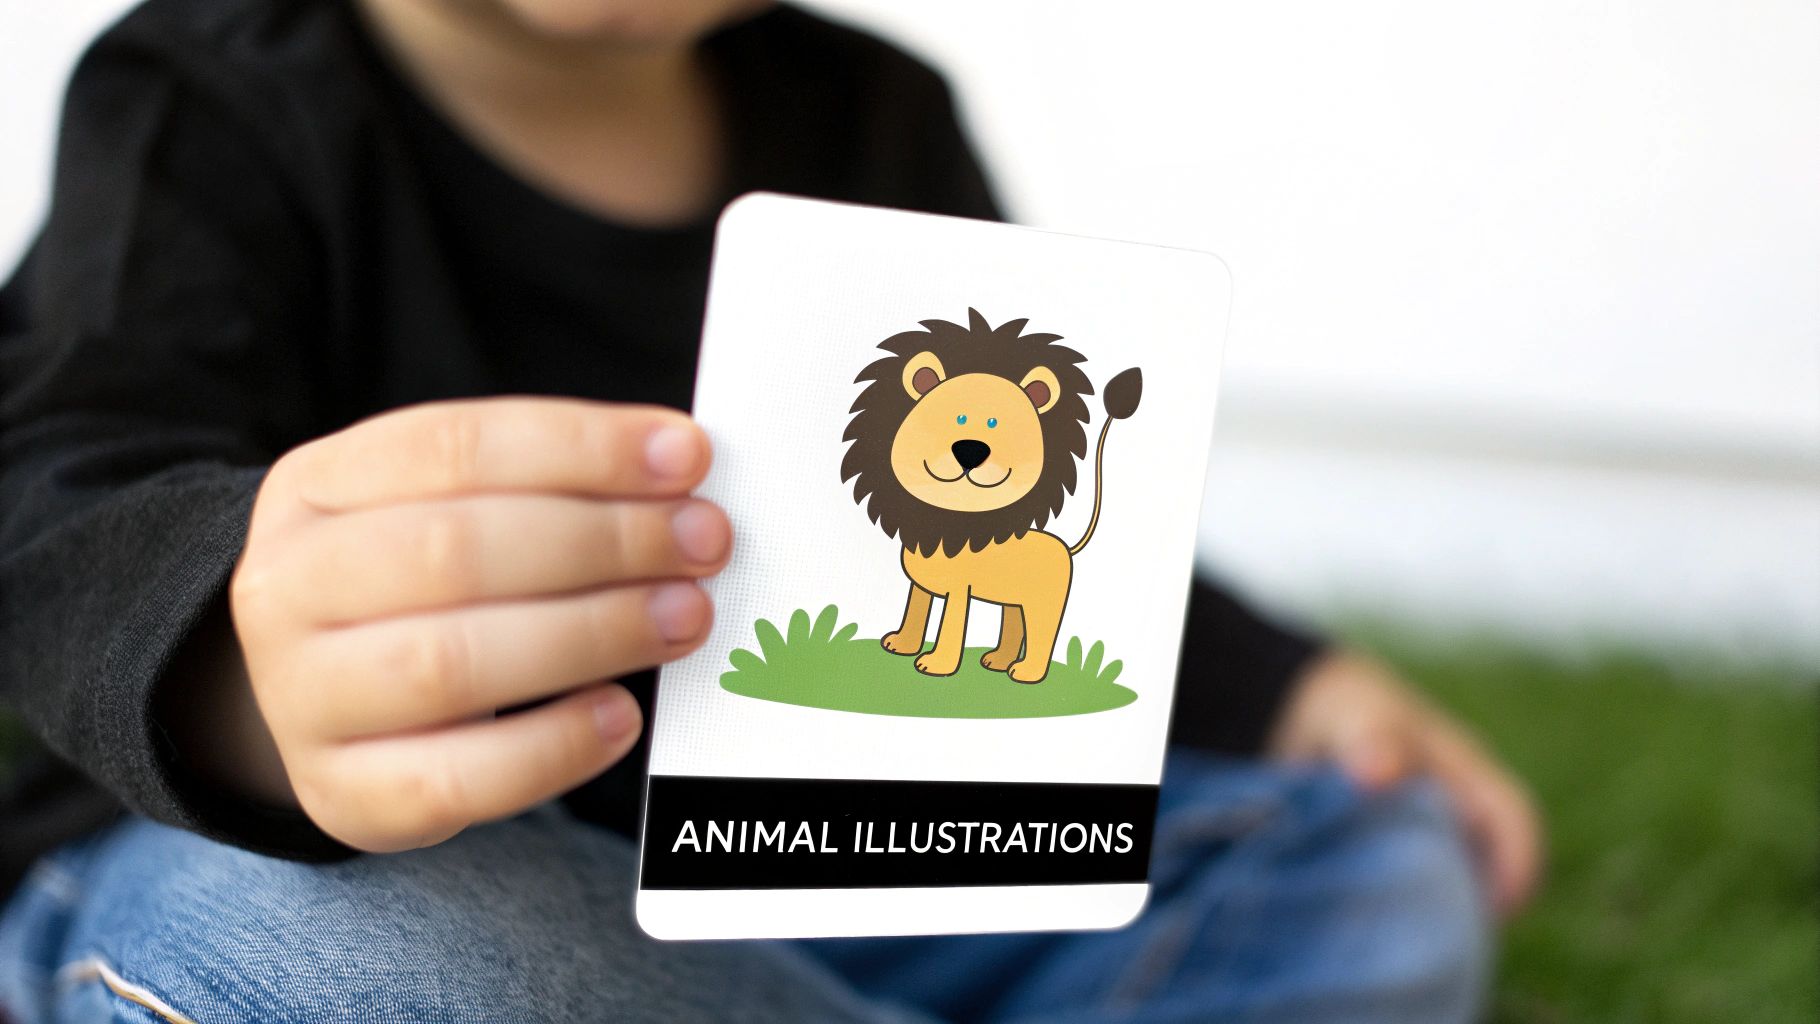 part is how you drop in your image. It’s that easy.
A is for Alligator

Alligators can have up to 80 teeth at one time!
Once you run this through md2card, it instantly spits out a clean, professional-looking flash card. The letter is prominent, your alligator picture is perfectly centered, and that little fun fact sits neatly at the bottom. It’s incredibly satisfying and takes less than a minute.
This simple method taps into a long and proven educational history. Animal alphabet cards are a cornerstone of early learning for a reason—they connect literacy with visual recognition. By pairing a letter with an animal, you're helping kids build letter recognition, phonemic awareness, and vocabulary all at once. If you're curious about the deep history, you can explore the educational philosophy behind alphabet cards on Abeka.com.
Building Your Alphabet Set
Got one card down? Great. The rest are just as simple. You don't need a separate file for every single letter of the alphabet. Instead, you can build the entire set in one document. All you need is a separator.
The md2card tool uses --- on a new line to tell it, "Okay, start a new card now."
This approach makes scaling your project ridiculously efficient. You can quickly mock up a few cards to see how they look and feel as a set.
Pro Tip: I always recommend making the first three or four cards (like A, B, and C) in a single file first. This lets you lock in a consistent visual style for your images and a uniform tone for the fun facts before you go all-in on building the full 26-card deck.
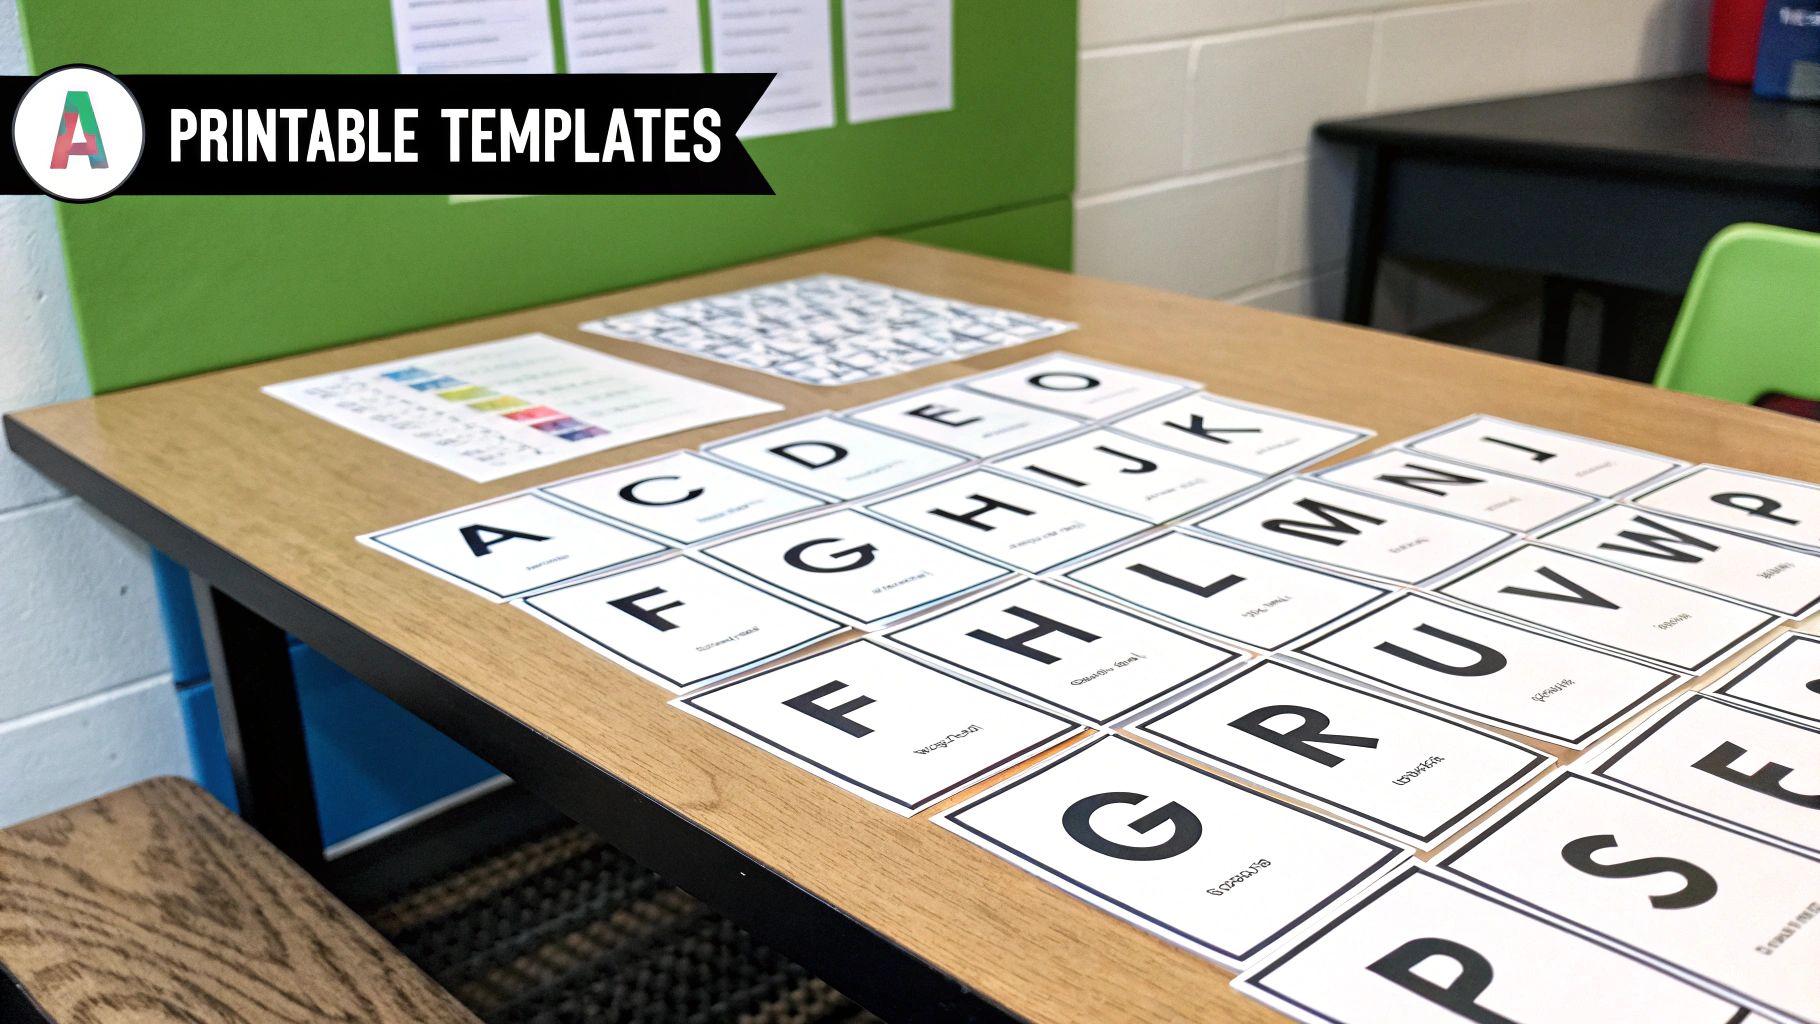
Here’s a quick look at what the first three letters of the alphabet might look like in your file:
A is for Alligator
Alligators can have up to 80 teeth!
B is for Bear
Bears can run up to 35 miles per hour.
C is for Cat
A cat's purr can be a sign of contentment.
With just that simple structure, you’ve laid the foundation for your entire set of custom flash cards. You can see how fast you can go from a simple idea to a complete, personalized learning resource for a little one in your life.
Adding Personalized and Creative Touches
Once you have the basic structure down, it's time to really make your animal alphabet flash cards shine. This is where you move beyond just letters and animals and add the creative details that will truly captivate your child. Don't worry, you don't need to be a coding wizard—simple Markdown formatting is all it takes.
You can easily make certain words pop right off the card. For instance, wrapping a word in double asterisks, like **roar**, makes it bold. It's perfect for highlighting action words or fun animal features. For a softer touch, single asterisks create italics, which works great for fun facts or little side notes you can read aloud.
Creating Two-Sided Cards
One of the best features of the md2card tool is its ability to create two-sided cards. This completely changes the game, opening up a ton of possibilities for interactive learning. You can have a front that's all about recognizing the letter and the animal, and a back that challenges them with a question or a surprising new fact.
The process couldn't be simpler. You already used --- to separate each card in your deck. To create a back side, you just use === to split a single card into a front and back. It's a tiny syntax change that adds a whole new dimension to your learning tool.
This two-sided approach is a game-changer for extending the life of your flash cards. A toddler might start with just the 'L is for Lion' side, but as they grow, you can introduce the back side, which might ask, 'What sound does a lion make?' or 'Where do lions live?'
This adaptability is what makes a custom set so valuable. You're not just making flash cards; you're creating a learning resource that grows right alongside your child.
Practical Customization Examples
Let's see this in action. Suppose you're working on the 'Z is for Zebra' card. You can make it much more dynamic than just a letter and a picture.
- Front of the Card: A big, clear 'Z is for Zebra' with a great image of a zebra.
- Back of the Card: A fun, thought-provoking question like, "Did you know every zebra has a unique pattern of stripes, just like a human fingerprint?"
The Markdown for that two-sided card would look something like this:
Z is for Zebra
=== Did you know every zebra has a unique pattern of stripes, just like a human fingerprint?
With just a little extra thought, you've transformed a simple letter card into a mini-lesson that sparks curiosity and conversation. It's these creative touches that ensure your homemade animal alphabet flash cards become a well-loved and effective tool for years to come.
From Digital Design to Durable Physical Cards
Alright, this is where the magic really happens—turning your digital creations into something your child can actually hold and learn from. It’s easily the most rewarding part of the process.
Inside the md2card tool, you can export your entire deck as a print-ready PDF. My advice? Pay close attention to the layout settings. Choosing an option like four cards per page is a smart move. It saves paper and makes the cutting process much less of a headache.
Just a quick heads-up: before you hit print, it's always a good idea to make sure your project aligns with the guidelines in the TNote Terms of Service.
When you're ready to print, the paper you choose makes all the difference in creating cards that can survive playtime.
Choose a Sturdy Cardstock
Seriously, don't use regular printer paper. For animal alphabet flash cards that will last, you need to go with a heavy cardstock. I personally recommend something like 100 lb. cover stock. It gives the cards that satisfying, professional feel and can stand up to the most enthusiastic little learners. A solid base is everything for a toy you want to last.
Laminate for Longevity
Want to make your cards practically indestructible? Lamination is your best friend. And you don't need a fancy, expensive machine, either. I've had great success with affordable self-adhesive laminating sheets. You just peel, stick, and trim the excess. It's that simple.
This final step is what really elevates your project. It protects your custom designs from the inevitable spills, sticky fingers, and constant handling. Your hard work pays off with a polished, durable set of cards ready for countless hours of fun.
It's amazing to think about the logistics behind these simple tools. The global demand is huge, and many OEM printers actually maintain 100% on-time delivery and incredibly fast response times to keep up. You can get a peek into the production of custom toddler flash cards and their supply chain efficiency if you're curious.
Answering Your Top Flash Card Questions
Even with a tool as straightforward as md2card, you're bound to have a few questions once you get started on your own animal alphabet flash cards. Let's walk through some of the most common ones I hear, so your project goes off without a hitch.
How Can I Make Homemade Cards Last?
This is probably the biggest question people have. Will my DIY cards survive a toddler? Absolutely, but it all comes down to the materials you choose. For a sturdy card that feels substantial and won't bend easily, I recommend using a heavy paper like 100 lb. cover stock.
But what about spills and sticky fingers? This is where lamination becomes your best friend. You don't need a fancy, expensive machine, either. Self-adhesive laminating sheets are a game-changer. They seal the cards perfectly, making them easy to wipe clean and extending their life for countless learning sessions.
Best Practices for Printing and Design
So, how should you print the cards to make cutting them out less of a headache? When you export your design from the md2card tool, choose a layout that puts multiple cards on a single page—four or six is usually perfect. This saves paper and gives you clean, straight lines to follow with your scissors or paper trimmer.
Another great question is how to tailor the cards for different age groups. This is where the magic of customization really comes in.
- For Toddlers: Keep it simple. A big, bold letter and a single, colorful animal image are all you need.
- For Preschoolers: Start adding a bit more complexity. Use the back of the card for a fun fact or a simple question like, "What sound does a lion make?"
- For Early Readers: Take it a step further by adding a few simple words that start with the same letter to help build their vocabulary.
The most important part of this whole process is to have fun with it. Seriously. Get your child involved. Let them help choose the animals or pick out the colors. That shared experience is what transforms a simple deck of cards into a cherished learning tool.
When they have a hand in creating them, they feel a sense of ownership you just can't get from a store-bought set.
Ready to bring your own creative ideas to life? With TNote, you can transform simple text into beautiful, printable learning cards in just a few clicks. Start creating your custom flash cards today at https://tnote.ai.