Adding text to your videos isn't just a nice-to-have; it's a powerful way to get your message across and boost engagement, especially when you realize that most videos on social media are watched without sound. It’s a simple trick, but it can make a huge difference in capturing attention in silent-play feeds, driving home key points, and getting viewers to take action.
Why Adding Text to Your Videos Matters
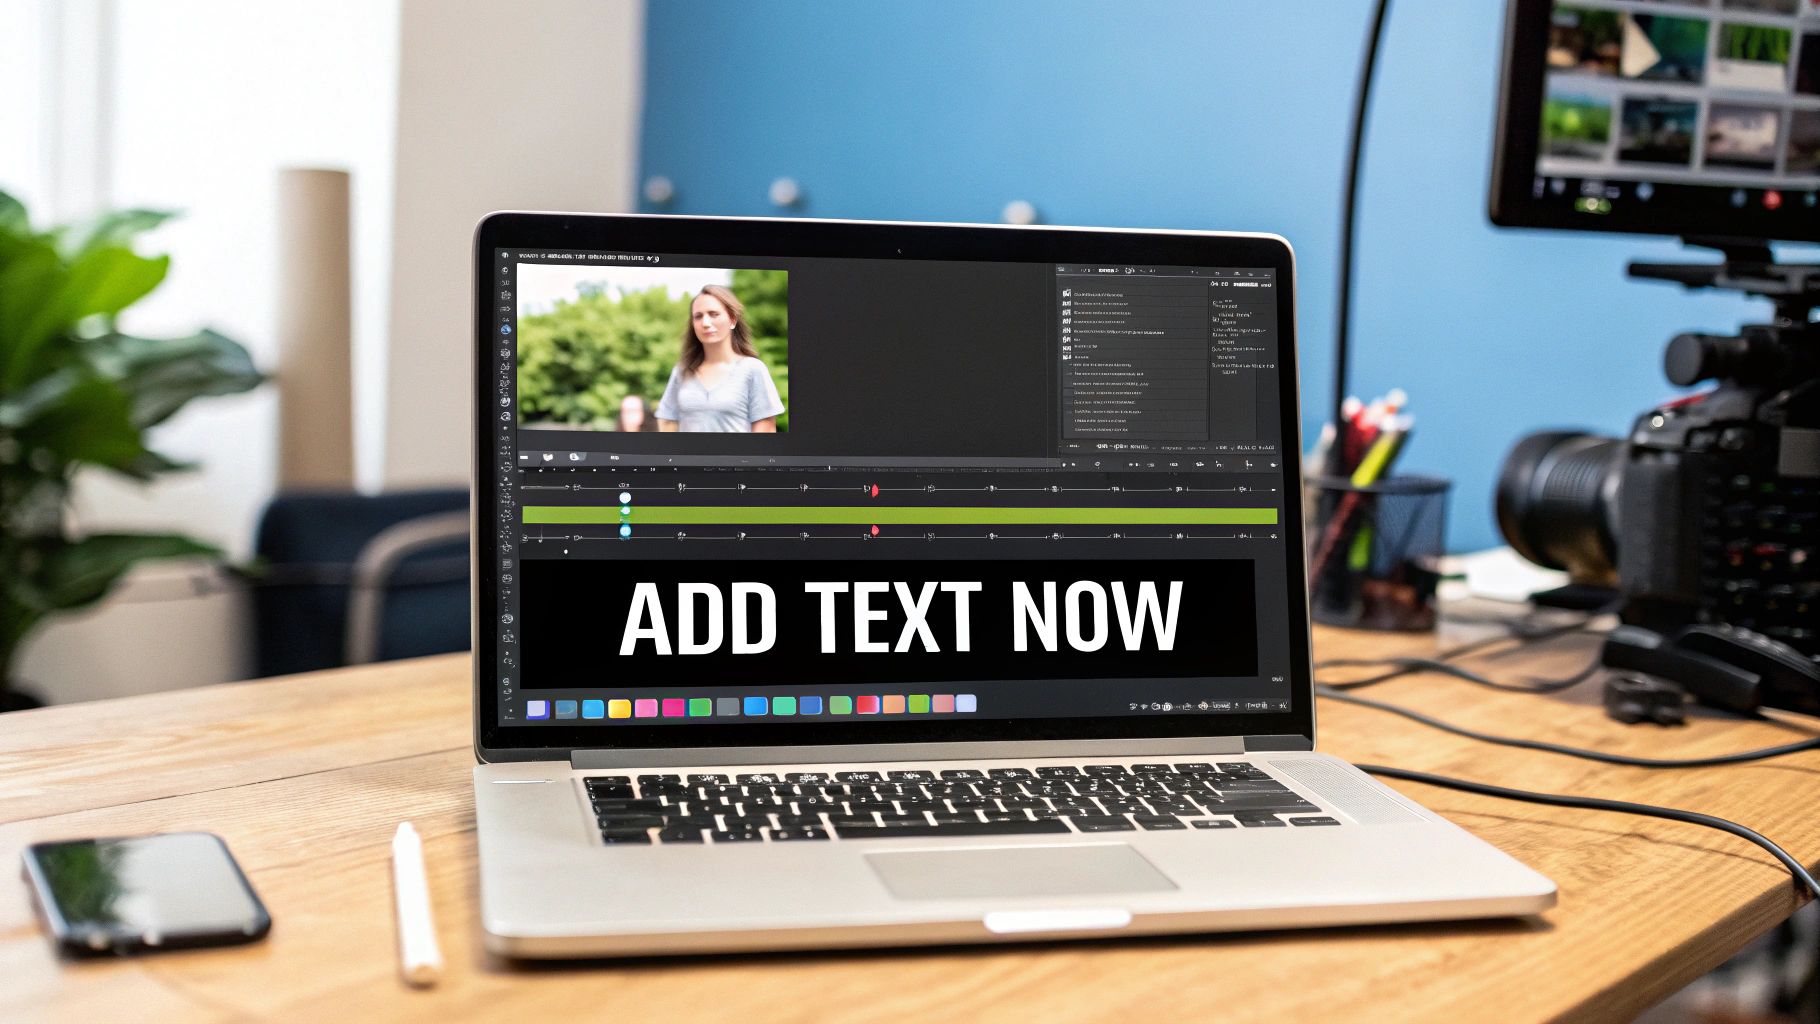
Let's be real—just posting a video isn't enough anymore. We live in a world overflowing with visual content. Your audience is scrolling through their feeds everywhere: in public, during meetings, or late at night when playing audio just isn't an option. Adding text to your videos is the bridge that closes that communication gap instantly.
And this goes way beyond just slapping on some subtitles. It’s a strategic move that can seriously improve your video's performance. By putting text right on the screen, you guarantee your main message lands even if the sound is off, which is absolutely critical for hooking viewers in those first few seconds.
Reinforce Your Core Message
Text works like a visual anchor, calling out the most important bits of information. Think about a cooking video where ingredients and measurements pop up on screen, or a product demo that labels key features as they show up. This technique locks in what the viewer is seeing, making the information stick.
Here are a few ways I’ve seen text make a real impact:
- Clarifying Key Points: Use text to highlight stats, names, or crucial steps that might otherwise get lost in the narration.
- Driving Action: A clear call to action like "Swipe Up" or "Shop Now" placed directly in the video is impossible to miss.
- Enhancing Brand Identity: Consistently using your brand’s fonts and colors in text overlays builds recognition and gives your content a polished, cohesive feel.
Boost Accessibility and Reach
Beyond just silent viewing, adding text opens up your content to a much wider audience, including people who are deaf or hard of hearing. It's also a huge help for non-native speakers, making it easier for them to follow along and expanding your video's global reach. This simple act of inclusion can build a more loyal and engaged community around your brand.
The bottom line is that video is quickly becoming the main way people get their information online. Text overlays aren't an accessory anymore; they are a fundamental part of an effective video strategy.
This trend is only picking up steam. By 2025, video is expected to make up a staggering 82% of all online content, with short-form videos leading the way. In these quick, bite-sized formats, text is non-negotiable for grabbing and holding on to viewer attention. If you're curious, you can learn more about this surge in video content and what it means for creators.
Choosing the Right Tool for the Job
Picking the right software to add text to a video can feel like a huge decision, but it really just comes down to your project, your skill level, and how much time you have. You don't need a beast of a program like After Effects for a quick social media clip, just like a simple phone app won't cut it for a polished corporate video. The secret is simply matching the tool to the task.
I always think of it like choosing a vehicle. You wouldn't try to haul a couch in a sports car, and you wouldn't take a moving truck for a quick trip to the grocery store. Every tool has its purpose, and grabbing the right one makes the whole process way less of a headache. Let's break down the main options to help you find your fit.
Comparison of Video Text Editing Tools
To give you a bird's-eye view, I've put together a quick comparison of the different types of tools available. Think of this as a starting point to narrow down what makes the most sense for your specific needs, whether you're editing on the go or sitting down for a major project.
| Tool Category | Example Tools | Best For | Key Text Features |
|---|---|---|---|
| Mobile Apps | CapCut, InShot | On-the-fly social media content (Reels, TikToks) | Quick text overlays, basic animations, simple font choices. |
| Web-Based Platforms | Canva, Kapwing | Marketers, small business owners, consistent branded content | Professionally designed templates, drag-and-drop ease, large font libraries. |
| Professional Software | Adobe Premiere Pro, DaVinci Resolve | Filmmakers, video professionals, high-end commercial work | Advanced keyframing, motion tracking, precise typographic control. |
Each category serves a different master. Mobile apps are for speed, web-based editors are for efficient branding, and professional software is for when you need to control every last detail.
Mobile Apps for Speed and Convenience
For anyone creating content on the move, mobile apps are a lifesaver. Tools like CapCut are literally designed for quick edits right on your phone, making them a go-to for TikTok, Instagram Reels, or YouTube Shorts. Their interfaces are super intuitive because they’re built for touchscreens and simplified timelines.
The biggest win here is pure speed. You can shoot, edit, and post a video with text overlays in just a few minutes, all from a single device. Of course, that convenience comes with trade-offs. You'll find you have less granular control over exact text placement, advanced animations, and font selection compared to what you can do on a desktop.
Best for:
- Social media managers who are churning out content daily.
- Vloggers who need to edit and upload while traveling.
- Anyone needing to add text to videos fast for a casual project.
Web-Based Platforms for Simplicity and Templates
Online video editors like Canva hit a real sweet spot, bridging the gap between mobile simplicity and the beastly complexity of pro software. They run right in your browser, so there's nothing to install, and they’re often loaded with professionally designed text templates. Honestly, that's their killer feature—you can get a polished look without any real design skills.
These platforms are perfect for marketing pros or small business owners who need to create branded video content without a huge learning curve. For instance, you can whip up a slick promotional video by just dragging your footage into a template and tweaking the text. The main downside is the reliance on a good internet connection and potentially slower rendering for longer, high-res videos.
My personal take: Web-based editors are the undisputed workhorses for consistent, template-driven content. If you need to produce stylish videos on a regular basis without a steep learning curve, this is your best bet.
For a deeper dive into how a simple change can make your content more engaging, check out how TNote can transform your documents into stunning visual knowledge cards.
Professional Software for Ultimate Creative Control
When you absolutely need total command over every single pixel, professional-grade software like Adobe Premiere Pro or DaVinci Resolve is the only way to go. These are the industry-standard tools used to create everything from feature films to high-end commercials. They offer unmatched control over text animation, motion tracking, and fine-tuned typography.
With these programs, you can make text follow a moving object in the frame, build out complex title sequences with keyframes, and obsess over every detail from kerning to opacity. This level of power, however, demands a serious time investment to learn and usually comes with a subscription fee. It’s the right choice only when the quality of your video text is non-negotiable and you have a specific creative vision you can't compromise on.
Alright, let's ditch the theory and get our hands dirty. The best way to really get a feel for adding text to a video is to just do it. We'll walk through a real-world example using the kind of easy-to-use mobile and web apps you probably already have access to, without getting lost in overly complicated software.
Imagine you're whipping up a quick promo video for a local coffee shop. The mission is simple: showcase their amazing latte art and let everyone know they serve specialty coffee every day. This is the perfect kind of project for a fast, intuitive app.
A Practical Guide to Mobile Video Editing
For editing on the fly, a mobile app like CapCut is a fantastic pick. I use it all the time for quick social clips because the whole process is built for speed.
First, you'll import your video clip—let's say it's that gorgeous slow-motion shot of milk being poured into espresso. Next up is adding your message. Just tap the 'Text' tool and type something clear and direct, like "Specialty Coffee, Daily."
Now for the fun part: making it look good. You can scroll through a massive library of fonts to find one that fits the coffee shop's cozy, artisanal vibe. Maybe a clean, modern sans-serif or something with a bit more of a rustic, serif feel.
Once you’ve picked a font, readability is everything. You'll want to adjust the size so it’s easy to read but doesn't completely cover up that beautiful latte art. A good trick I often use is to set the text color to a soft white and add a subtle drop shadow. This makes it pop against almost any background, especially a dark coffee.
Finally, timing is crucial. On the mobile timeline, you can just drag the text layer so it appears right at the moment the latte art is complete. This little touch creates a super satisfying visual payoff and drives the message home when the viewer's attention is at its peak. The best part? You can do all of this in just a few minutes, right from your phone.
Leveraging Web Apps for Polished Results
While mobile apps are champions of speed, web-based tools like Canva are my go-to for creating polished, template-driven designs with almost zero fuss. They're perfect when you need your content to look consistently on-brand.
Canva's video editor streamlines the whole process by giving you a huge library of pre-designed text animations and styles. Instead of building effects from the ground up, you can just browse through templates that match your video's mood—from elegant fades to punchy, dynamic text that really grabs your attention. It's a massive time-saver.
You can see in the screenshot below how user-friendly Canva's editor is. You've got the drag-and-drop timeline at the bottom and the whole library of templates and text options right there in the side panel.
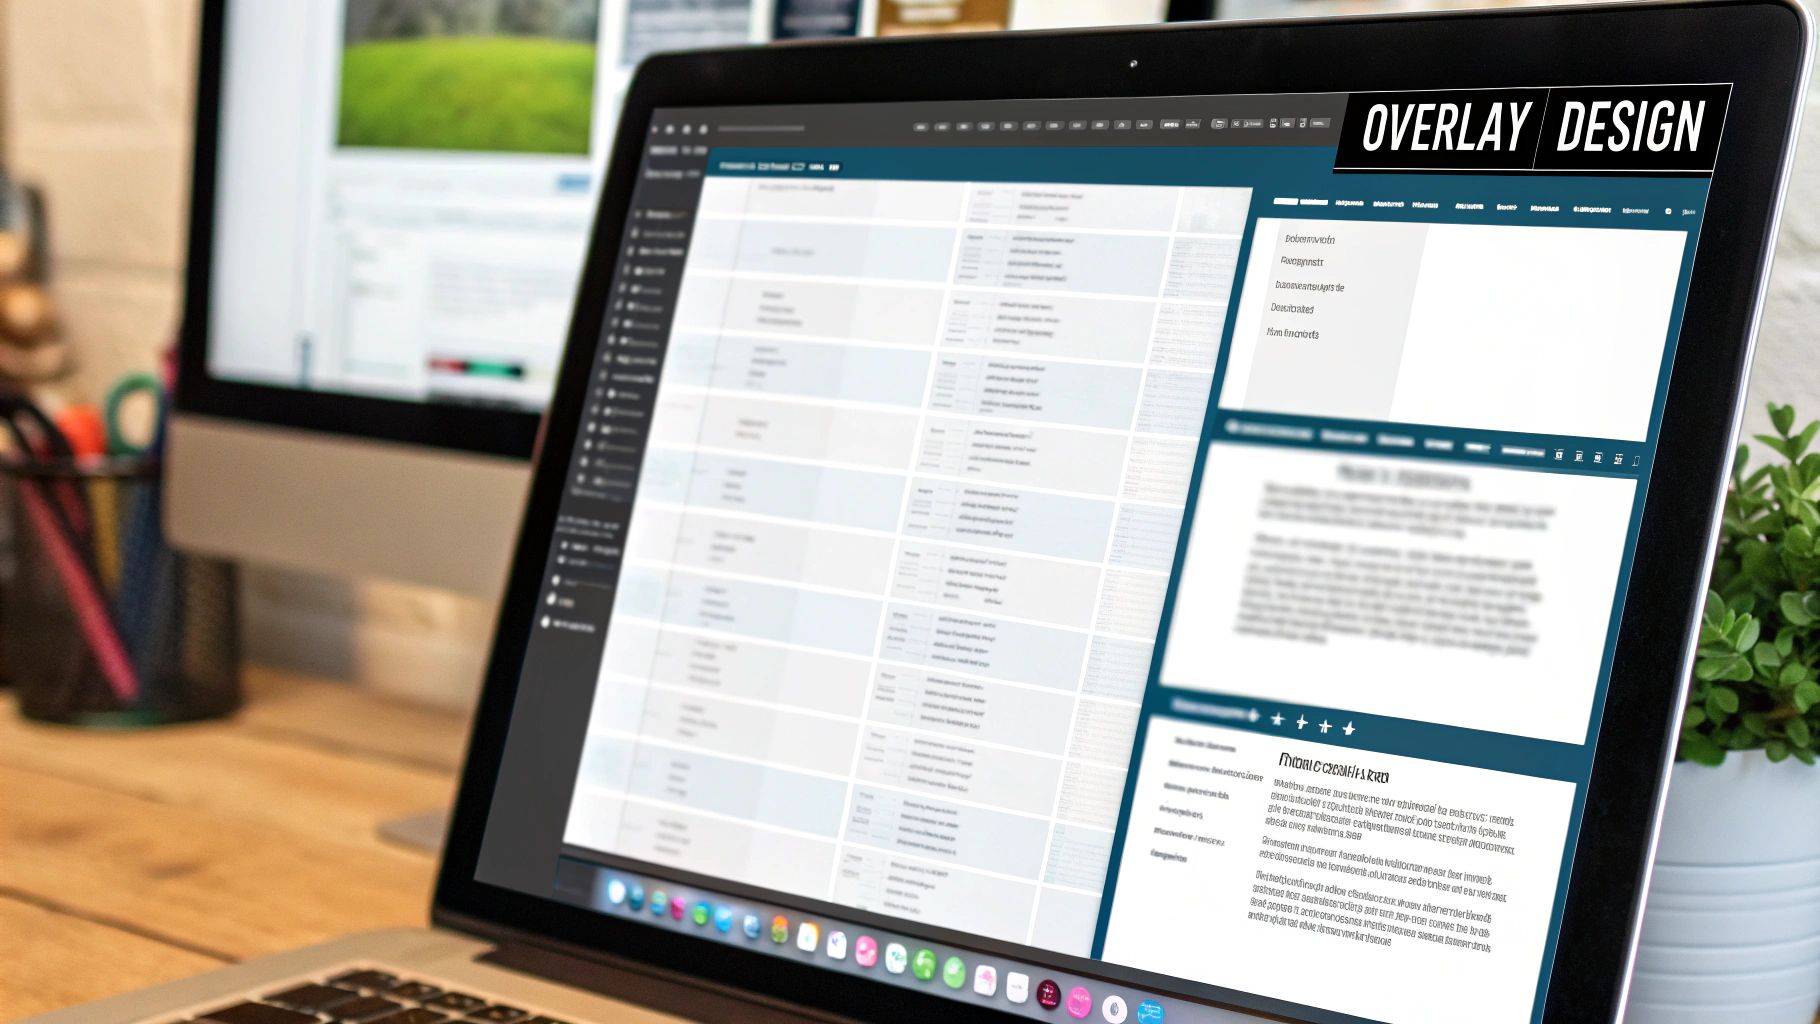
This setup is ideal for anyone who isn't a professional designer but still wants to churn out high-quality, engaging video content without a steep learning curve.
The real magic of web-based editors is how they eliminate creative hurdles. You can achieve a professional look that would otherwise take serious design skills and a lot of time in more complex software.
By using these templates, you can quickly add text to videos that looks like a pro made it. Just apply your coffee shop’s brand colors and fonts to the animations, and you'll ensure every video you create feels cohesive and strengthens your brand identity.
Whether you're using a mobile app for speed or a web app for style, these tools have made quality video text editing something anyone can do.
Mastering Advanced Text Techniques
 Once you've got the basics down, it’s time to give your videos that polished, professional edge. This is where you jump into the advanced text tools found in software like Adobe Premiere Pro and DaVinci Resolve. We're moving beyond static words on a screen and turning them into dynamic elements that help tell your story.
Sure, a simple text overlay can get the point across. But animated text? That’s what grabs—and holds—attention. The secret ingredient here is keyframes. Think of them as tiny markers on your editing timeline that tell the software exactly when to start and stop an action. With keyframes, you can make your text move, resize, or fade with absolute precision.
Creating Dynamic Text with Keyframes
Let's say you want a title to slide smoothly into view. Easy. You’d set a keyframe at the start of the animation with the text positioned just off-screen. Then, you move the playhead a few frames down the timeline and set a second keyframe, this time with the text right where you want it. The software handles the rest, creating a fluid motion between those two points.
Here are a few classic keyframe animations I use all the time:
- Scale Up: Making text grow larger is perfect for emphasizing a powerful statement or a big product reveal.
- Fade In/Out: A gradual increase or decrease in opacity creates a subtle, elegant transition. It's less jarring than a hard cut.
- Slide In: You can have text enter the frame from any direction—top, bottom, left, or right—for a clean, modern effect.
This technique is the bedrock of professional motion graphics. It gives you the power to direct your viewer's eyes exactly where you want them to go.
My biggest piece of advice is to use keyframe animations with intention. A sudden scale-up can add a punchy, energetic feel to a reveal, while a slow, gentle fade sets a more reflective mood. The goal is to enhance the story you’re telling, not just to add movement for the sake of it.
Tracking Text to Moving Objects
Ready for one of the most impressive advanced techniques? Let's talk about motion tracking. This is how you "attach" text to a moving object within your video footage. You could have a person’s name follow them as they walk across the screen, or maybe make a label stick to a product while it's being demonstrated.
Professional editors like Premiere Pro and DaVinci Resolve have powerful, built-in motion trackers. These tools analyze the footage, create a motion path, and then apply that path to your text layer automatically. The result is a seamless effect that makes your text feel like a natural part of the scene. It's a fantastic way to add text to videos for a polished, high-end finish.
Saving Time with Custom Presets
Once you've dialed in a text style you love—with the perfect font, color, and animation—you don't want to recreate it from scratch every single time. A huge time-saver in professional software is the ability to save these styles as presets. This means you can save your branded font, size, color palette, and even complex animation settings as a reusable template.
This level of detail is becoming more and more critical. The video annotation service market, which revolves around adding specialized text and labels, was valued at about USD 0.17 billion in 2024 and is expected to climb to USD 0.39 billion by 2033. This growth shows just how important well-executed text has become. You can read more about these video annotation market trends to see where the industry is heading.
By building a library of your own presets, you guarantee brand consistency across all your video projects and drastically cut down your editing time. This frees you up to focus on what really matters: the creative side of your edit.
Effective Design for Readable Video Text
Putting text on a video is one thing, but making sure people can actually read it is what separates the pros from the beginners. It's not just about what your text says, but how it looks. The real goal is to get your message across effortlessly, without pulling focus from the actual video content.
I’ve spent countless hours editing, and I can tell you the biggest headache is always legibility. A clean line of text might look fantastic against a simple background in one frame, but then it completely vanishes when the scene changes. That’s when you need a few design tricks up your sleeve.
Making Text Pop Against Any Background
To make your text stand out, you have to create a visual cushion between the letters and the video. Think of it as giving your words their own little stage.
Here are the techniques I always come back to:
- Drop Shadows: A soft, subtle shadow is often all it takes. It adds just enough depth to lift the text off the background, giving it a clean, professional feel.
- Outlines (Strokes): A thin black or white outline around your letters creates a crisp edge. This is a lifesaver when your text needs to be clear against a background with lots of different colors and textures.
- Solid Backdrops: For maximum readability, nothing beats a semi-transparent box or shape behind the text. This guarantees your message gets through, no matter how chaotic the video gets.
The key is to experiment. Sometimes a light drop shadow is all you need, but for that critical piece of information, a solid backdrop is the only way to go.
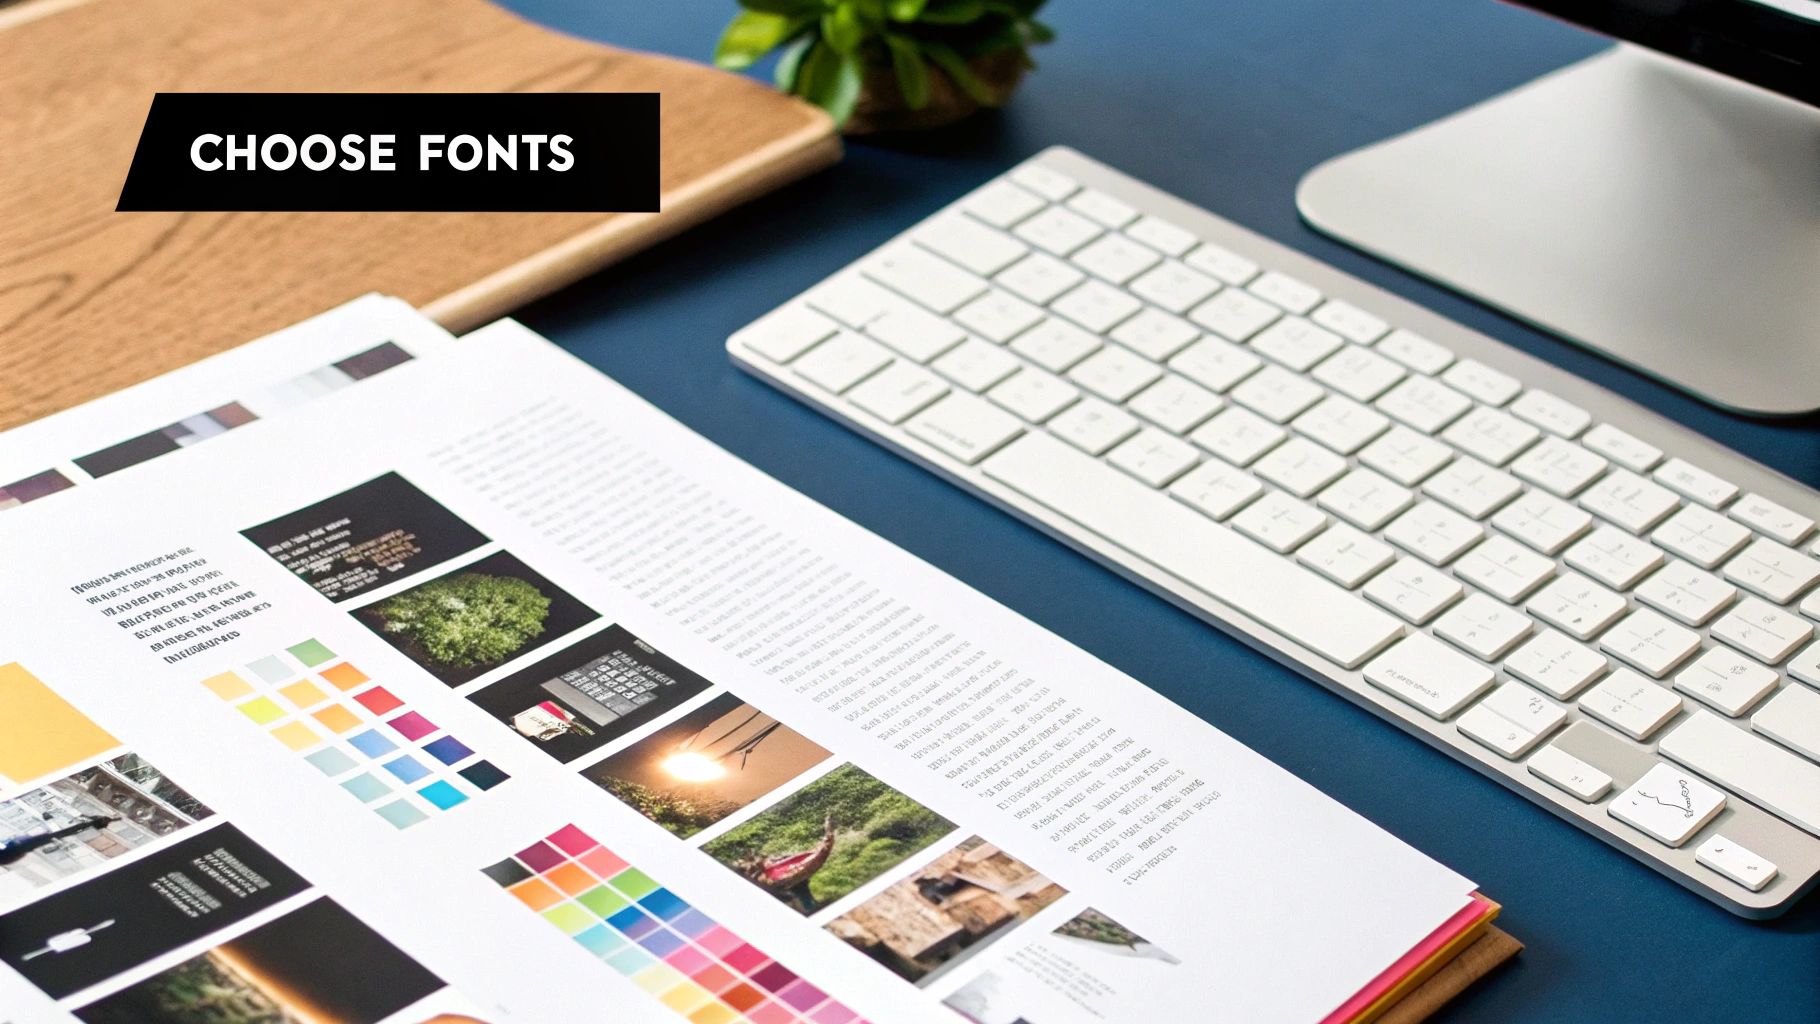
Choosing Fonts and Placing Text
The font you pick does more than just spell out words; it sets the entire mood. A clean, modern sans-serif like Montserrat or Roboto feels authoritative and clear, making it perfect for a corporate video or a tech tutorial. On the other hand, a warmer script font can give a travel vlog or personal story a more intimate feel.
But a great font is useless if it’s in the wrong place. Always keep your text within the title-safe zones—this is the area of the screen where text won't get chopped off on different TVs or mobile devices. As a general rule, just keep your text away from the absolute edges of the frame.
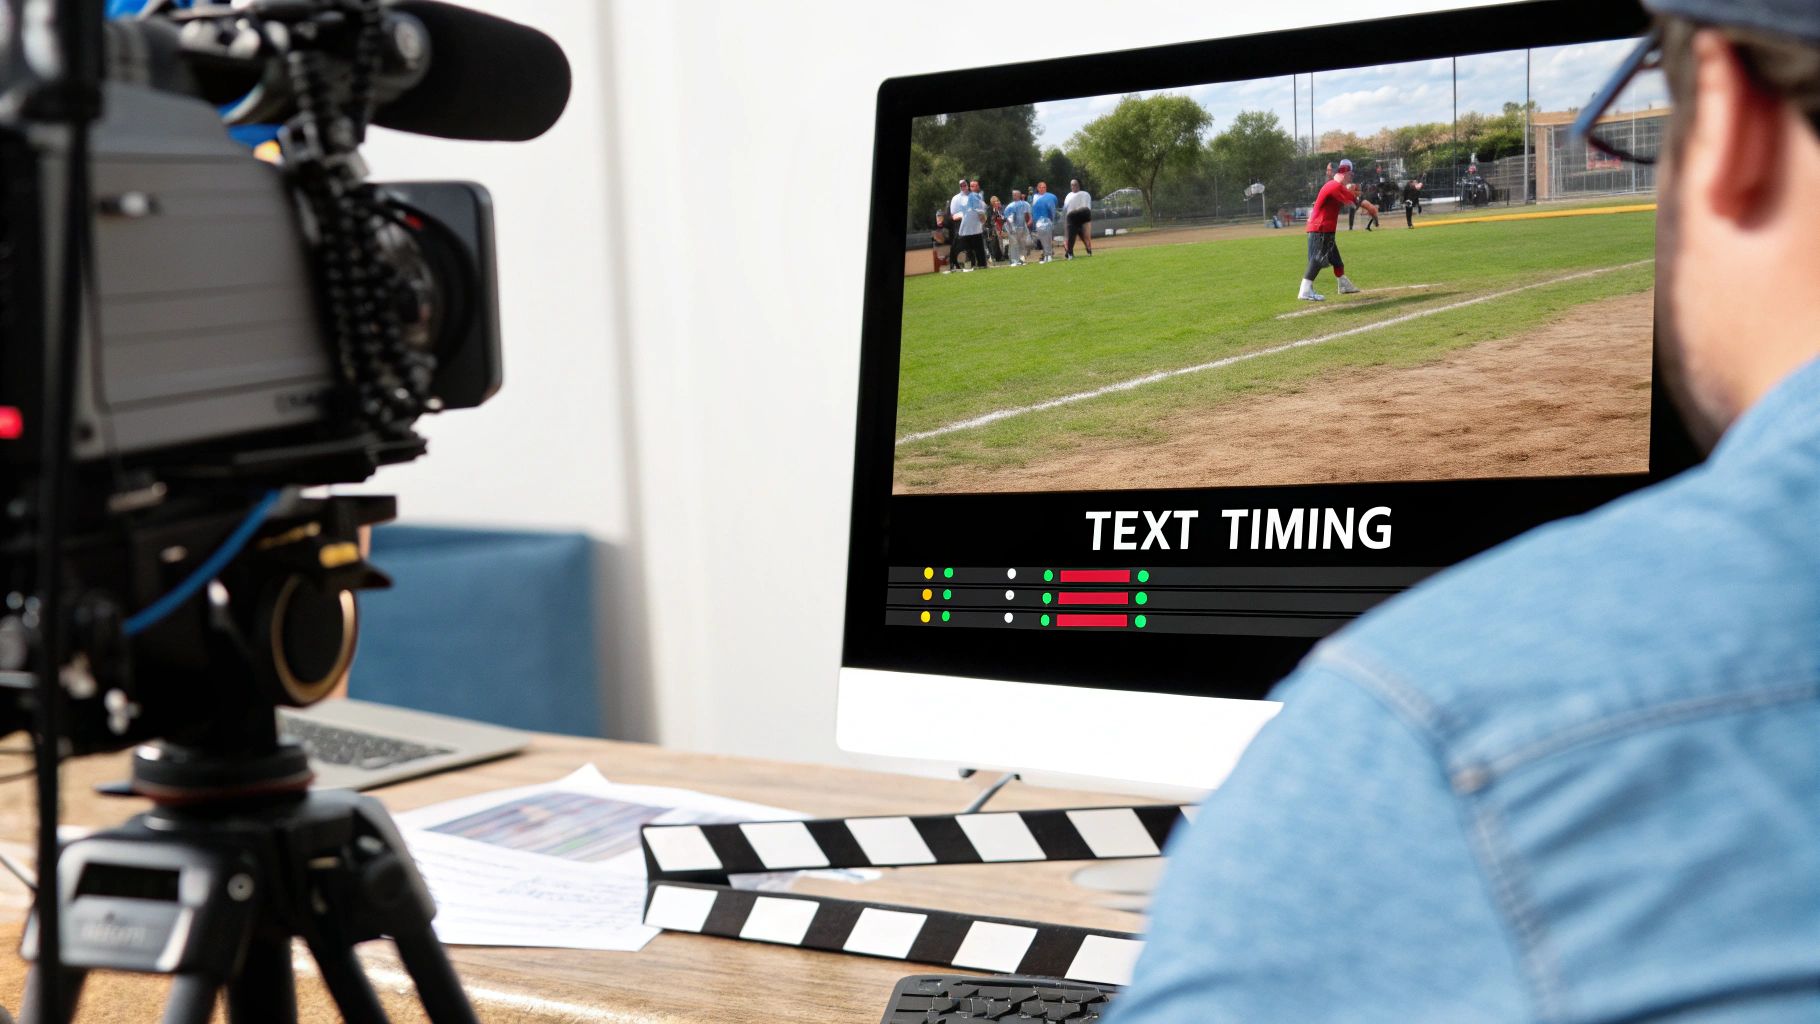
Timing is all about rhythm. Your text should sync up with the video’s pace, popping up to reinforce what's being said or shown. When text appears at the exact moment a speaker makes a point, the impact is so much stronger.
Professionals obsess over these details—font choice, contrast, timing, and placement—to ensure that when you add text to videos, it's not just there, it's effective. Clean fonts with high contrast make things readable, while syncing text with the audio helps people remember your message.
You can dive deeper into these pro techniques and learn how to superimpose text on videos by reading this comprehensive guide.
Common Questions About Adding Text to Videos
Even with the best tools in hand, you're bound to hit a few snags when adding text to your videos. I've seen these same questions pop up time and time again, from first-time creators to seasoned pros.
Getting clear on these common issues will save you a ton of frustration and help you build a smoother editing workflow. Let's tackle them head-on so your final cut always looks clean and professional.
What Is the Best Font for Video Text?
When it comes to video, legibility is king. There's no single "best" font, but you can't go wrong with clean, sans-serif options like Helvetica, Montserrat, and Roboto. They’re popular for a reason—they are incredibly easy to read on any screen, big or small. They don't have the extra decorative strokes (serifs) that can cause letters to blur together, especially at lower resolutions.
From my own experience, I'd strongly suggest you steer clear of overly thin or complex decorative fonts. They might look slick on your big editing monitor, but they often turn into an unreadable mess on a phone screen, which is where a huge chunk of your audience will be watching.
How Do I Make Text Readable on a Busy Background?
This is easily one of the most frequent (and frustrating) challenges I see. When your background has a lot of movement, color, or texture, text can just vanish into it. The good news is the fixes are simple but incredibly effective.
Here are a few of my go-to techniques:
- Add a subtle drop shadow. This is my first move. It gently lifts the text off the background, giving it just enough depth to pop.
- Use a thin outline (stroke). A simple stroke in a contrasting color, like a crisp white or black, creates a clean definition around each letter.
- Place a semi-transparent shape behind the text. A dark rectangle with its opacity lowered to around 50-70% creates a clean, solid surface for your text without completely blocking the video behind it.
- Apply a slight blur to the video. This is a more advanced trick. You can isolate the area of the video directly behind your text and apply a gentle blur, which immediately makes the text the center of focus.
A quick tip: use animation with purpose. It's easy to get carried away, but overdoing it can look amateurish and distract from your message. Subtle motion should always enhance your point, not overpower it.
Should I Use Animated or Static Text?
The right choice here depends entirely on your goal for that specific piece of text.
Static text is your workhorse. It’s perfect for subtitles or simple, informational labels where clarity is the absolute priority. You just want the viewer to get the information without any fuss.
Animated text, on the other hand, is your showstopper. It’s fantastic for grabbing attention in an intro, making a key point hit harder, or highlighting a call to action. Imagine a price or a special offer sliding into the frame—that dynamic punch is something a static title just can't deliver.
How Can I Automatically Add Subtitles to a Video?
Manually transcribing a video is a massive time sink. Thankfully, we don't have to do it anymore.
Most modern video editors now have a built-in auto-captioning feature. From mobile apps like CapCut to professional software like Adobe Premiere Pro, these tools use AI to listen to your audio and generate time-coded subtitles for you.
But a word of caution: the AI isn't perfect. I always recommend doing a final proofread. You'll want to scan for any weird wording, punctuation errors, or timing issues before you export the final video. That quick five-minute check ensures your subtitles are accurate and look professional.
Ready to make your own content more engaging? With TNote, you can transform your notes, paragraphs, and Markdown into beautiful, shareable cards perfect for social media. It's the easiest way to make your ideas visually impactful. Try TNote for free and see the magic for yourself!