Blurring a photo isn't just a filter you slap on; it's one of the most versatile tools in your creative arsenal. It can guide a viewer's eye exactly where you want it, give an image that polished, professional feel, or simply keep sensitive information private.
You can get the job done with powerful desktop software like Adobe Photoshop for ultimate control, a handy mobile app like Snapseed for quick edits on the move, or a user-friendly online tool like Canva for fast, browser-based results.
Why and When to Add Blur to Your Photos
Think of blur as more than just a way to hide things. It's a fundamental technique, both artistically and practically, that every photographer should have in their back pocket.
For Creative Impact
Creatively, blur is the secret sauce behind those incredible portraits where the person is perfectly sharp, but the background dissolves into a soft, dreamy wash. This effect, called bokeh, is what high-end professional lenses are famous for. It creates a beautiful sense of depth and makes your subject pop by isolating them from a cluttered or distracting background.
But it’s not just for portraits. Blur can breathe life and energy into a scene that might otherwise feel flat. Applying a motion blur to a parked car can suddenly make it look like it's speeding down the road. A radial blur, on the other hand, can pull the viewer's attention right to the center of the frame, adding a touch of drama. It's a powerful storytelling device.
For Practical Reasons
From a purely practical standpoint, you'll often find yourself needing to blur a photo for privacy or clarity. It's an essential tool for everyday situations, like when you need to:
Obscure the faces of people who didn't give you permission to share their picture.
Hide sensitive information in a screenshot, such as license plates, street signs, or credit card details.
Clean up a busy scene by softening distracting elements in the background, like a messy room or a crowded street.
With over 75% of smartphone users regularly using photo editing apps, blur effects have become one of the top three most-used adjustments, right alongside brightness and contrast.
This boom in popularity is directly linked to how we all take and share photos now. The ability to easily add blur has become a standard feature because people want to recreate that professional depth-of-field look without needing expensive camera gear. If you're curious about the deeper history of these techniques, there's a great resource on the history of photography.
Knowing why you're adding blur is the first step. It helps you pick the right tool and the right technique for the job, whether you're aiming for a stunning piece of art or just trying to protect someone's privacy.
To make that choice a little easier, here's a quick breakdown of the main types of tools available.
Which Blurring Tool Is Right for You?
Tool Type | Best For | Skill Level | Key Advantage |
|---|---|---|---|
Desktop Software | Complex edits, maximum control, and professional results. | Intermediate to Advanced | Unmatched precision and a huge range of blur effects. |
Mobile Apps | Quick, on-the-go edits and social media posts. | Beginner to Intermediate | Convenience and speed right on your phone. |
Online Tools | Simple, fast blurring without installing any software. | Beginner | Accessibility from any device with an internet connection. |
Ultimately, the "best" tool really depends on your specific needs and what you're trying to accomplish with your photo.
Using Desktop Software for Professional Results
When you’re after absolute precision and the highest quality, nothing beats dedicated desktop software. This is the realm of industry-standard tools like Adobe Photoshop and its powerful free alternative, GIMP. These programs give you a level of granular control that you just can't get from a mobile app or a quick online editor. We're not just slapping on a filter here; we're intentionally crafting a professional look.
Let's dive into a classic scenario: you want to make the subject of a portrait pop by creating a beautiful, soft background, mimicking the depth-of-field effect you’d get from an expensive camera lens. The trick isn't just blurring the background, but doing it in a way that’s both selective and reversible.
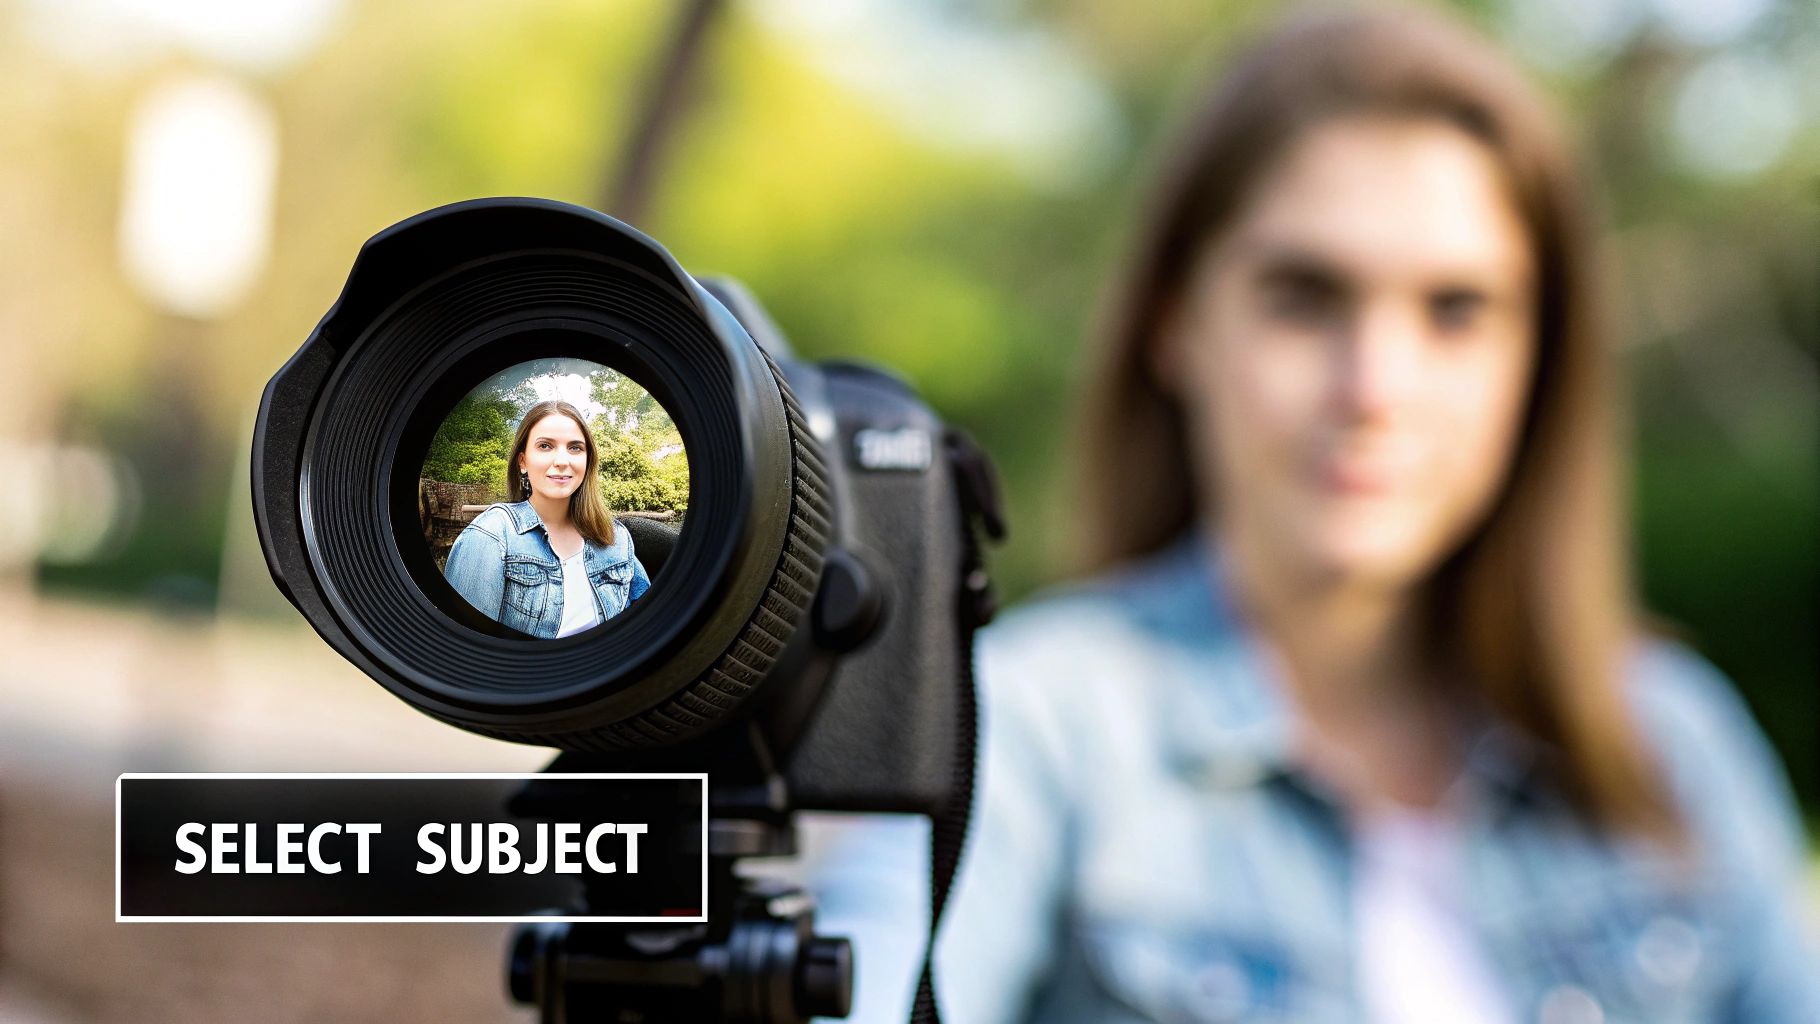
Mastering Selections and Masks
Any pro will tell you that a great edit starts with a great selection. In Photoshop, this has become incredibly easy. Tools like Select Subject use smart AI to do the heavy lifting, often perfectly isolating a person from their background with a single click. If you're working with a trickier image, you can always fall back on the Quick Selection Tool or, for ultimate control, the Pen Tool.
Once your subject is neatly selected, the next move is to invert that selection. This little step flips the script, telling Photoshop you want to work on everything except your subject—the background.
Now, instead of just hitting the background with a permanent blur, we’ll use a layer mask. This is a non-destructive technique that’s an absolute game-changer. It means you can apply effects that you can tweak, dial back, or even remove entirely later on without ever altering your original photo.
Pro Tip: Always feather your selection's edge. A subtle feather of 1-3 pixels will soften the line between your sharp subject and the blurred background. This tiny adjustment is what prevents that fake, "cut-out" look and makes the final image feel much more authentic.
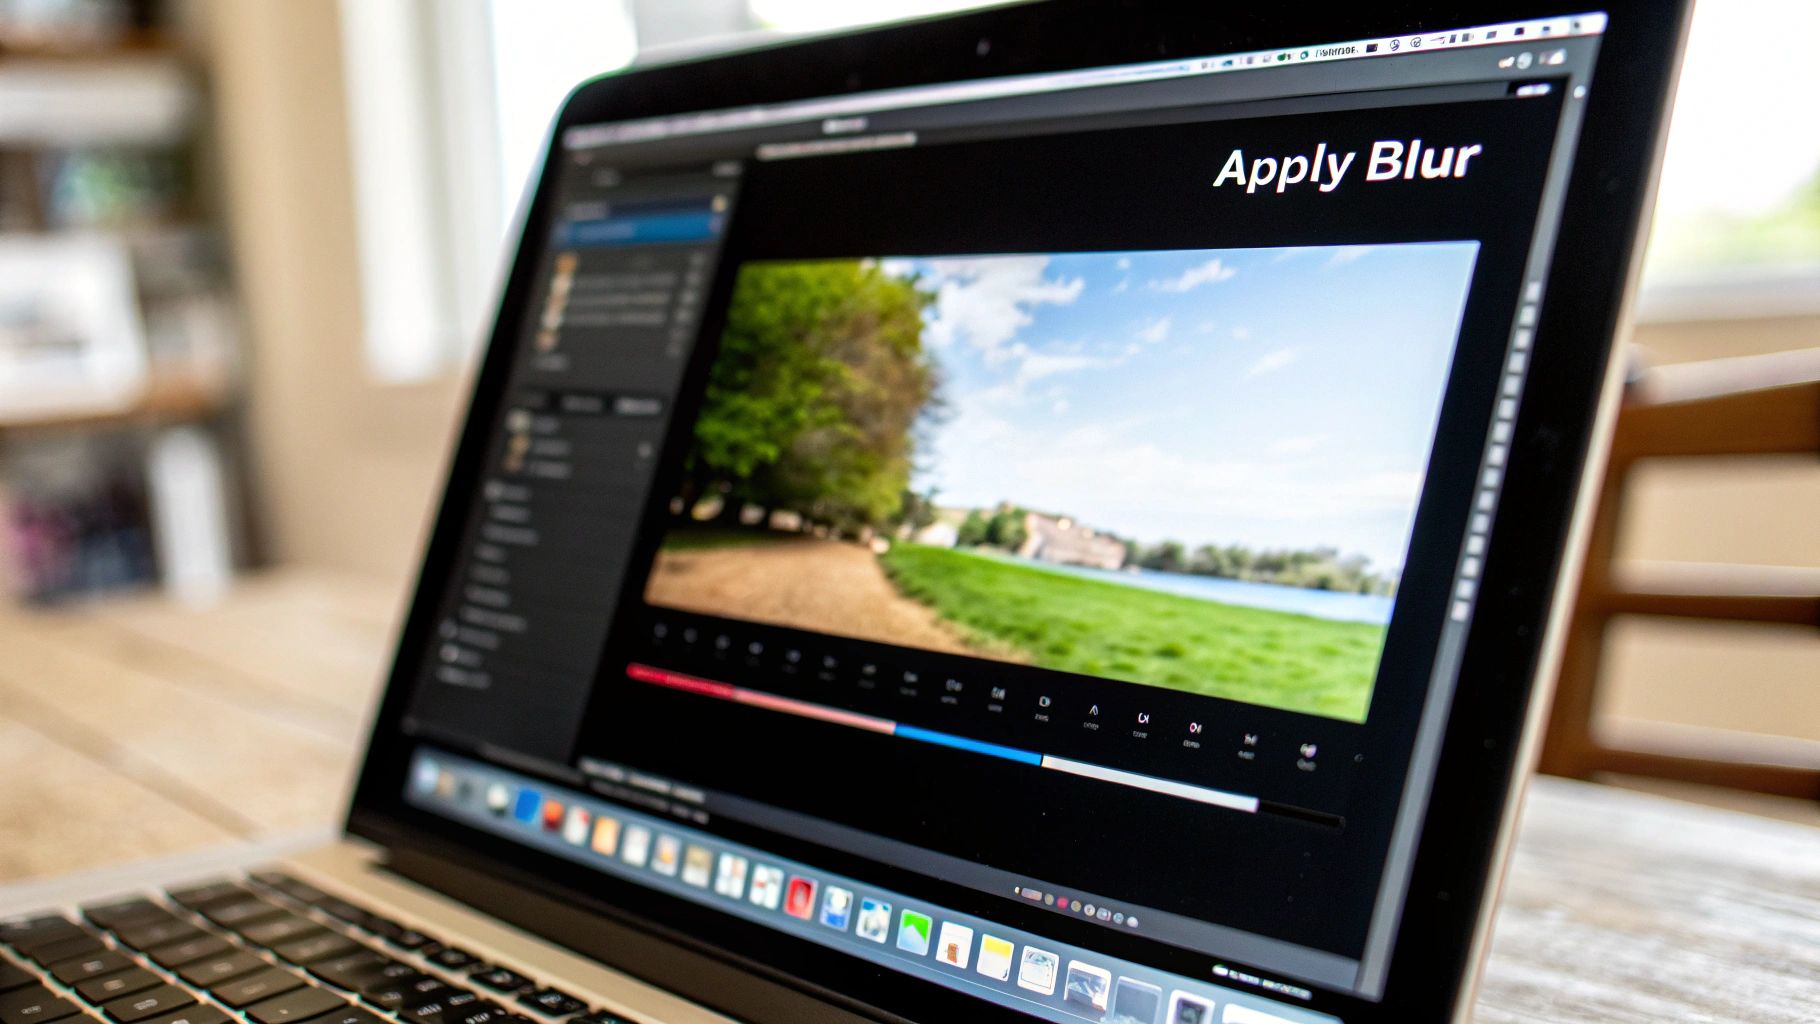
Here’s a quick look at the modern Photoshop workspace, where all these powerful tools are at your fingertips.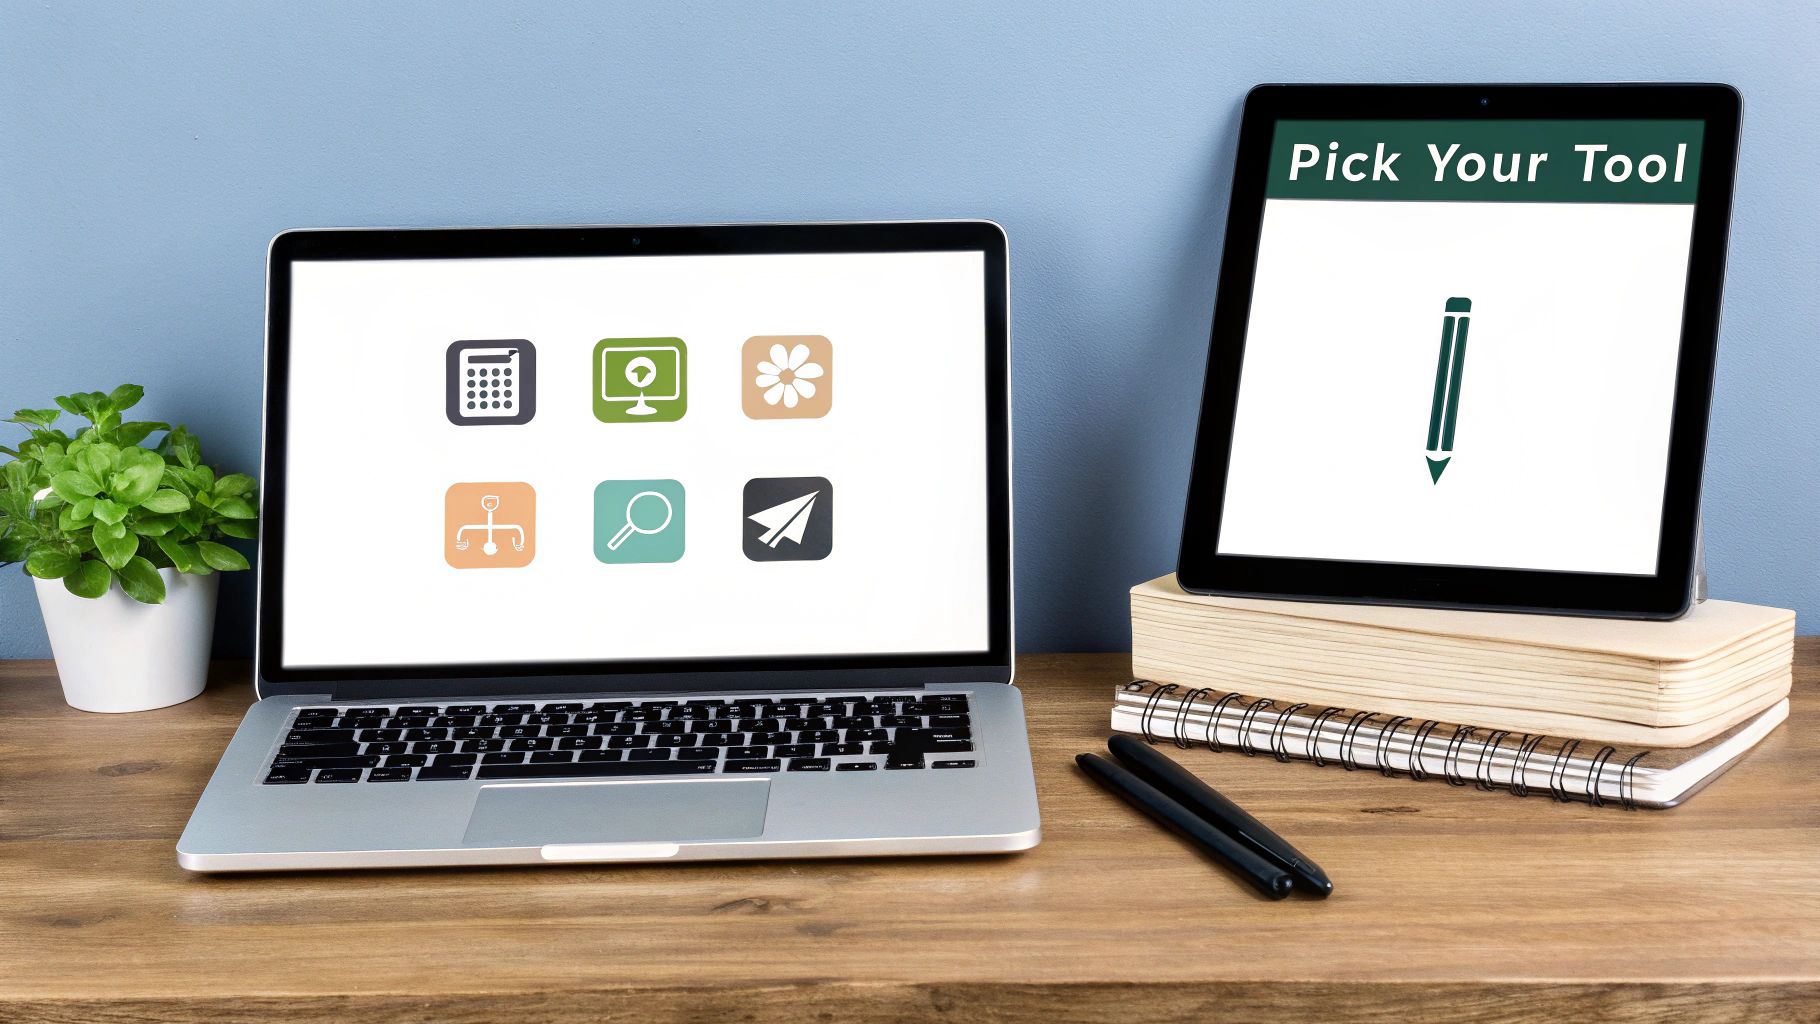
The layout is built for efficiency, placing AI-driven features like Generative Remove and Lens Blur right where you need them.
Choosing the Right Blur Effect
Now for the fun part. With your background isolated by the layer mask, it’s time to apply the blur. A simple Gaussian Blur will get the job done, but if you want to create a truly believable depth-of-field effect, the Lens Blur filter is almost always the better choice.
So, why is Lens Blur my go-to?
It mimics real camera optics, even letting you control the shape of the bokeh (those pleasing out-of-focus highlights).
You get detailed adjustments like radius, blade curvature, and rotation to really dial in the exact look you're going for.
The falloff is smoother and more gradual, which looks far more photographic and less digital than other blur types.
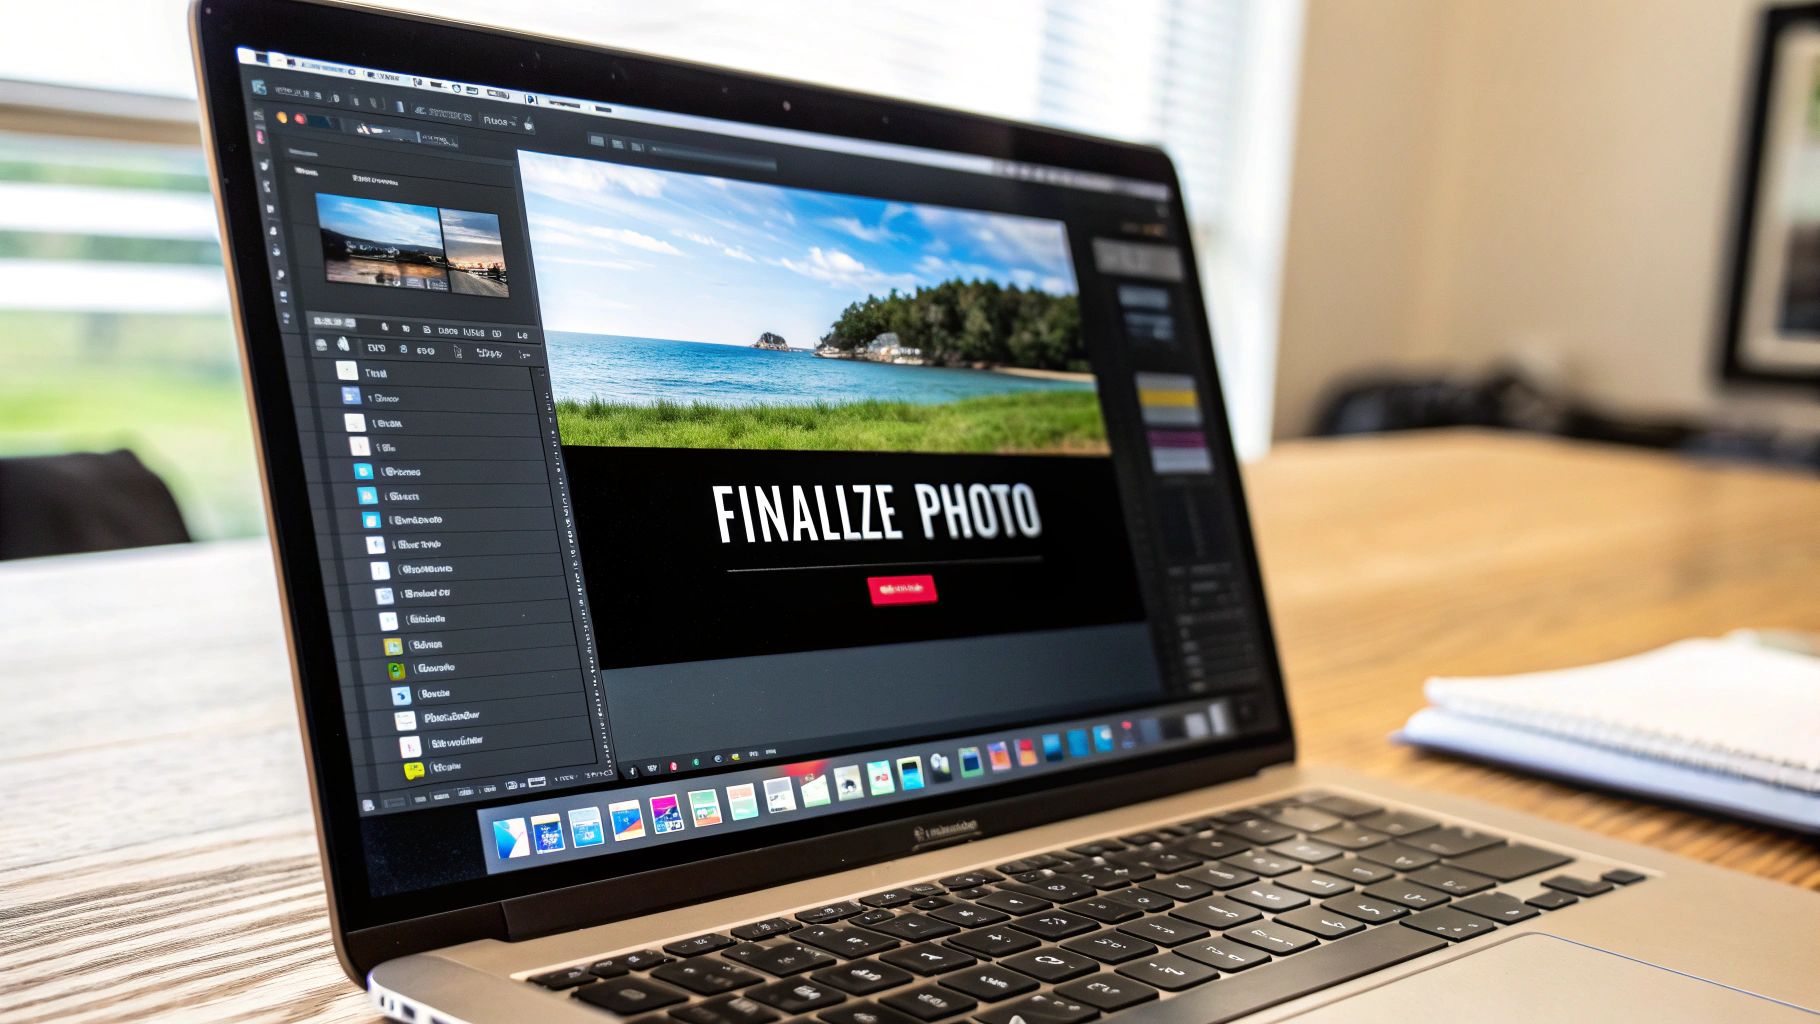
This is the kind of detail that separates an amateur edit from a professional one. It’s what lets you convincingly add blur to a photo and elevate it into something genuinely stunning. Once you've perfected your image, you can easily drop it into a tool like TNote to create a beautiful, shareable card for social media or your portfolio.
Adding Blur on Your Phone with Mobile Apps
You don't need a beast of a computer to get a professional-looking blur effect on your photos. In fact, the smartphone right in your pocket is often all you need, especially with powerhouse apps like Snapseed and Picsart that pack some serious control.
We're talking way beyond those simple, one-tap filters. These apps offer tools for targeted, adjustable blurring, giving you a level of precision that used to be the exclusive domain of desktop software.
It’s funny to think that this creative effect we chase was once just an unwanted flaw in early cameras. As the technology got better, photographers realized they could use it deliberately for artistic impact. If you're a history buff, you can see the whole story unfold in this historical timeline of photography technology.
Creating Realistic Depth of Field
Let’s walk through a classic situation: you've taken a fantastic shot, but the background is just too cluttered and distracting. This is where Snapseed's 'Lens Blur' tool really shines. Instead of slapping a generic blur over everything, it lets you define a specific focal area.
Linear Blur: This one is great for that cool tilt-shift look. You just drag with two fingers to create a focused band, either horizontally or vertically, and everything outside of it gets that nice, soft blur.
Circular Blur: Perfect for portraits. You can pinch and zoom to create a radial focus point, making sure all the attention goes right to your subject's face while the background gently melts away.
The secret to making it look natural is to be subtle. I almost always start with the blur strength around 20-30% and crank up the transition. This creates a really smooth, gradual falloff from sharp to soft and helps you avoid those tell-tale harsh digital edges.
Manually Blurring Specific Objects
What if you need to obscure something specific, like a license plate in the shot or a person in the background who didn't consent to be in the photo? For that, you need to get hands-on with masking. In apps like Picsart or Snapseed, you can grab a brush tool and literally paint the blur effect precisely where it needs to go.
This method gives you total command. You can dial in the brush size and hardness for pinpoint accuracy, making sure you only hide what's necessary without messing up the rest of the image.
Once your edit is just right, you can take that polished photo and drop it straight into a tool like TNote to turn it into a sharp-looking, shareable knowledge card.
Quick and Easy Blurring with Online Tools
Sometimes, you just need to blur a photo without the hassle of downloading and installing software. This is where browser-based editors really shine. For those quick edits, especially when you're on a work computer that won't let you install new apps, tools like Canva and Photopea are lifesavers. They pack a surprising amount of power right into your web browser.
Let's imagine a common scenario: you need to make a product shot look more professional for your online store. The goal is to make the product stand out by blurring the distracting background. With an online tool, you can upload your image, separate the product from its background, and add a nice, soft blur in just a minute or two. It's a fantastic way to get a polished look without getting bogged down by the complexities of professional desktop software.
It's interesting to think about how blur went from being an accident to an art form. Early color photos, for example, needed such long exposure times that movement created a natural, dreamy softness. This technical limitation eventually became a deliberate stylistic choice. You can dive deeper into how these early challenges influenced today's photographers by exploring the history of photography.
Blurring a Background in Canva
Canva makes this process incredibly simple with its "Background Remover" and "Blur" tools. The magic happens when you use them together.
First, upload your photo. With a single click, the Background Remover will lift your product right off the background, leaving you with a clean cutout. From there, you just need to place your original, unedited photo behind this new cutout layer and apply the blur effect to that background image.
Here’s a peek at Canva's user-friendly interface, where finding the right tools is a breeze.
As you can see, powerful effects like "Blur" are easy to find under the "Edit photo" menu. A simple slider lets you dial in the exact amount of blur you want, giving you total control over the final result in seconds.
What I love about this layering technique is that it's completely non-destructive. This means you can go back and adjust the blur's intensity or even replace the background with a different image without ever touching your main subject. Once you’re happy with how your product looks, it’s ready to be shared or dropped into a tool like TNote to create a beautiful, shareable card for social media.
Creative Blurring Techniques to Transform Your Images
Blur is so much more than a simple correction tool. Once you get the hang of basic background blurs, a whole new world of creative possibilities opens up. This is where you can really start to use blur to inject energy and focus into your shots, developing a visual style that's all your own.
Think about a static photo you’ve taken of a car or a runner. By applying a directional motion blur, you can create a palpable sense of speed and action. Suddenly, that still moment feels dynamic and alive. It's one of my favorite tricks for bringing an otherwise flat photo to life.
Creating Dramatic Effects
Another technique I use all the time is the radial blur. This one creates a cool zoom-burst effect that immediately pulls the viewer’s eye right to the center of your frame. It’s fantastic for cranking up the drama in action shots or even for unique, stylized portraits.
For a truly custom look, don’t be afraid to stack different blur effects. I often apply a light Lens Blur to the entire background on one layer and then add a subtle Motion Blur on a separate layer on top. By playing with the opacity of each layer, you get total control over the final artistic result.
This layered approach lets you experiment without limits. For instance, here’s a common workflow I use to combine different blur types:
Base Layer: Start with a soft Gaussian or Lens Blur to establish that initial sense of depth.
Artistic Layer: Add a Radial or Motion Blur on a new layer, but dial back the opacity to just 10-20% for a touch of extra style.
This is how you move from simply fixing photos to actually creating art. The real secret is to stop seeing the blur tool as a utility and start treating it like a paintbrush.
Common Questions About Blurring Photos
When you first start exploring blur effects, you're bound to run into a few common questions. I see them pop up all the time. Getting these cleared up from the start will give you the confidence to jump in and edit your photos like a pro.
Can I Unblur a Photo After Saving It?
Unfortunately, in most situations, the answer is a hard no. When you apply a blur and save the image as a standard file like a JPEG or PNG, you're permanently changing the pixel data. It's a lot like mixing blue and yellow paint to get green—you can't just un-mix it.
The only real exception is if you're working with a layered file format, like a PSD in Adobe Photoshop. If you applied the blur as a non-destructive filter or on a separate layer, you can just turn it off or tweak it later.
Pro Tip: I can't stress this enough: always work on a copy of your original photo. It’s a simple habit that will save you from making a mistake you can't take back. It's the ultimate safety net.
What Is the Best Type of Blur for Portraits?
For those creamy, professional-looking portrait backgrounds, my go-to is always a Lens Blur effect. A subtle Gaussian Blur can also work in a pinch. The reason Lens Blur usually wins is because it's specifically designed to mimic the beautiful bokeh you get from a real camera lens.
This is the effect that makes your subject pop and gives the image a real sense of depth. Just remember to apply it only to the background. When it comes to blur, less is almost always more. A gentle, subtle effect looks far more polished than an aggressive, over-the-top blur.
How Do I Blur a Face in a Photo for Free?
Needing to blur a face for privacy is a common task, and thankfully, you don't need to spend any money to do it well.
On Your Phone: Mobile apps like Snapseed or Picsart have fantastic brush tools. You can literally just "paint" the blur effect right over the face you want to obscure.
On Your Computer: For a quick desktop solution, a free online tool like Photopea is perfect. Simply draw a selection around the face and then apply a Gaussian blur just to that selected area.
Both of these methods are fast, easy, and completely free.
Once you've got these techniques down, you'll be ready to share your beautifully edited images. With TNote, you can take your photos and text and instantly turn them into eye-catching, shareable knowledge cards with just one click. Check out TNote and see just how simple it can be.