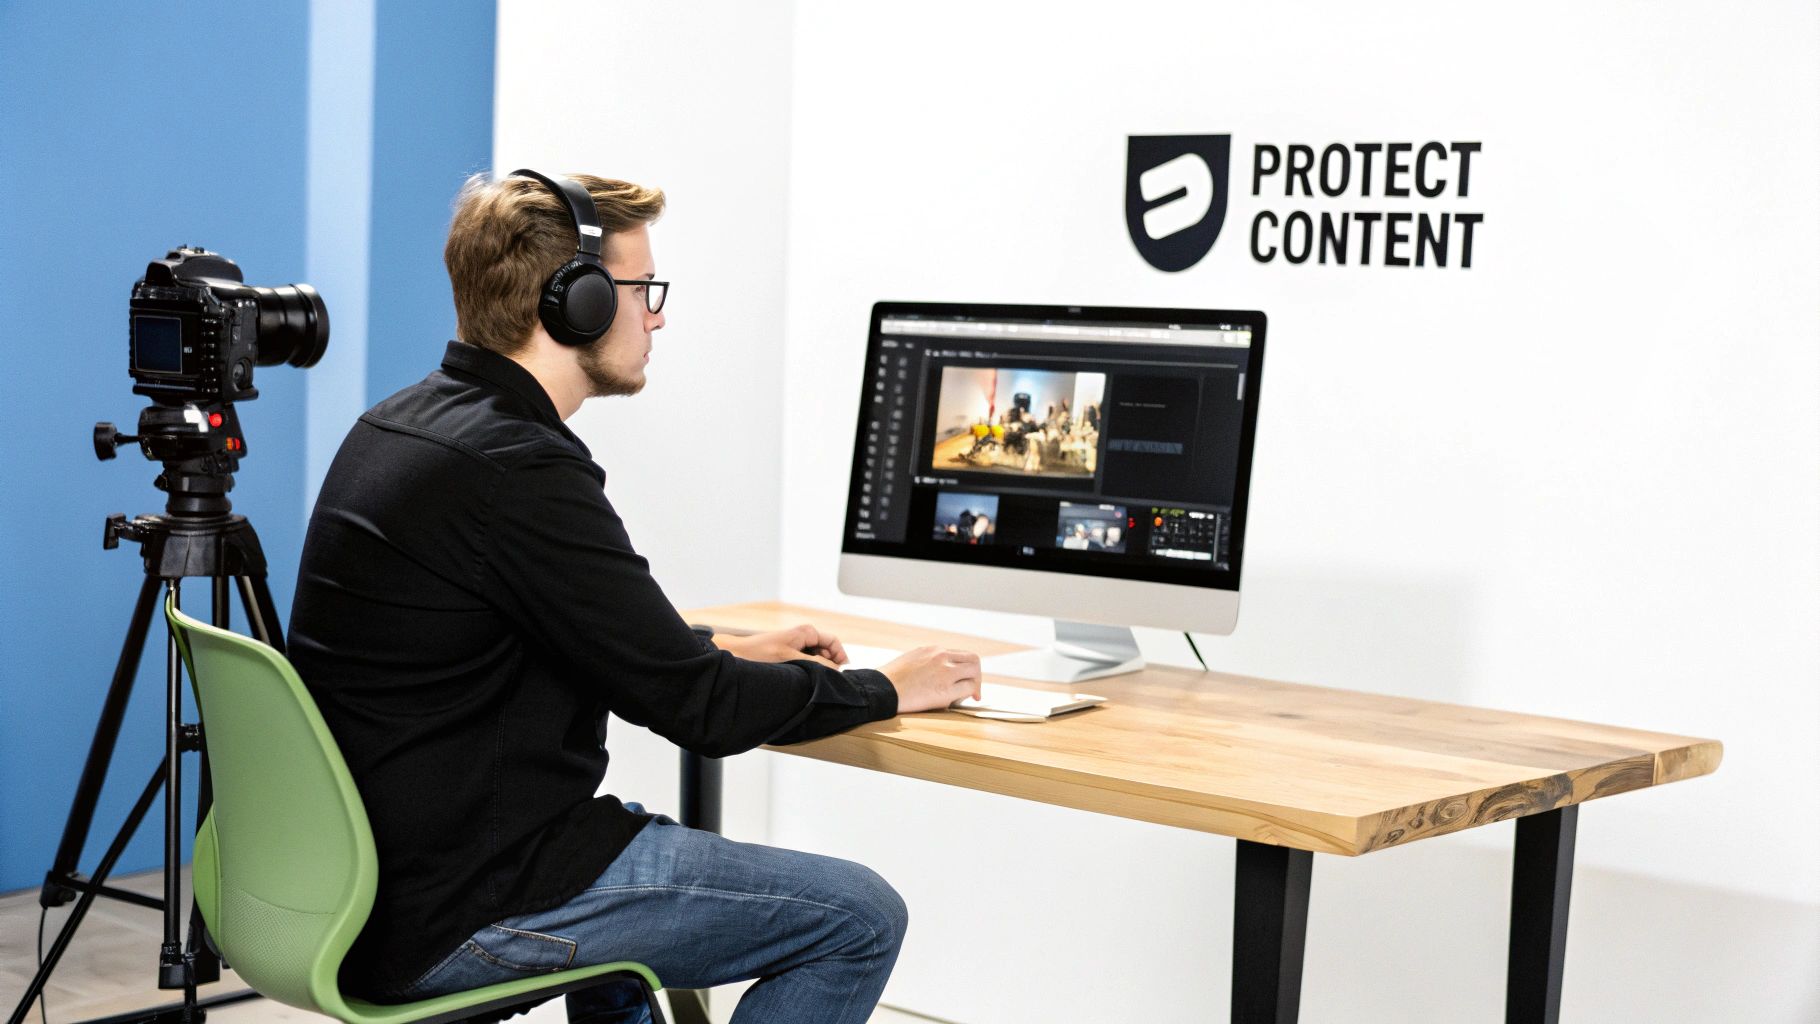
You can add a watermark to your video using just about anything, from free online tools to professional-grade editing software. The basic idea is always the same: you import your video, add your logo or text as a new layer on top, and then tweak its size, position, and transparency before you export the final file. It’s a simple process, but it’s absolutely critical for protecting your brand and making sure you get credit for your work.
Why You Need to Watermark Your Videos
Before we get into the "how-to," let's talk about the why. A lot of people think watermarking is just about slapping a copyright notice on a video, but it’s so much more than that. Think of it as your brand's silent, persistent ambassador.
Imagine this scenario: you create a short-form video that, against all odds, goes viral. It's a creator's dream. But without a watermark, that video gets ripped and re-uploaded across dozens of platforms, racking up millions of views for other people's accounts. You, the person who actually made it, get nothing—no credit, no traffic, no new followers. A simple, subtle logo in the corner changes that entire story, making sure your brand travels with your content wherever it goes.
Protect Your Digital Assets
The most obvious benefit is protecting your intellectual property. When you add a watermark to a video, you're making a clear visual claim of ownership. This alone is often enough to deter people from misusing or redistributing your work without permission. This is especially important in a few key situations:
Exclusive Content: If you sell video courses or other premium content, watermarks make it harder for paying customers to illegally share the files with others.
Agency Previews: Sending a draft to a client? A prominent watermark ensures they can’t just take the video and use it before the final payment is cleared.
Social Media Theft: It's a huge deterrent for those content farm pages that just scrape and repost popular videos, passing them off as their own.
Think of a watermark as a digital signature. It won’t make your content completely theft-proof, but it makes proving ownership dead simple and discourages the casual, low-effort content thieves from even trying.
Build Lasting Brand Recognition
Beyond just security, watermarking is a seriously powerful branding play. Every time your video gets shared, embedded, or reposted, it becomes a free marketing impression. This constant, subtle exposure helps solidify your brand in the minds of viewers, slowly turning a passive audience into one that recognizes your work on sight.
It’s no surprise the market for this is booming. The digital watermarking industry was already valued at $1.5 billion and is expected to climb to an incredible $4.5 billion by 2033. This growth is fueled directly by the rising tide of digital piracy and content theft. If you're curious about the numbers, you can explore the full report on the digital watermarking market to see just how big this has become.
How to Design an Effective Watermark
Let's be honest, a badly designed watermark can be worse than having no watermark at all. If it's too loud and distracting, you'll just annoy your viewers. But if it's too faint or poorly placed, someone can crop it out in a matter of seconds.
The sweet spot is a watermark that walks the line between effective protection and professional polish.
Your first decision is what the watermark will actually be. For most, a logo is the ideal choice because it’s a direct hit of brand reinforcement. If you don't have a logo, or if your personal name is your brand, a simple text-based watermark with your website or social handle works perfectly well.
Whatever you land on, make sure it’s a high-resolution file with a transparent background. A .PNG is your best friend here.
Finding the Sweet Spot for Opacity and Placement
Opacity is where the magic happens. A solid, 100% opaque watermark just screams amateur hour and looks incredibly intrusive. Instead, you want to dial that transparency back to somewhere between 30% and 50%. This keeps it visible enough to do its job but subtle enough that it doesn't hijack the main event—your video content.
Placement is just as crucial. There's a reason everyone defaults to the corners. The bottom-right corner is often considered the prime real estate because it’s where our eyes tend to land last on a screen. It gets noticed without feeling like it’s in the way.
Just be careful not to shove it right up against the edge. That makes it a prime target for cropping. A good rule of thumb is to keep it inside the "title-safe area" that most video editors display.
The real goal of a watermark is deterrence and branding, not to make your video impossible to watch. A semi-transparent logo, placed thoughtfully in a corner, nails this every time. It protects your hard work while making you look like a pro.
Here are a few extra design tips I've picked up along the way:
Keep It Simple: A busy, multi-colored logo is just going to be a distraction. A simple, one-color or grayscale version is almost always the better choice for a watermark.
Size Matters: Your watermark should be legible, but it shouldn't dominate the frame. Think of it as a small, confident signature, not a giant billboard.
Consider a Tiled Pattern: For maximum security—say, for a client preview you don't want shared—you can tile your watermark across the entire screen. The key here is to set the opacity very low, around 10-15%. This makes the video impossible to steal without significant effort.
Follow these principles, and you'll create a watermark that not only protects your content but also strengthens your brand every single time someone hits play.
Using Free Online Tools to Add Your Watermark
Sometimes you just need to watermark a video quickly without firing up complex software or shelling out any cash. For those moments, free online tools are an absolute lifesaver. These browser-based editors are perfect for one-off projects or for creators who don’t need the bells and whistles of a professional editing suite.
Getting started is usually dead simple. You'll head over to a site like Kapwing, Veed.io, or Canva and upload your source video directly from your computer.
Next, you'll add your watermark file. I can't stress this enough: always use a .PNG image with a transparent background. This file gets placed as a separate layer on top of your video, which gives you the freedom to tweak its appearance.
Adjusting Your Watermark
With your logo now sitting on your video, the real fine-tuning begins. Look for the editing controls—you can typically just drag the watermark to any corner of the frame. Resizing is just as intuitive; grab a corner and drag it, just like you would with any other image.
The single most important adjustment you'll make is the opacity. You need to find that transparency slider and dial it back to somewhere between 30% and 50%. This makes your watermark visible enough to do its job without screaming for attention and distracting from your actual content. It's a delicate balance, but getting it right is what separates professional-looking content from amateur work.
A rookie mistake I see all the time is leaving the watermark at full opacity. It just looks clunky and can obstruct the video. Remember, the goal is a subtle, confident signature, not a billboard plastered over your hard work.
The Trade-Offs of Free Tools
While these online tools are incredibly handy, it's wise to go in with your eyes open. "Free" almost always comes with a catch, and in this case, the "cost" shows up in other ways.
Quality Compression: Many free services will compress your video when you export it to save on their server space. This can sometimes lead to a noticeable drop in video quality.
Processing Time: Uploading, rendering, and downloading can be sluggish, especially if you're working with a long video or the service is busy. Your own internet speed is a major factor here, too.
The Tool's Own Branding: Be warned—some free plans will sneak their own watermark onto your final video. For any professional use, this is usually a non-starter.
File Size Limits: You might hit a wall if your video file is too large. Free plans often have pretty restrictive upload size limits.
Even with these potential downsides, using a free tool to add a watermark to a video is a fantastic option for whipping up quick social media clips, handling a one-off task, or for anyone just dipping their toes into video creation.
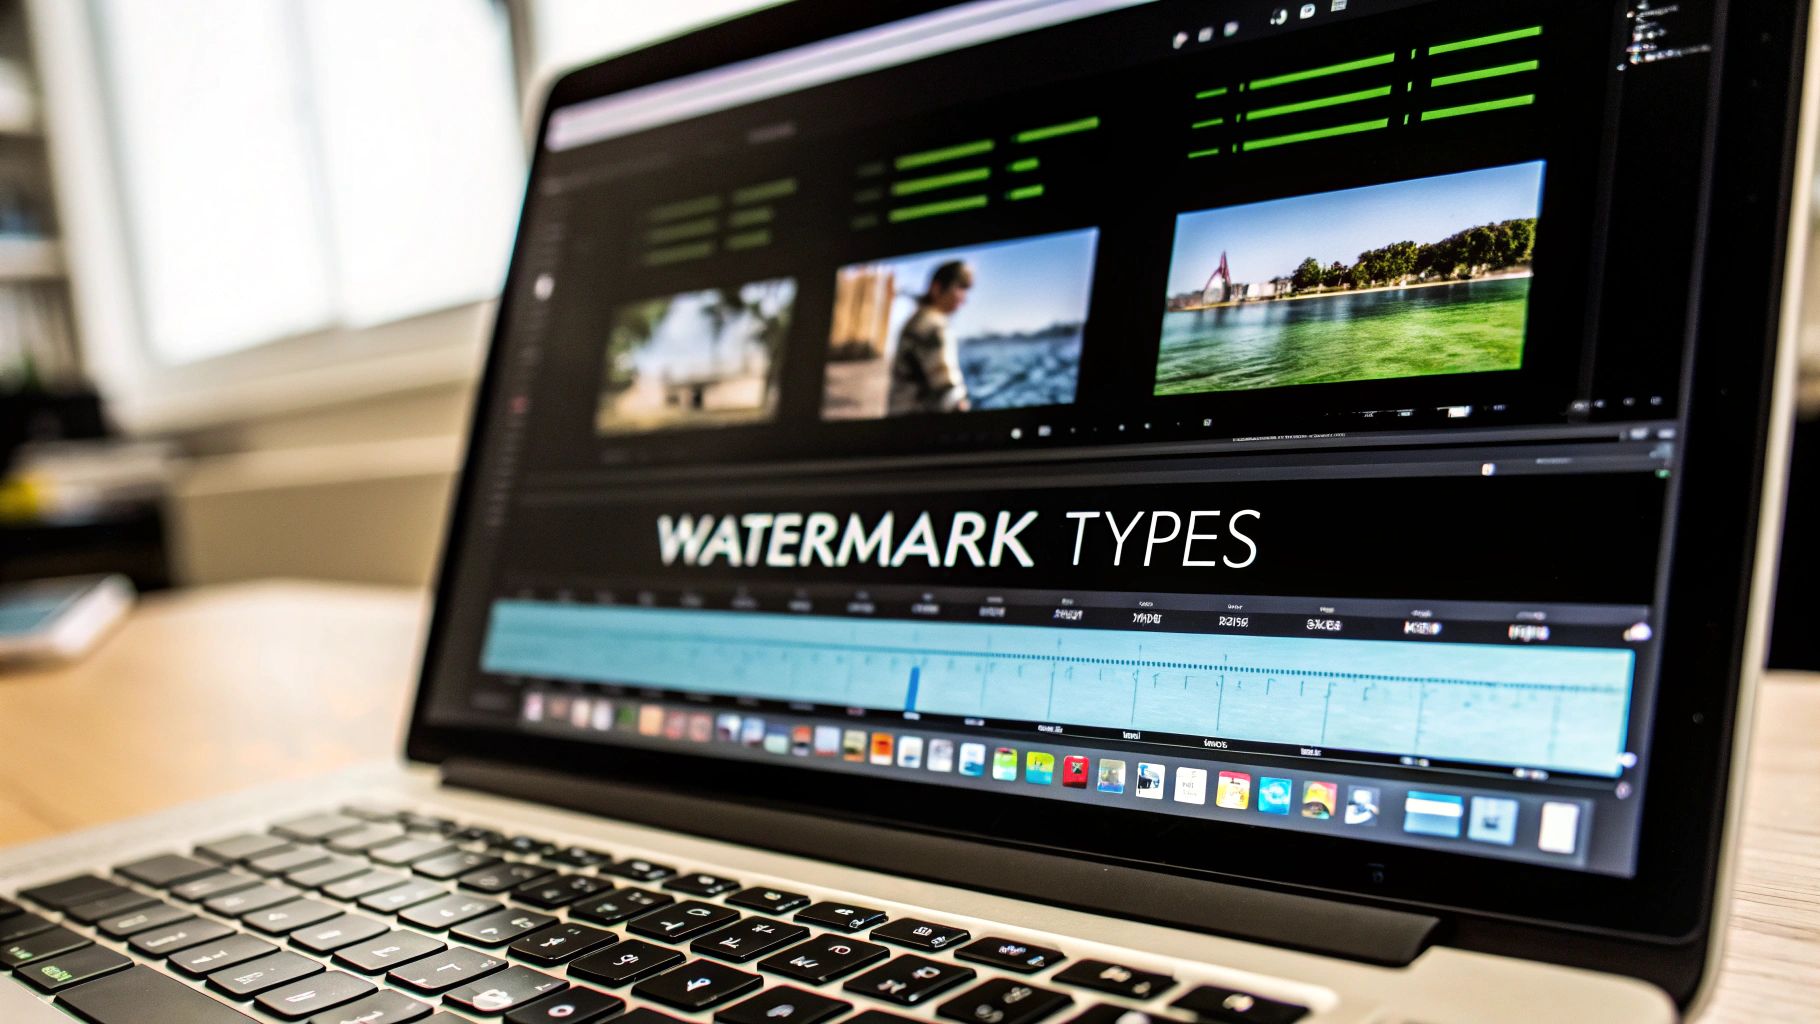
Advanced Watermarking in Professional Software

When you're ready to get serious about protecting your work, it’s time to move beyond simple online tools and into professional editing software. I'm talking about industry-standard programs like Adobe Premiere Pro and DaVinci Resolve, which completely change the game for creators who want to build watermarking right into their post-production process. This is where you graduate from just slapping a static logo in the corner.
With these tools, you can create dynamic watermarks that aren't just brand assets—they're genuine security features. This is the stuff serious content creators rely on to protect their brand and maintain a high-quality, professional look.
Moving Beyond Static Placement
Here's a common problem: content thieves will often just cover up a static watermark with their own logo or even a sticker. It's a cheap trick, but it works. The way you fight back is by creating a watermark that doesn’t just sit still.
For instance, you could animate your logo to slowly drift across a corner of the screen. Or maybe have it subtly fade in and out at random times. The key is that it doesn't need to be loud or distracting; even a gentle, almost imperceptible movement is enough. This simple animation makes it a real headache for anyone trying to crop or cover your branding, keeping your ownership front and center.
The Power of Adjustment Layers
I’ve seen people manually place their watermark on every single clip in a long timeline. It's not just tedious; it's a recipe for mistakes. Professional software gives you a much smarter way to work: adjustment layers.
Imagine an adjustment layer as a clear sheet of plastic you lay over your entire video timeline. Anything you put on that "sheet"—like your watermark—instantly applies to every single clip underneath it. This is a massive time-saver.
Global Control: You apply your watermark just once, and it appears throughout the whole project. No more copy-pasting.
Easy Updates: Realize your logo is a bit too big? Just adjust it on the one adjustment layer, and the change instantly ripples through your entire edit.
Guaranteed Consistency: This method ensures your watermark is always in the exact same spot, with the same size and opacity, from start to finish.
Using an adjustment layer to add a watermark to a video is a non-negotiable part of my professional workflow. It saves an incredible amount of time and gets rid of those little inconsistencies that can make an otherwise great project feel amateurish.
Another pro tip is to create export presets that automatically add your branding. You can set up presets like "YouTube Export with Watermark" or "Client Preview" that burn the logo directly into the video during the final render. It’s a fantastic way to automate that last crucial step, ensuring you never forget to protect your work before sending it out into the world.
Watermarking Best Practices From the Pros

Knowing how to slap a watermark on a video is one thing. Doing it well is a completely different ballgame. The real trick is to make your branding work for you, enhancing your content instead of getting in the way. After years in the field, I can tell you that the best watermarks are a careful balance between protecting your work and respecting the viewer's experience.
Subtlety is your best friend here. Think of your watermark as a quiet, confident signature, not a loud, obnoxious advertisement. This means staying consistent across all your videos. Use the same logo, in roughly the same spot, with the same level of transparency. That kind of repetition builds brand recognition without you having to scream it.
Your watermark’s main job is to protect and brand your content without being a distraction. If your audience is staring at your logo instead of your video, you’ve missed the mark. Subtlety builds authority; being intrusive just annoys people.
Strategic Placement and Security
There’s a bit of psychology to where you place your watermark. Sticking it in a corner is the classic move, but don't jam it right up against the edge. Why? Because it's ridiculously easy for content thieves to just crop a few pixels off the video and—poof—your watermark is gone. I always recommend nudging it slightly inward. This makes it much harder to remove without visibly mangling the video frame.
You also want to find a spot in your video that's generally free of clutter. Placing a semi-transparent logo over a visually "busy" area can obscure important details and just look messy. Find a clean space where it can sit comfortably without interrupting the story you're trying to tell.
Now, for serious protection, you need to know about the two main types of watermarking.
Visible Watermarks: This is what most people think of—the semi-transparent logo or text you can see on the screen. Its job is primarily to deter theft and build your brand.
Forensic Watermarks: This is the invisible stuff. It’s a digital signature embedded directly into the video's data stream. A viewer will never see it, but it allows you to definitively prove you’re the owner if someone steals and re-uploads your content.
The market for forensic video watermarking was valued at $1.5 billion and is expected to climb to nearly $5 billion by 2033. That jump shows just how seriously creators and big companies are taking content authentication. You can read more about the growth of forensic watermarking solutions if you want to dive deeper.
For most of us posting on social media, a well-placed visible watermark does the job just fine. But if you're creating high-value, exclusive content, a forensic watermark offers protection that’s pretty much unbeatable.
Common Questions About Video Watermarking
Diving into video watermarking for the first time? You've probably got questions. It's totally normal. As you start to add a watermark to a video, you might wonder about its effect on quality, performance, or even its legal weight. Let's clear the air and tackle some of the most common concerns I hear from creators.
Will a Watermark Mess Up My Video Quality?
This is a big one, but you can relax. A watermark, when applied correctly, will not degrade your video's visual quality. Think of it as just another image layer placed on top of your video footage. It doesn't trigger a re-compression of the original file.
If you ever notice a drop in quality, it’s almost always due to your final export settings or the compression applied by the platform you're uploading to—not the watermark itself.
Does Watermarking Slow Down My Computer?
Another frequent worry is about performance. Will adding a watermark bog down my video editor or make rendering take forever? The impact is almost always zero. A simple, static PNG logo requires very little processing power. You're highly unlikely to notice any slowdown in your workflow, even if you’re not working on a high-end machine.
Will a Watermark Actually Hold Up in Court?
This is a critical point many creators think about, and for good reason. While a visible watermark isn't a substitute for official copyright registration, it serves as powerful evidence of your ownership. It's a clear, public stake in your claim and shows you intend to protect your content.
If you ever find yourself in a copyright dispute, the watermark makes it incredibly difficult for an infringer to argue they didn't know the content was protected. It effectively neutralizes the "innocent infringement" defense.
Think of a watermark as a highly visible "No Trespassing" sign on your digital property. It won't physically stop someone from crossing the line, but it makes it incredibly clear who the property belongs to and strengthens your case if you decide to take action.
Can't Someone Just Remove My Watermark?
Honestly, yes. A determined person with the right software can sometimes remove a simple, static watermark. They might try to crop it out, blur the area, or use AI tools to paint over it.
This is exactly why smart placement and design are your best friends. By making your watermark semi-transparent and placing it over a busy, detailed part of your video (instead of a clean, solid background), you make removal a massive headache. For those needing maximum security, more advanced methods like subtle animation or forensic watermarking (check out Google's SynthID) provide a much higher level of protection.
Ready to make your own content stand out? With TNote, you can transform your notes and markdown into beautiful, shareable knowledge cards in just one click. Perfect for creators and educators who want to make a visual impact. Try TNote's md2card magic today!