An alphabet book template is a lifesaver—a pre-designed layout you can grab to create a personalized alphabet book, complete with pages for every letter. These can be anything from a simple printable PDF you color by hand to a fully customizable digital file you can tweak in Canva or PowerPoint. They're fantastic for making unique keepsakes or fun educational tools.
Getting Started With Your Alphabet Book Project
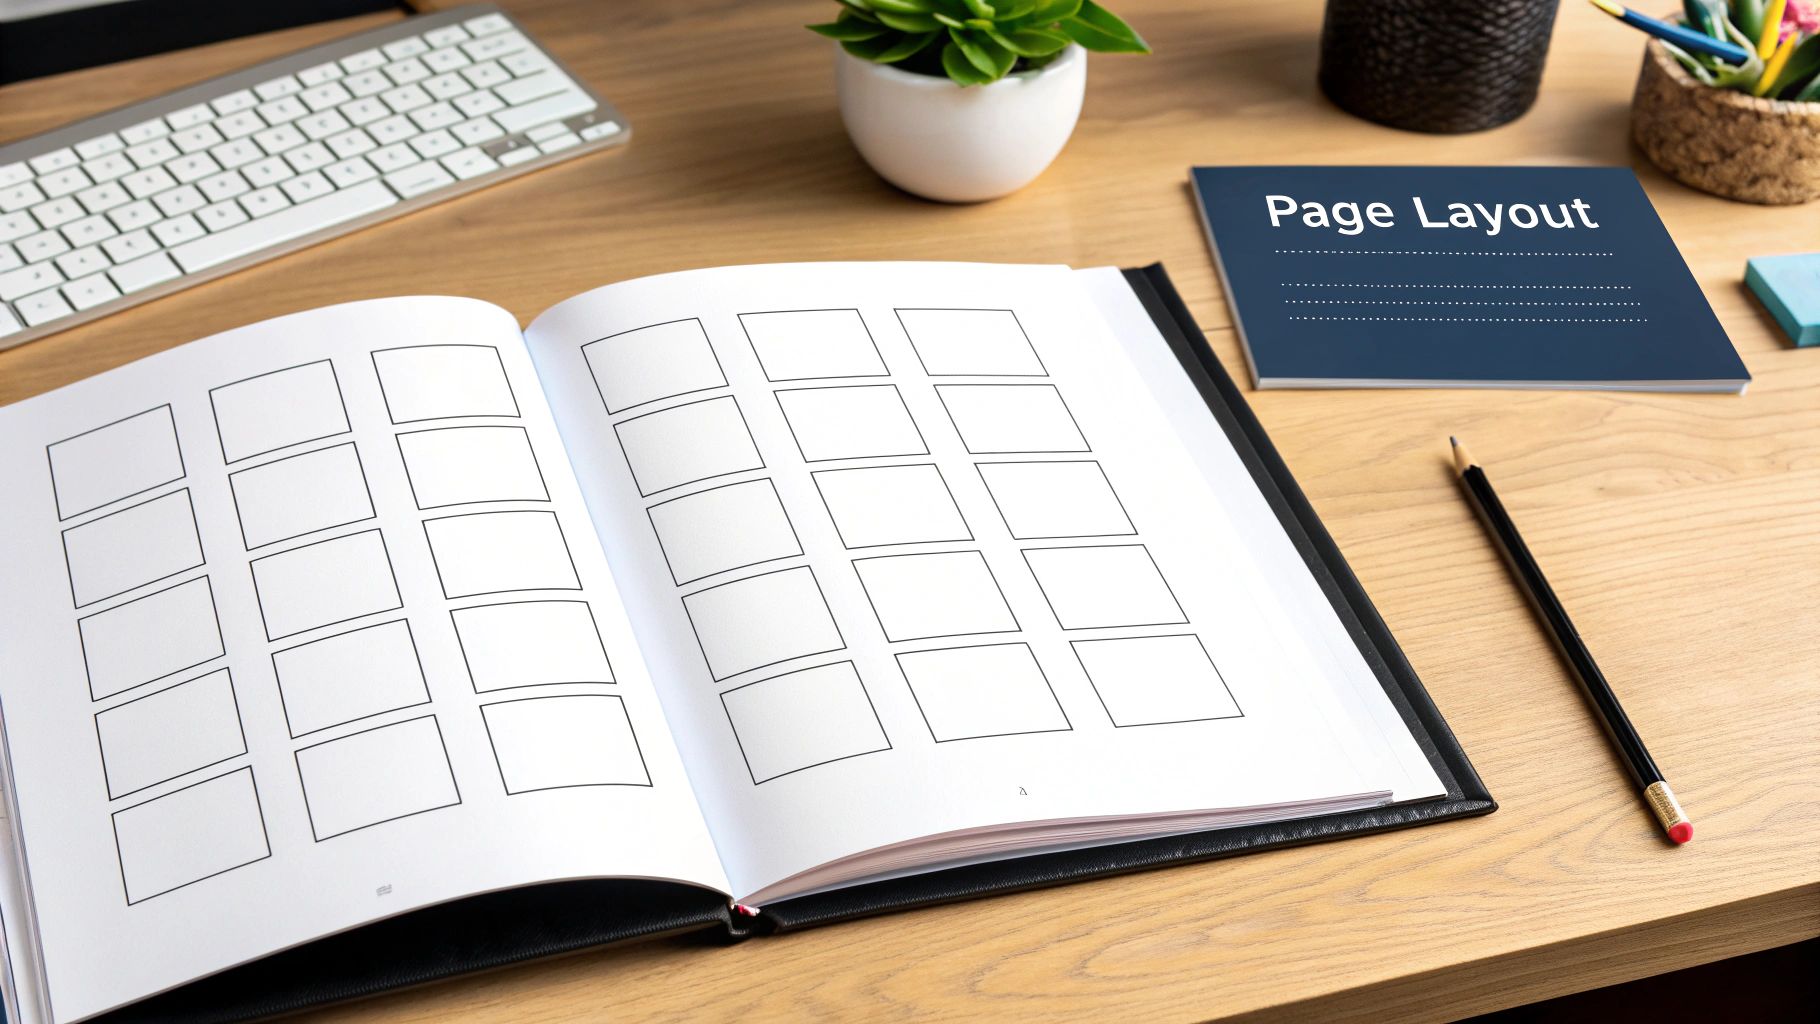
It's always exciting to start a new creative project, but staring at a blank canvas can feel a little daunting. The first thing to do is figure out exactly what you're trying to create.
What's the goal here? Are you making a treasured keepsake for your own kid? A hands-on activity for a classroom? Or maybe a really heartfelt, one-of-a-kind gift? Your answer will point you toward either a printable or a digital template.
Printable Versus Digital Templates
A printable alphabet book template, which usually comes as a PDF, is perfect if you want a hands-on, crafty vibe. Just print the pages on some quality cardstock, and you're ready to go with crayons, photos, and drawings. This approach is especially great for getting the kids involved in making their own book.
Digital templates, on the other hand, give you way more design flexibility. Using a program like Canva or Google Slides, you can easily type in text, upload photos, and play with colors before you even think about printing. This is the way to go if you want a polished, professional-looking book without all the manual cutting and pasting.
Here's a little industry insight: the choice between physical and digital isn't just about personal preference; it reflects what's happening in the broader market. While digital templates are super convenient, physical books are still huge as cherished gifts—plus, they don't cause eye strain for the little ones. You can explore more about these book market trends to see what consumers are leaning towards.
Essential Tools for Your Project
Once you’ve decided on a format, getting your supplies together will make the whole process much smoother. Your toolkit will look a bit different depending on which path you take.
- For Printable Books: Good, heavy cardstock is a must—I'd recommend at least 80 lb weight for durability. You'll also need your art supplies, like markers or colored pencils, and a safe, non-toxic adhesive for any photos you want to add.
- For Digital Books: Your computer or tablet is the main event here. You'll need access to user-friendly design software and a folder of high-resolution digital photos ready to upload. Trust me, high-res photos make all the difference in the final print quality.
No matter which format you choose, it's smart to think ahead about how you'll bind the final book. Will you use simple binder rings, get it spiral-bound at a copy shop, or go for a more professional service? Deciding this early on can save you a headache later.
Picking the Right Tool for Your Alphabet Book
Before you dive in, the first big decision is where you'll actually build your book. The tool you pick will shape your entire creative process, so it's worth taking a moment to find one that fits your comfort level and what you hope to achieve.
Your main choices usually boil down to platforms like Canva, Google Slides, and PowerPoint, or just a straightforward printable PDF. Each has its own strengths. A PDF, for instance, is perfect if you're planning a hands-on, scrapbook-style project. On the other hand, a PowerPoint (PPTX) file gives you a ton of editing power, even when you're offline.
Many of the best educational templates out there are designed for these platforms. You’ll often find they come packed with over 30 slides—one for every letter, plus extras—and hundreds of editable graphics. This makes it incredibly easy to create something high-quality right from your home computer.
So, Which Format Is Best for You?
To make the right call, think about how much you want to personalize the book. Are you planning to add your own family photos and custom text? Or do you just need a simple outline to print and color in with your kids?
To help you decide, let's look at some popular options.
Template Platform Comparison
Choosing the right platform can feel overwhelming, but it's really about matching the tool to your project's needs. The table below breaks down the most common choices to give you a clearer picture of what each one offers.
| Platform | Best For | Ease of Use | Key Features |
|---|---|---|---|
| Canva | Beginners & quick, polished designs. | Very Easy | Intuitive drag-and-drop interface, huge library of graphics and fonts. |
| Google Slides | Collaborative & detailed customization. | Easy | Cloud-based, great for sharing, full control over elements. |
| PowerPoint | Offline editing & total creative control. | Moderate | Powerful editing tools, works without an internet connection. |
| Printing & hands-on crafting. | Very Easy | Best for physical projects with markers, photos, and craft supplies. |
As you can see, there's no single "best" platform—it all depends on your goal. If you want something beautiful and shareable in minutes, Canva is a fantastic choice. If you prefer to work offline and have granular control over every detail, PowerPoint won't let you down.
No matter which you choose, the core task is the same: filling each page with your chosen words and images.
My Personal Tip: Don't overthink it! The most important thing is to pick a tool and get started. If you want something beautiful fast, go with Canva. If you're a tinkerer who wants total control, PowerPoint is your friend.
If you're looking for a way to quickly turn your ideas into visual elements for your book, you might want to check out our md2card editor. It's a neat tool that can help transform simple text into engaging cards, making the whole process smoother from start to finish.
Personalizing Your Book's Design
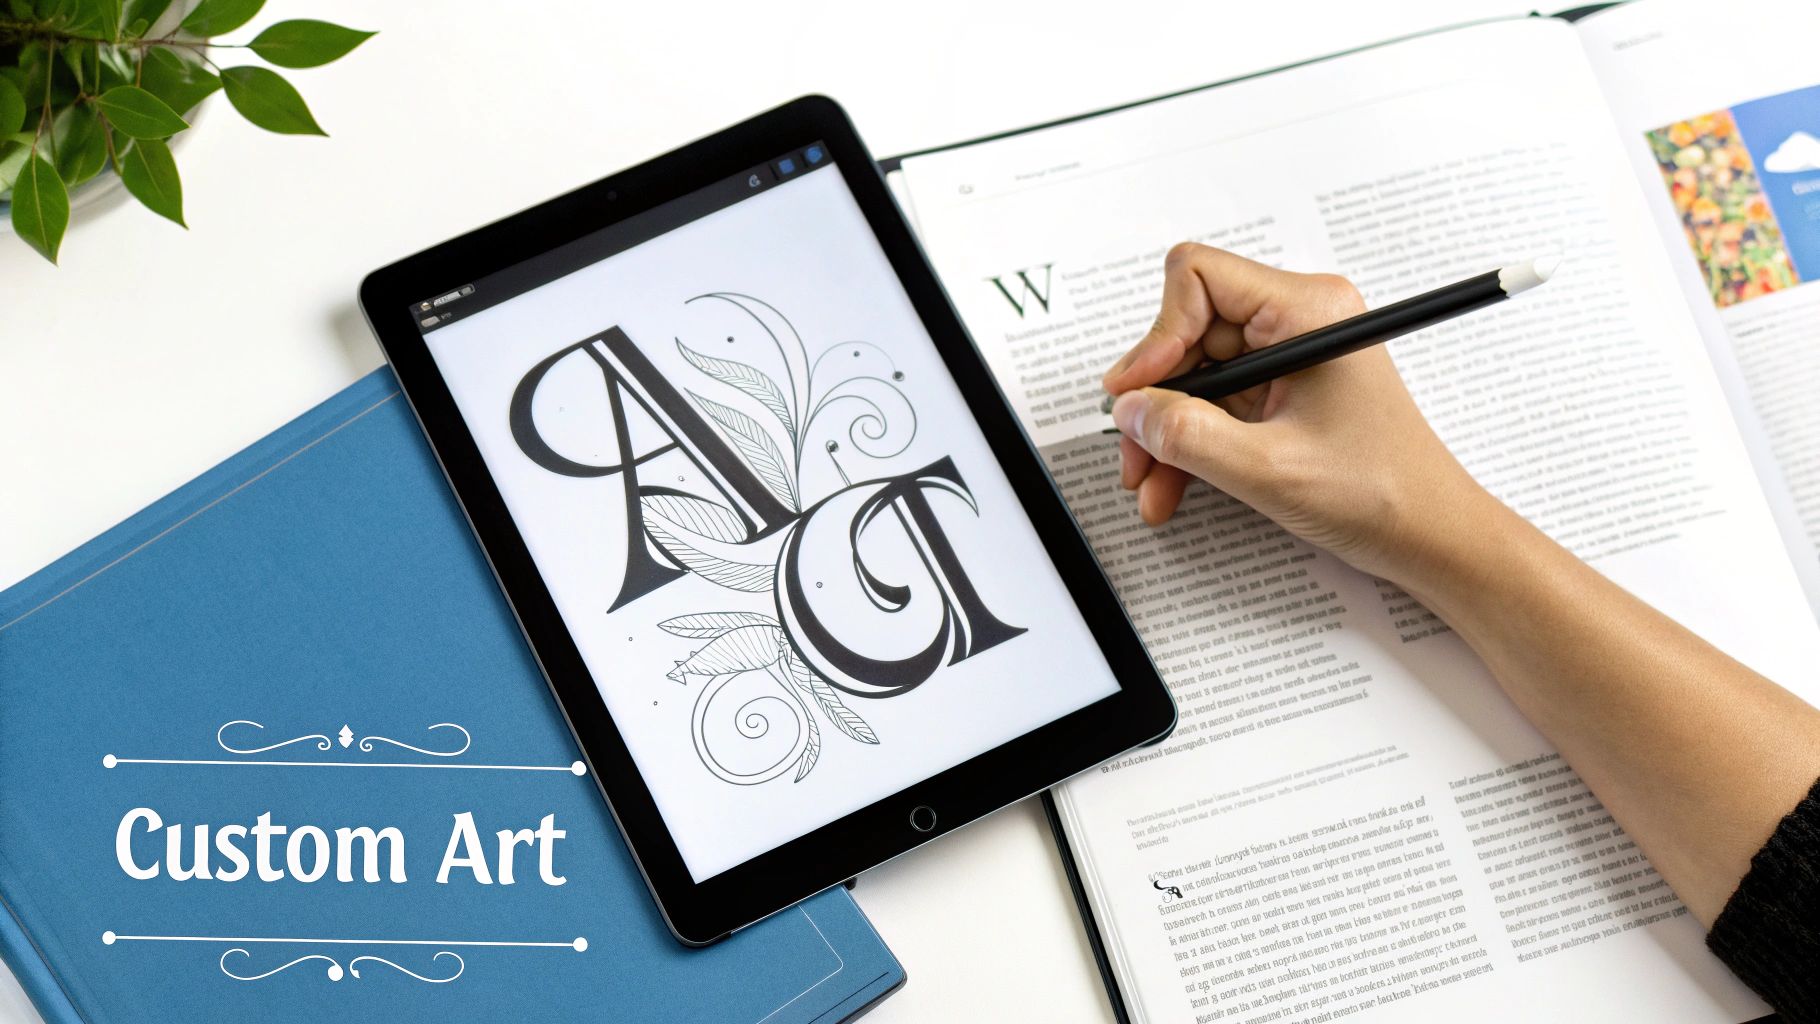
A great template is just the starting line. The real magic happens when you start weaving in your own stories, colors, and memories, transforming a basic layout into a personal treasure that feels uniquely yours. This is where you move beyond the default settings and truly make the book your own.
So, where to begin? Think about the overall feeling you want the book to have. Is it going to be bright and energetic, or more soft and calming? Your answer will steer your two most important design choices: the color palette and the fonts.
Choosing Your Colors and Fonts
When it comes to colors, less is often more. I’ve found that a cohesive palette of 3-5 complementary shades works best. A simple trick I love is to pull colors directly from a favorite photo you’re planning to use in the book. If you have a great beach photo, you could pull sandy tans, ocean blues, and a pop of sunny yellow for your accents. It’s a surefire way to create a harmonious look.
Fonts are just as critical for setting the tone, but readability is king here. While those whimsical, curly scripts look fun, you have to prioritize clarity for young learners.
- Legible Lettering: Go for rounded, simple sans-serif fonts. Think Poppins, Century Gothic, or even Comic Sans (yes, really!). They're much easier for little eyes to recognize and decode.
- Font Pairing: A great approach is to use a fun, bold font for the main letter (like "A") and then a clean, simple font for the corresponding word ("Apple"). This creates a clear visual hierarchy on the page, making it easier for a child to focus.
Remember, the goal is a book that's both educational and emotionally resonant. A well-chosen alphabet book template provides the structure, but it’s the personal touches—like using a violet illustration for a child named Vienna—that make it a forever keepsake.
Integrating Meaningful Images
This is where your book truly comes to life. Ditch the generic clipart and fill the pages with photos and illustrations that actually mean something to your child. This personal connection makes learning the alphabet a much more engaging and memorable experience.
Just imagine their delight when they see 'F' for a family portrait, 'D' for the family dog, or 'G' for a sweet picture with their grandma. Got a little artist on your hands? Scan their drawings! 'R' could be for that colorful robot they drew, instantly making them a co-creator of their very own book. This approach doesn't just create an educational tool; it builds a cherished collection of memories.
Finding Creative Content For Every Letter
So, you’ve started your alphabet book and you’re flying through the first few pages. Then you hit a wall. What on earth do you choose for 'X' or 'Q'? Don’t worry, you’re not alone. The content you pick is what breathes life and learning into your alphabet book template, so it pays to think beyond the classic "A is for Apple."
A fantastic trick I've learned is to start with a theme. It’s a simple shift, but it makes finding words for every letter so much easier and pulls the whole book together into a cohesive story. For instance, a nature theme could give you 'A' for Acorn and 'B' for Bee. A culinary adventure might feature 'C' for Cupcake and 'D' for Dumpling. Suddenly, the choices feel more focused and inspired.
Unique Themes for Your Book
Thinking thematically is where the magic really happens. It gives your book a unique spin that makes it far more memorable and engaging for the child you're creating it for.
Here are a few themes to get the ideas flowing:
- Positive Affirmations: 'A' is for Amazing, 'B' is for Brave, 'C' is for Creative. I love this one for building confidence and a positive outlook from a young age.
- Around the World: 'A' is for Africa, 'B' is for Brazil, 'C' is for Canada. This is a brilliant way to sneak in a little geography and introduce different cultures.
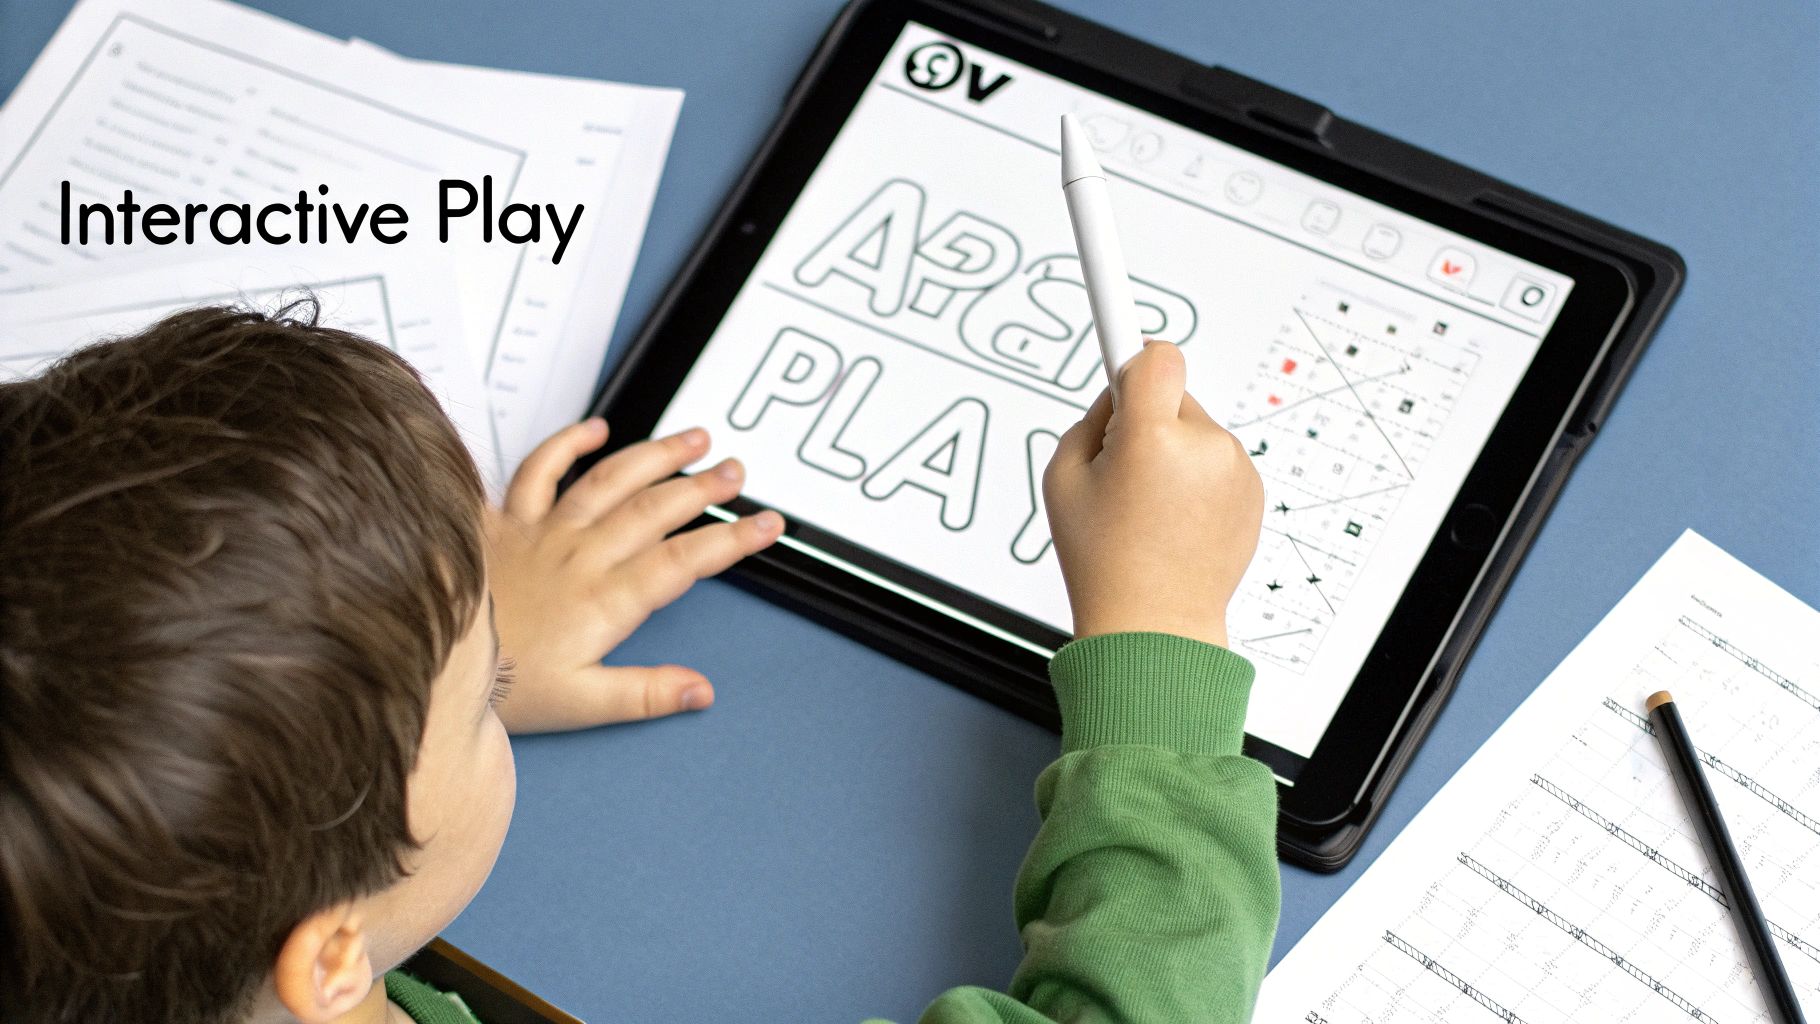
- Animal Actions: 'A' is for Crawling, 'B' is for Bouncing, 'C' is for Climbing. An interactive theme like this can encourage movement and make reading a more active experience.
A theme does more than just simplify your word choices; it deepens the entire learning experience. I remember one creator who designed a book around flowers, choosing violets for the cover because her daughter’s name was Vienna. That’s the kind of personal, thematic touch that elevates a simple project into a truly cherished keepsake.
Tackling Tricky Letters
Every creator runs into the usual suspects: Q, U, X, and Z. This is where having a theme really saves the day. If you chose an animal theme, 'X' could be for Xenops (a cool little bird). For a science theme, 'U' could easily be Universe. Your theme gives you the guardrails to find creative, yet fitting, words.
Still feeling stuck? Don't be afraid to bend the rules a bit and use phrases instead of single words. For 'X', you could go with "eXtra special" or "making a maX." This kind of creative flexibility ensures every page feels complete and thoughtful, keeping the journey fun and free from frustration.
How To Print And Assemble Your Book
You've poured your creativity into every single page of your alphabet book, and now it’s time for the magic to happen—bringing your digital design into the real world. This final stage is where your project transforms from a file on your computer into a tangible keepsake.
When it comes to printing, the two biggest decisions you'll make are your paper choice and your binding method. They're what give your book its final look and feel.
Choosing the Right Paper
The paper you choose will make a huge difference in the book's durability and visual pop. Since this book is likely destined for the hands of a curious toddler, durability is king.
- Heavy Cardstock: I always recommend using at least 80 lb (or 216 gsm) cardstock. It’s thick enough to feel substantial and can stand up to enthusiastic page-turning without tearing easily.
- Photo Paper: If your alphabet book is full of vibrant, high-resolution photos, printing on matte or semi-gloss photo paper is a fantastic option. The colors will look incredibly rich and professional.
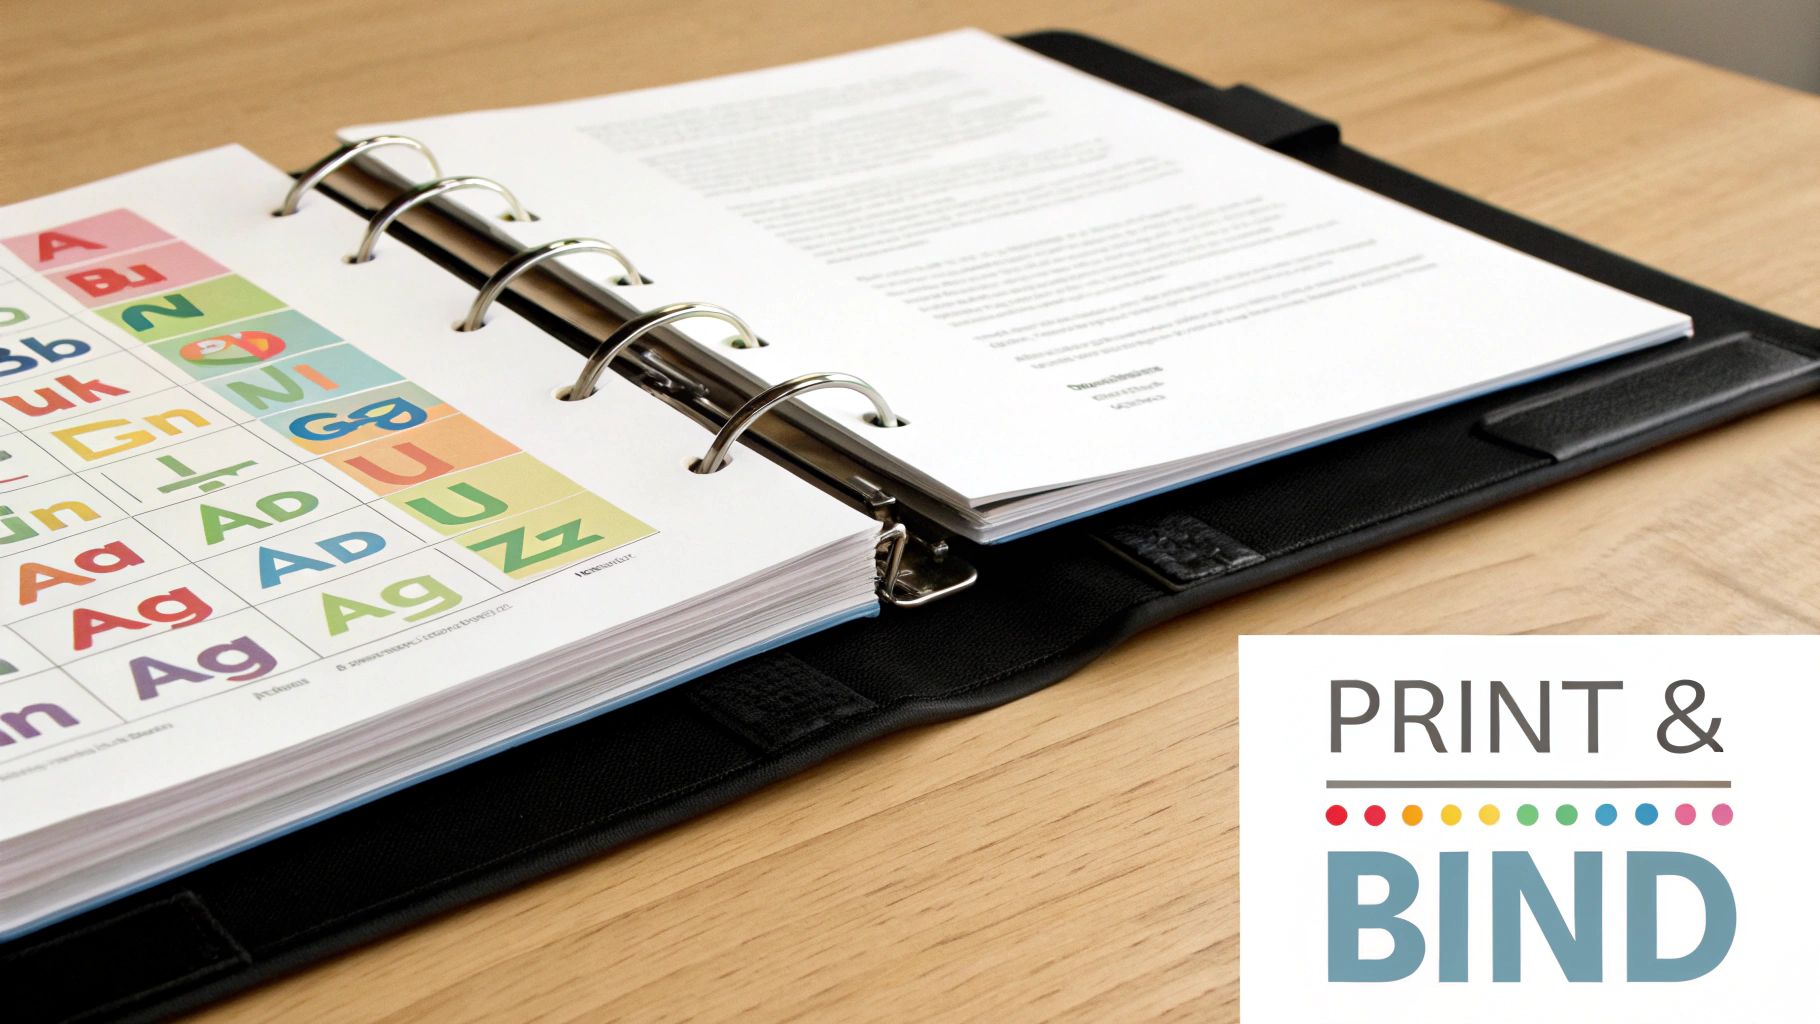
Assembling Your Finished Book
Once your pages are fresh off the printer, it’s time to put it all together. You really don't need any fancy or expensive equipment to create a beautiful, functional book. It all comes down to your budget and the kind of finish you're going for.
Honestly, a simple hole punch and a few binder rings work wonders. This is an incredibly affordable and practical solution. The best part? It allows the book to lay completely flat, which is perfect for little readers just learning to turn pages.
If you want a more polished, store-bought look, you can take your printed pages to a local copy shop and have them spiral-bind it. This is surprisingly inexpensive and gives you a clean, durable finish that holds up well.
A great tip I've learned from experience is to laminate each page before you punch any holes or bind them. This adds a crucial, toddler-proof layer of protection against spills and sticky fingers, making sure your custom alphabet book lasts for years.
For those of you thinking bigger—maybe making multiple copies as gifts or even selling them—print-on-demand services are a game-changer. You can upload your design, choose from various professional printing and binding packages, and have them do all the work.
If you're exploring options for larger projects, our pricing guide can help you figure out the costs and find a plan that supports your creative endeavors.
Common Questions About Alphabet Book Templates
When you're jumping into a fun project like making your own alphabet book, you're bound to have a few questions. Getting those sorted out early on helps you sidestep the common hiccups that can slow you down. Let's tackle some of the most frequent queries I hear from creators.
What Is The Easiest Template For Beginners?
If you're not exactly a digital whiz, a printable PDF is your best friend. Seriously. It requires absolutely zero design software. Just print the pages and get hands-on with photos, drawings, and markers. It's straightforward, tactile, and a lot of fun.
Looking for a little digital polish but don't want to get bogged down by a steep learning curve? Canva is the answer. Its drag-and-drop interface is incredibly intuitive. I see it as the perfect next step up from a simple PDF—you get more control without the headache.
Can I Sell The Book I Make?
This is a big one, and the answer comes down to one thing: the license.
Most free templates are strictly for personal use, which is a nice way of saying you can't sell the book you create. If turning your project into a product is the goal, you absolutely need to either buy an alphabet book template that comes with a commercial license or just design the whole thing from scratch. Always, always double-check the terms before you pour your heart into a project.
How Can I Make The Book Durable For A Toddler?
Let's be real: "toddler-proof" is the gold standard here. Durability isn't just a nice-to-have; it's essential. The secret is all in the materials you choose from the get-go.
- Print on heavy cardstock. I'd recommend at least 80 lb (or 216 gsm) to give it some real heft and prevent those easy rips.
- Laminate every single page before you assemble anything. This creates a wipeable, spill-proof surface that can survive snack time.
- Use sturdy binder rings to put it all together. This method is surprisingly resilient and lets the book lay completely flat, which is much easier for little hands to manage.
I’ve found that a theme can elevate a book from a simple learning tool to a cherished story. For older kids, think outside the box with themes like careers ('A' for Astronaut), geography ('A' for Amsterdam), or emotions ('A' for Amazed). This introduces richer vocabulary and concepts.
Ready to turn your Markdown notes into beautiful, shareable cards for your alphabet book or any other project? Check out TNote and see how our md2card magic can bring your content to life. Visit https://tnote.ai to get started