An art lesson plan template is simply a reusable framework that helps you bring some structure and consistency to your lessons. Think of it as a flexible guide, not a rigid script. It's there to save you precious time and make sure you've covered all your bases—from objectives and materials to the standards you need to hit for any creative project.
Why a Template Is Your Most Valuable Teaching Tool
Let's be real: staring at a blank page before every single class is draining. This is where a good, reusable art lesson plan template becomes a complete game-changer. One minute you're juggling a pottery unit for fifth graders, the next you're prepping a painting project for second graders. Your template is the secret weapon that keeps you organized and lets you focus on what really matters.
This isn't about stifling creativity or boxing you in. It’s the opposite. A solid template provides the structural backbone for your lesson, freeing you up to concentrate on what you do best: nurturing your students' creative expression. It also builds a predictable, consistent experience for your students, which does wonders for classroom management, especially across different grade levels.
The Power of a Structured Framework
When you have a reliable framework, you finally stop reinventing the wheel with every new project. That consistency pays off in some pretty big ways:
- Saves Time: It drastically cuts down your planning time. That’s more energy you can pour into gathering inspiring materials or perfecting your demonstration techniques.
- Keeps You Focused: A template keeps your lesson's main goal front and center, so you don't get sidetracked by tangents that can derail an entire class period.
- Aligns with Standards: It gives you a dedicated spot to connect your creative activities directly to national or state standards, making curriculum mapping and documentation so much simpler.
This structured approach isn't just a hunch; educators everywhere are seeing the benefits. Using formal lesson plans is now almost universal, and there's a huge shift toward digital templates for their sheer efficiency. In the United States, over 90% of surveyed art teachers use formal lesson plans. Internationally, that number is between 75% and 85% of educators who rely on templates for at least half their lessons. If you're curious, you can explore more about these trends and their impact on art education.
A great template doesn't tell you what to teach; it gives you a reliable map for how to teach it effectively. It ensures that even on the most chaotic days, your lesson has a clear beginning, middle, and end.
To give you a clearer picture, I've broken down the essential parts of a great lesson plan template. These are the building blocks I’ve found most helpful over the years.
Key Components for Your Art Lesson Plan Template
This table offers a quick-glance guide to the fundamental pieces you'll want in your template. It's a great starting point for building a framework that works for you.
| Component | Purpose | Example |
|---|---|---|
| Lesson Objectives | Clearly states what students will know or be able to do by the end of the lesson. | "Students will be able to mix primary colors to create secondary colors." |
| Materials & Prep | Lists all necessary supplies and any prep work needed before class begins. | "Tempera paint (red, yellow, blue), brushes, paper towels, water cups, 9x12" paper." |
| Instructional Activities | Outlines the step-by-step flow of the lesson, from introduction to cleanup. | "1. Intro to color theory. 2. Demo color mixing. 3. Student work time. 4. Cleanup." |
| Assessment/Evaluation | Describes how you will measure student understanding and mastery of the objectives. | "Observe students during work time; review finished paintings for correct color mixing." |
| Standards Alignment | Connects the lesson to specific national, state, or local art education standards. | "VA:Cr2.1.3a: Create personally satisfying artwork using a variety of artistic processes." |
Having these components laid out ensures you're not just planning a fun activity, but a meaningful learning experience that's both creative and educationally sound.
Defining Clear and Creative Learning Objectives
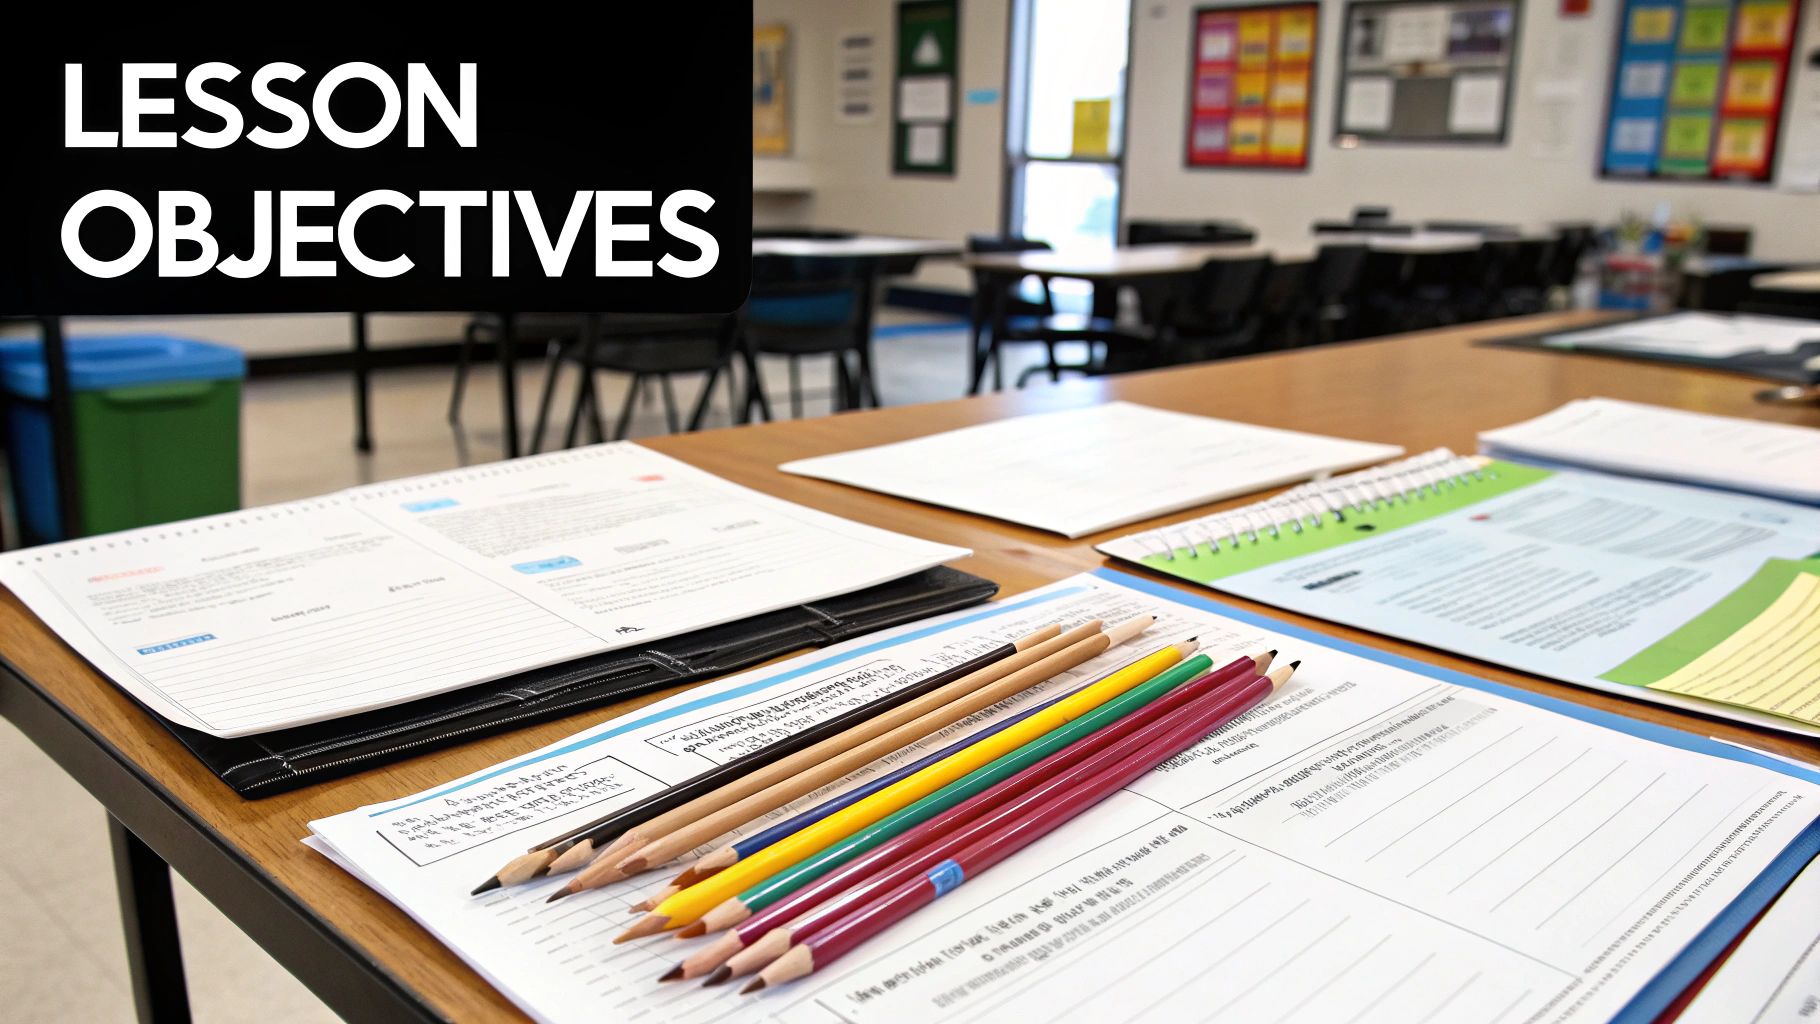
Let's be honest, clear learning objectives are the real compass for your lesson. They guide every single activity and material choice you make. This is the part of your art lesson plan template that elevates an activity from simply “making something pretty” to a genuine learning experience.
Without clear objectives, you're just running a craft project. But with them, you’re defining exactly what students will know or be able to do by the end of class. That’s a powerful shift.
The secret is using strong, actionable verbs that are both inspiring and, just as importantly, measurable. You need to think about what you truly want your students to master. Is this lesson about the final product, or is the creative journey itself the main event? Both are completely valid, but they demand very different objectives.
Process vs. Product Goals
A process-focused goal is all about exploration and experimentation. Think of a kindergarten class. A great process-focused objective might be: “Students will experiment with tearing paper and gluing to build fine motor skills.” The monster they create at the end isn't really the point; the skill-building journey is.
On the other hand, a product-focused goal zeroes in on a specific outcome. For a high school digital art class, that could look like: “Students will create a self-portrait that communicates a specific mood using Adobe Photoshop filters.” Here, the finished piece is the primary evidence of their learning.
Your objective is your promise to the student. It answers their silent question: "What am I going to get out of this today?" A great objective ensures the answer is always more than just "a finished painting."
To make your objectives truly hit home, borrow action words from frameworks like Bloom's Taxonomy and give them an art-room twist. This is how you target different levels of thinking, from basic skills to deep analysis.
Here are a few ideas to get you started:
- For Technical Skill: Use verbs like demonstrate, construct, manipulate, or apply. For example, “Students will demonstrate the one-point perspective technique to create the illusion of depth.”
- For Creative Expression: Try verbs such as create, design, imagine, or compose. An objective could be, “Students will compose a collage that expresses a personal memory.”
- For Critical Thinking: Aim for verbs like analyze, compare, critique, or justify. A really powerful objective might be, “Students will analyze how artist Yayoi Kusama uses pattern and justify their own pattern choices.”
When you build these kinds of strong, measurable goals directly into your art lesson plan template, you're not just filling out a form. You’re creating a clear roadmap for success—for your students and for yourself.
Planning Your Materials and Resources List
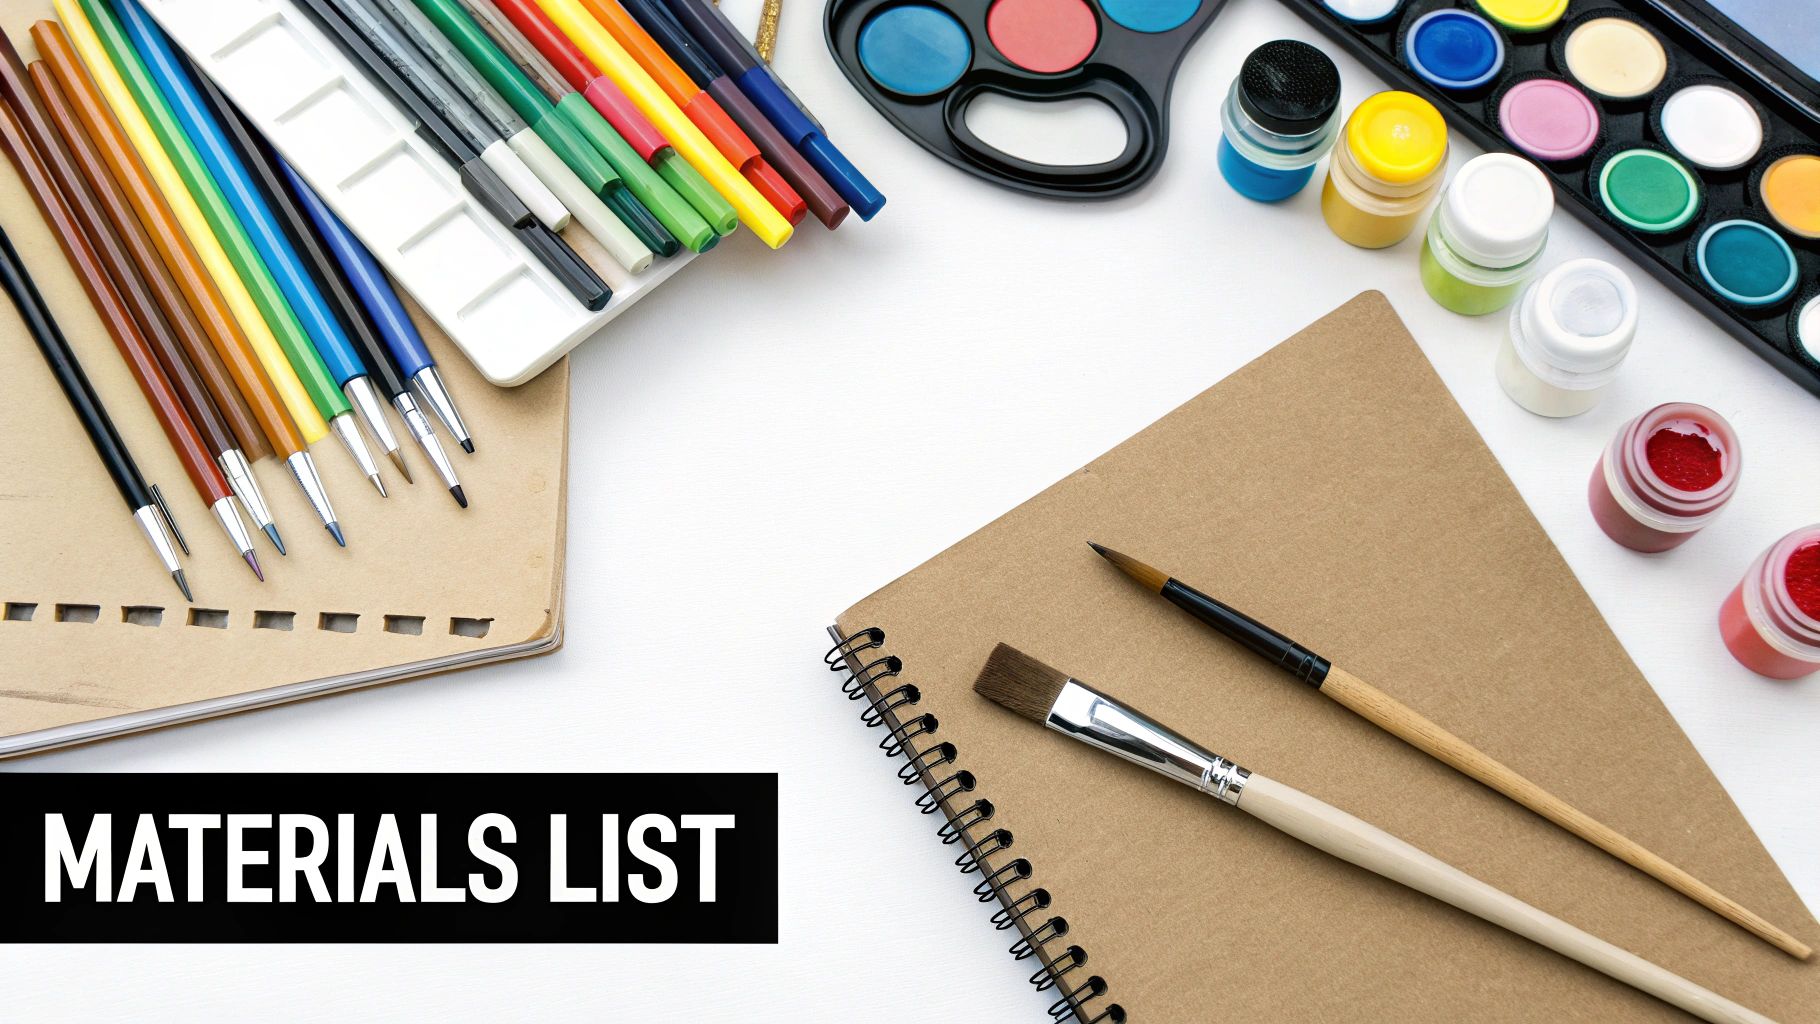
We've all been there. The perfect lesson, derailed by a last-minute scramble for supplies. A great materials list is so much more than a shopping list; it’s your recipe for a smooth, chaos-free class.
Just writing "paint and paper" is a one-way ticket to confusion and frustration. To make your art lesson plan template truly effective, you need a section that details everything with painstaking precision. This is what prevents those mid-lesson headaches.
Think hyper-specific. Instead of "paper," your template should prompt you to write "one 9x12 inch sheet of watercolor paper per student." This level of detail ensures you have exactly what you need, no more, no less. Don't forget prep work, either. A simple note like "cardboard squares, pre-cut to 4x4 inches" can save you precious instructional time when you have a room full of eager students.
Beyond Traditional Supplies
Your resources list shouldn't just stop at paintbrushes and clay. This is where your lesson plan can really come alive. Think bigger. This section of your template is the perfect spot to list all the non-traditional items that will enrich your lesson.
You might want to consider including:
- Digital Tools: Maybe it's a link to a specific digital art app or even just a quick, 3-minute video of an artist at work.
- Inspirational Materials: High-quality prints of an artist's work can be incredibly powerful. Imagine showing the vibrant patterns of Yayoi Kusama before starting a pattern project.
- Found Objects: For a mixed-media piece, you could list items like "collected bottle caps and fabric scraps" to get students thinking outside the box.
A well-planned materials list anticipates problems before they happen. By thinking through accessibility and differentiation, you create an inclusive environment where every student can succeed without feeling singled out.
This foresight is absolutely crucial for meeting the diverse needs of your students. For example, you could list alternative materials for students with sensory sensitivities, like offering glue sticks as an option instead of wet glue. It's also a great place to plan for budget-friendly options, such as using recycled cardboard instead of expensive canvas boards.
A little thoughtful planning here makes your classroom more equitable and, ultimately, your lessons more successful for everyone.
Structuring the Creative Flow of Your Lesson
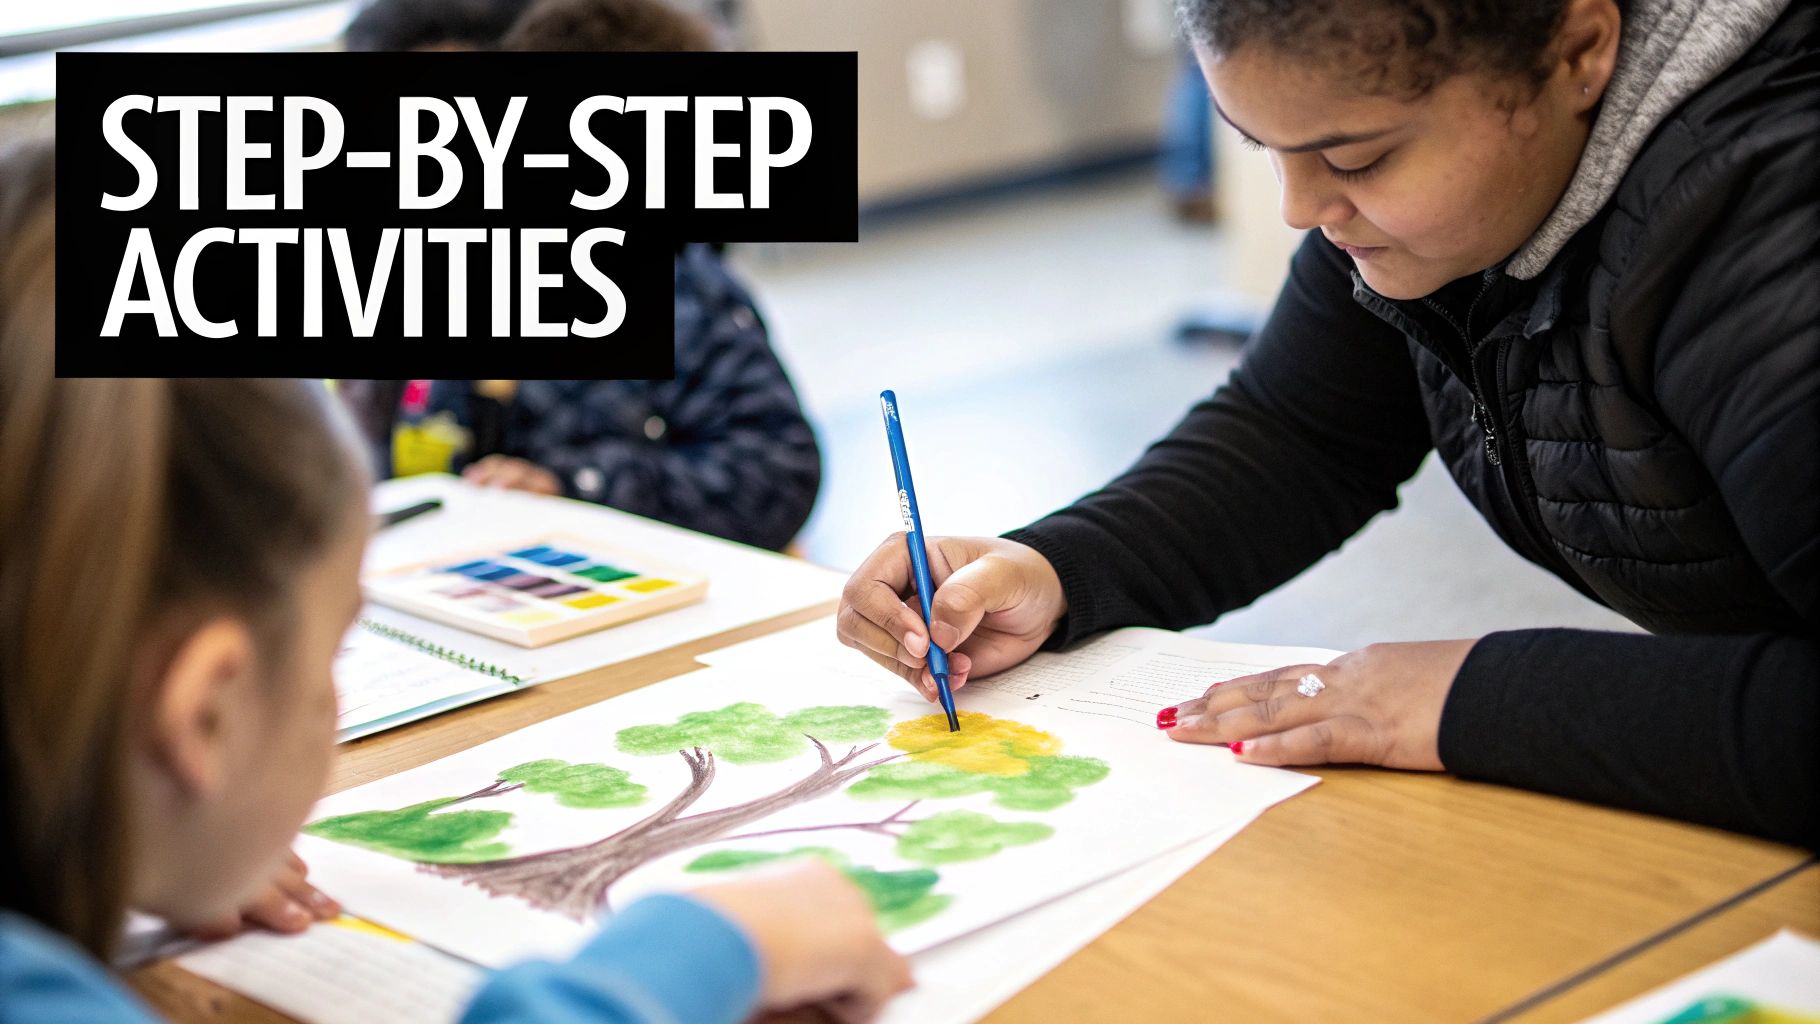
This section is the absolute heart of your art lesson plan template. It’s where you map out the actual student experience from the moment they walk into your classroom until the final bell rings. Getting this flow right is what makes a lesson feel magical and keeps kids engaged, instead of just running them through a rigid, by-the-minute schedule that kills creativity.
Think of it like choreographing a creative dance. Every step needs to build on the last, sparking curiosity and building confidence along the way. I've seen fantastic project ideas fall completely flat because the timing was off or the kids got lost in the process.
A solid, proven sequence can make all the difference. It guides students from that initial spark of interest all the way to independent creation, making sure they feel supported and successful.
A Proven Five-Phase Lesson Flow
To make this super practical, let's break down a reliable five-phase structure you can build right into your template. This isn't about scripting every word, but about creating clear, logical stages for learning and making.
The Hook (3-5 Minutes): You’ve got to grab their attention from the get-go. This could be a quick "artist spotlight" video, a mystery object hiding in a box, or showing a jaw-dropping example of the final project. If I’m teaching perspective, I might kick things off with a dizzying photo taken from the top of a skyscraper. It gets them buzzing immediately.
Instruction & Demo (10-15 Minutes): This is your main teaching moment. Keep it concise. Clearly explain the new concept or technique, and—most importantly—do a live demonstration. If we're learning watercolor blending, I’m right there showing them the wet-on-wet technique, talking through my exact steps as I paint.
Guided Practice (5-10 Minutes): Before turning them loose, give students a low-stakes chance to try the new skill with you right there to help. This is a critical checkpoint to see who’s getting it and who needs more support. For instance, they could practice creating value scales with a pencil on scrap paper before touching their final drawing.
Independent Creation (15-20 Minutes): Now, it's their time to shine. This is where students apply everything they just learned to create their own unique piece of art. I make a point to circulate around the room, offering individual guidance where needed, but this is really their time to take ownership.
Wrap-Up & Reflection (5-10 Minutes): Whatever you do, don't let the bell cut the creative process short. Always build in dedicated time for cleanup, sharing their work, and reflecting on the process.
A fantastic wrap-up activity I love is the "Two Stars and a Wish" peer critique. Students partner up, share two things they admire about their partner's work (the stars), and offer one constructive suggestion for next time (the wish). It’s amazing for building community and critical thinking skills.
By plugging these distinct phases into your art lesson plan template, you create a dependable rhythm for your classroom. It’s a framework that minimizes chaos and truly lets creativity flourish.
Weaving in Art History and Cultural Context
An art project truly comes alive when you connect it to the bigger world of art. It’s the difference between just showing students how to make something and helping them understand the why behind it.
Instead of this being an afterthought, I build a dedicated space right into my art lesson plan template. You could call it "Artist Spotlight," "Cultural Connection," or something similar. Having it there is a constant reminder to add that layer of richness to every lesson.
Making Meaningful Connections
The key is to make these connections exciting, not a dry history lecture. You don't need to be an art historian. A small, impactful detail can spark a ton of curiosity and give a project so much more depth.
Let’s say your students are painting patterned pumpkins. This is a perfect opportunity to introduce them to the iconic work of Yayoi Kusama. You could show a quick video of her immersive installations or talk about how she uses repeating dots to express energy and infinity. Suddenly, a simple fall craft becomes a conversation about contemporary art and personal vision.
Your template should be a reminder that every art project has a story. By sharing those stories, you show students that art is a living, breathing part of human history and culture—not just something that happens in a classroom.
Here are a few other simple ways to do this:
- Talk about Symbolism: If you're making paper weaving monsters, you could spend a few minutes discussing how masks and mythical creatures are used in different cultures for storytelling or celebrations.
- Compare Techniques: When teaching landscape perspective, pull up a Renaissance painting alongside a modern photograph. It’s a fantastic way to visually compare how artists across centuries have tackled the challenge of creating depth.
These connections are fast becoming a core part of quality art education. A 2023 study actually found that 70% of teachers now include art history or cultural background in every single lesson. You can find some great ideas for integrating these global perspectives from other educators on thatartteacher.com.
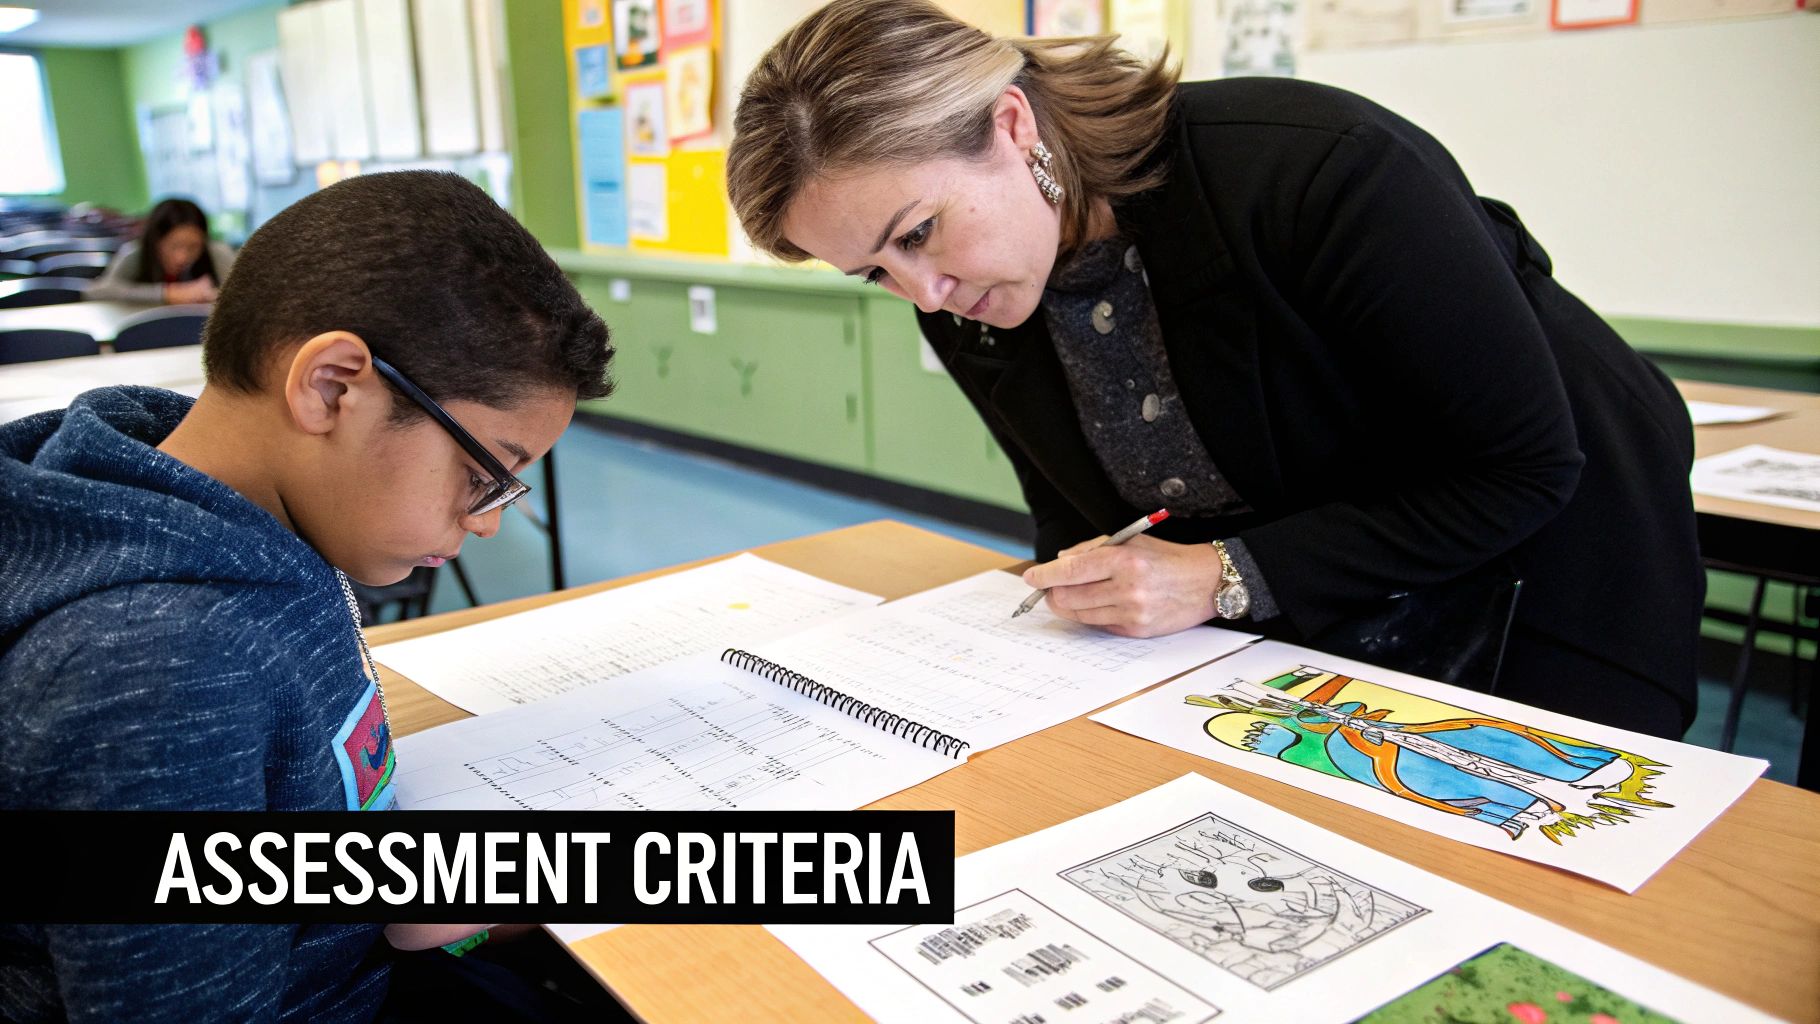
Assessing More Than Just the Final Artwork
How in the world do you put a fair grade on something as personal and subjective as creativity? It's a question that keeps art teachers up at night. The assessment section of your art lesson plan template is where you can start to solve this puzzle. The trick is to shift your focus away from judging the final product and instead honor the entire creative journey.
Think about it: if your learning objective was for students to experiment with a new technique, their grade should reflect their willingness to try, to get messy, and to learn—not whether they produced a masterpiece on their first attempt. This more holistic view gives you a much richer, more accurate picture of a student's growth.
Designing a Simple and Fair Rubric
For transparent and fair grading, a simple rubric is your absolute best friend. Forget vague criteria like "creativity." A good rubric breaks down your expectations into specific, observable behaviors. This clarity helps students understand exactly what you're looking for and gives them a clear path to success.
Your rubric should value the journey, not just the destination. Here are a few practical criteria you can build right into your template:
- Use of Techniques: Did the student actually try the cross-hatching technique we practiced in class?
- Creative Problem-Solving: When their original plan hit a snag, how did they adapt and find a new way forward?
- Effort and Engagement: Was the student actively participating and making good use of their studio time?
- Responsible Material Use: Were tools and supplies handled with care and put away properly?
Your assessment isn't just about assigning a grade; it's about providing feedback that fuels future learning. When you assess the process—the effort, the experimentation, the problem-solving—you teach students that growth is just as valuable as the final artwork.
To get an even fuller picture, sprinkle in some formative assessments during class time. These are quick, low-stakes check-ins that give you valuable insight without the pressure of a formal grade. You could use an observational checklist as you walk around the room or end the class with a quick student self-reflection. Even a simple "Two Stars and a Wish" peer feedback session can reveal a ton about student understanding and progress.
Common Questions About Art Lesson Planning
Even with the best template in hand, questions always pop up. It's just part of the process. Let's walk through some of the most common hurdles I see teachers face, so you can start teaching with more confidence and a little less stress.
One of the biggest concerns I hear is about flexibility. What do you do when a project takes on a life of its own, or a fantastic "teachable moment" presents itself out of nowhere? The trick is to build that adaptability right into your template from the get-go.
Your template is a roadmap, not a cage. The goal is to provide structure for your destination, but you should always leave room for exciting detours along the way.
I always recommend adding a dedicated "Notes & Adaptations" section. Also, instead of scripting every single minute, try using time blocks. For example, write "15-20 min Demonstration." This gives you a guideline but also the freedom to spend more time on a concept if your students are really into it, or to pivot if a technique just isn't landing.
Adapting a Single Template
So, how can you make one template work for multiple grade levels without reinventing the wheel every time? The key is designing a master template with core sections—like Objectives, Materials, and Assessment—and then creating sub-fields for differentiation.
For instance, under your main objective, you could have specific lines for:
- K-2: Students will identify primary colors.
- 3-5: Students will mix primary colors to create secondary colors.
- 6-8: Students will create a color wheel and explain color relationships.
This simple tweak lets you adjust the complexity, vocabulary, and what you expect from each age group, all within the same document. It's a huge time-saver.
Finally, there's the age-old question: digital or paper? While a trusty binder has its charms, a digital template is just so much more efficient. A simple document on your computer lets you copy, paste, edit, and link to online resources like artist interviews or technique videos in a snap.
Ready to make your lesson plans more visual and engaging? TNote turns your markdown notes into stunning, shareable knowledge cards with a single click. It's perfect for educators who want to bring their ideas to life. Create your first card for free.